
Soft Sourdough Sandwich Bread Recipe
As an Amazon Associate and member of other affiliate programs we earn a small commission from qualifying purchases through our affiliate link. For more information read our Entire Affiliate Disclosure.
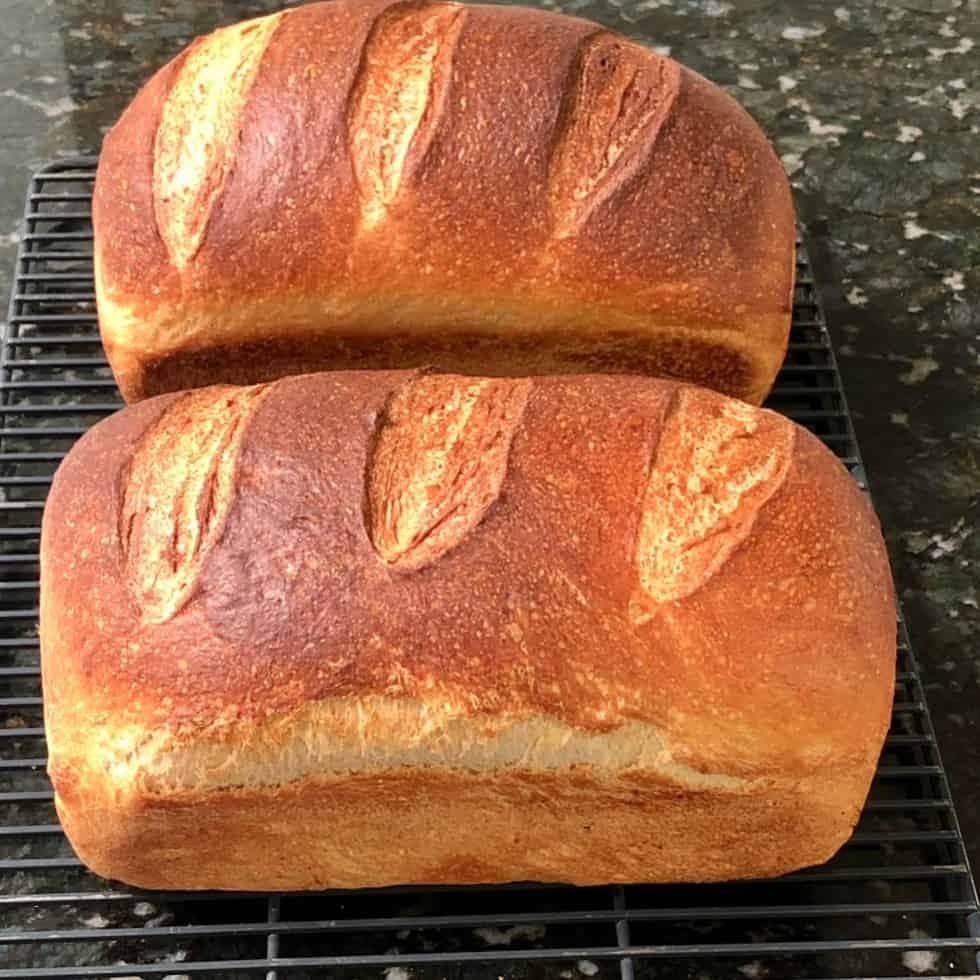
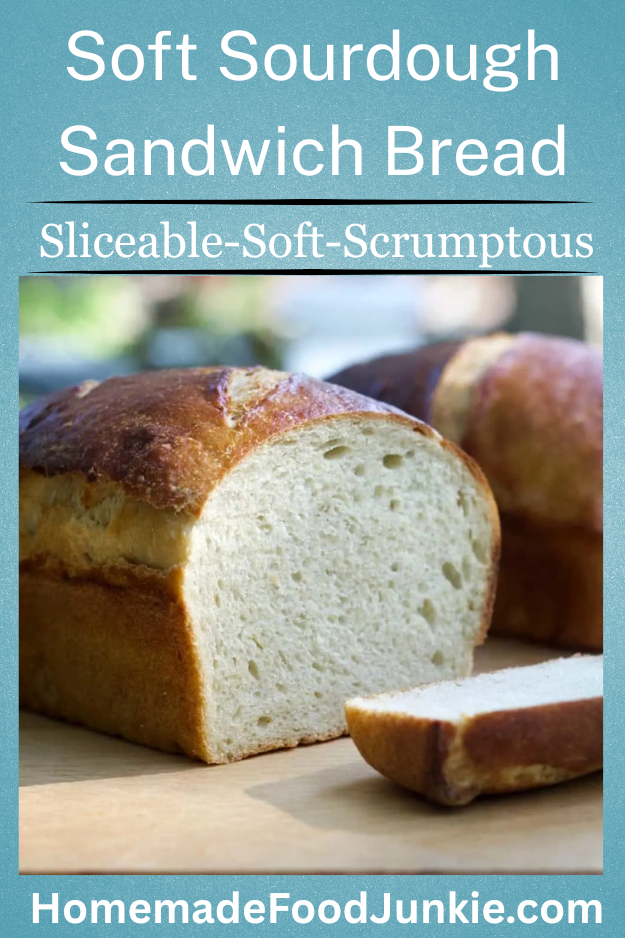
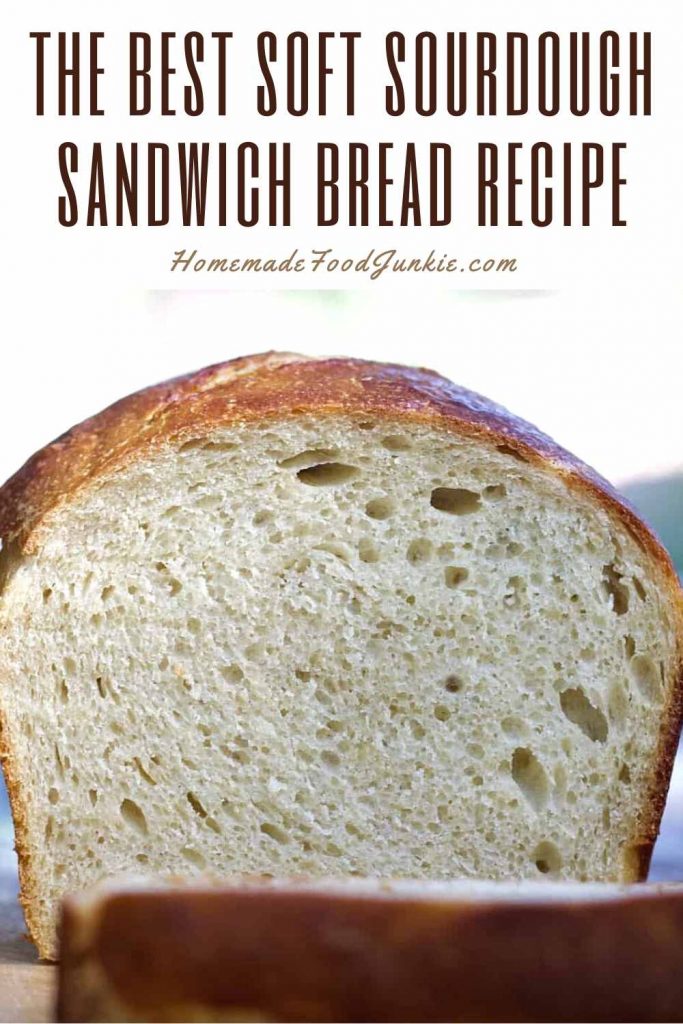
Bake this beautiful soft white sourdough sandwich bread recipe for your favorite sandwiches.
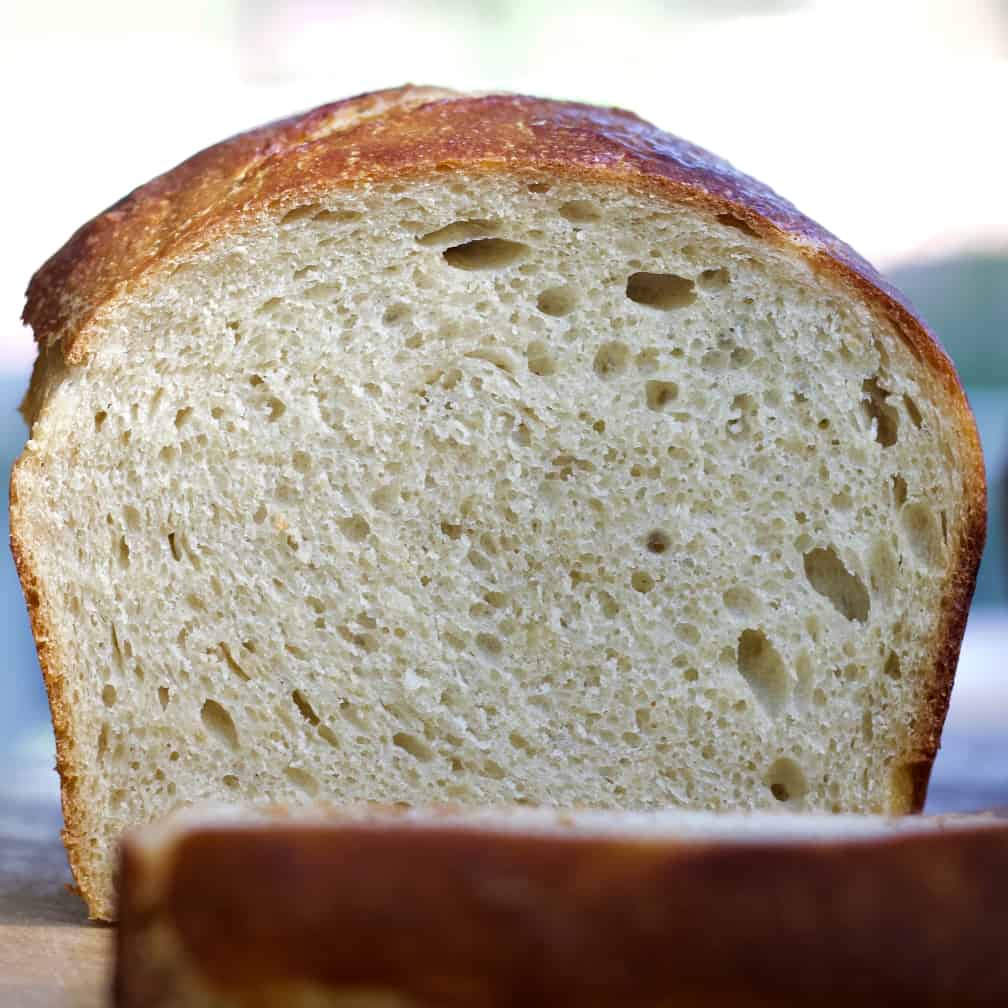
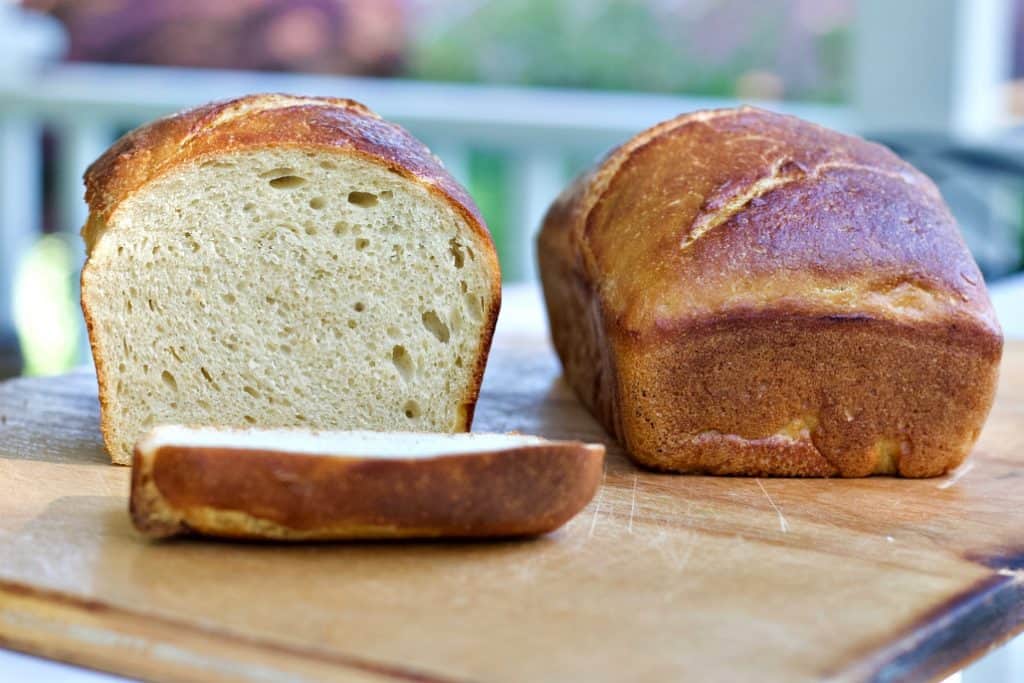
Soft Sourdough Sandwich bread is an easy sourdough bread recipe to make. This sourdough recipe is formed into soft and fluffy loaves that are perfect for sliced bread. Make this sourdough sandwich bread once a week to always have yummy sandwich bread on hand.
This dough has delicious sweet flavor and a soft and fluffy texture. We have a few tips and tricks in this post for making the best sourdough sandwich bread ever!
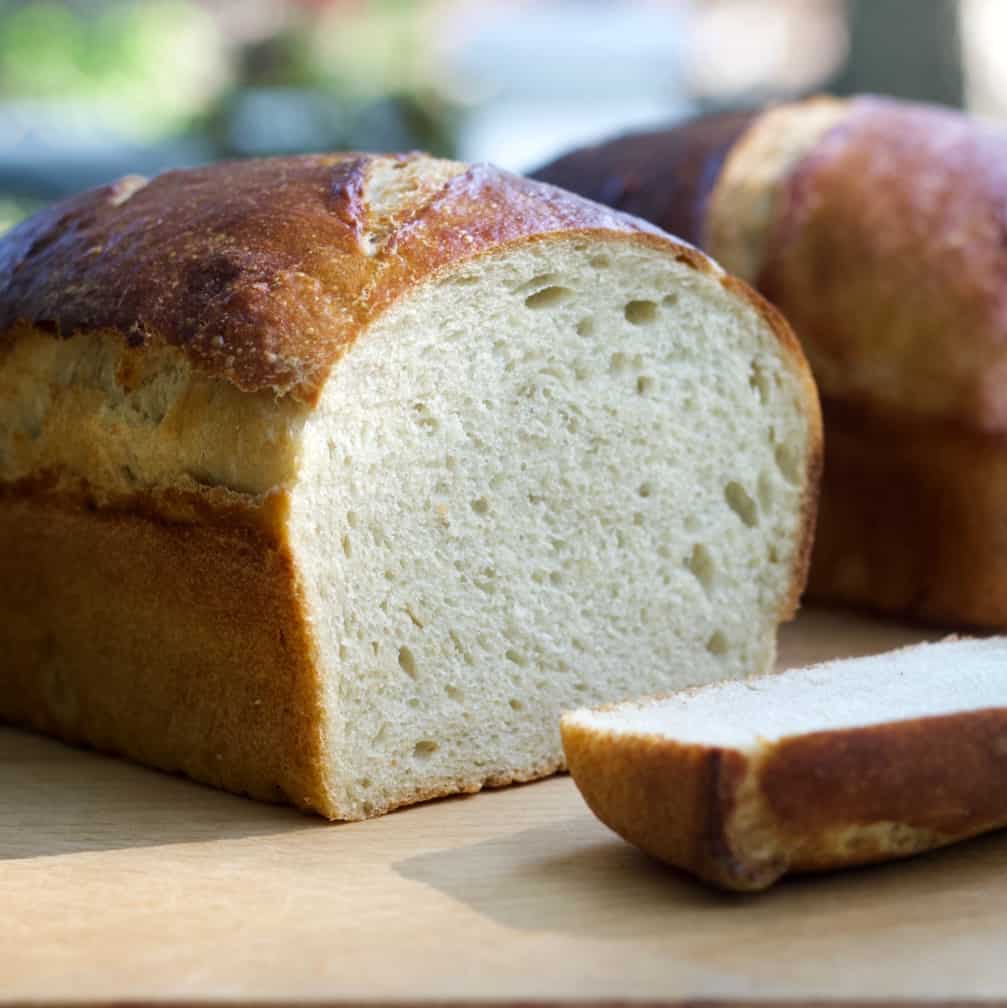
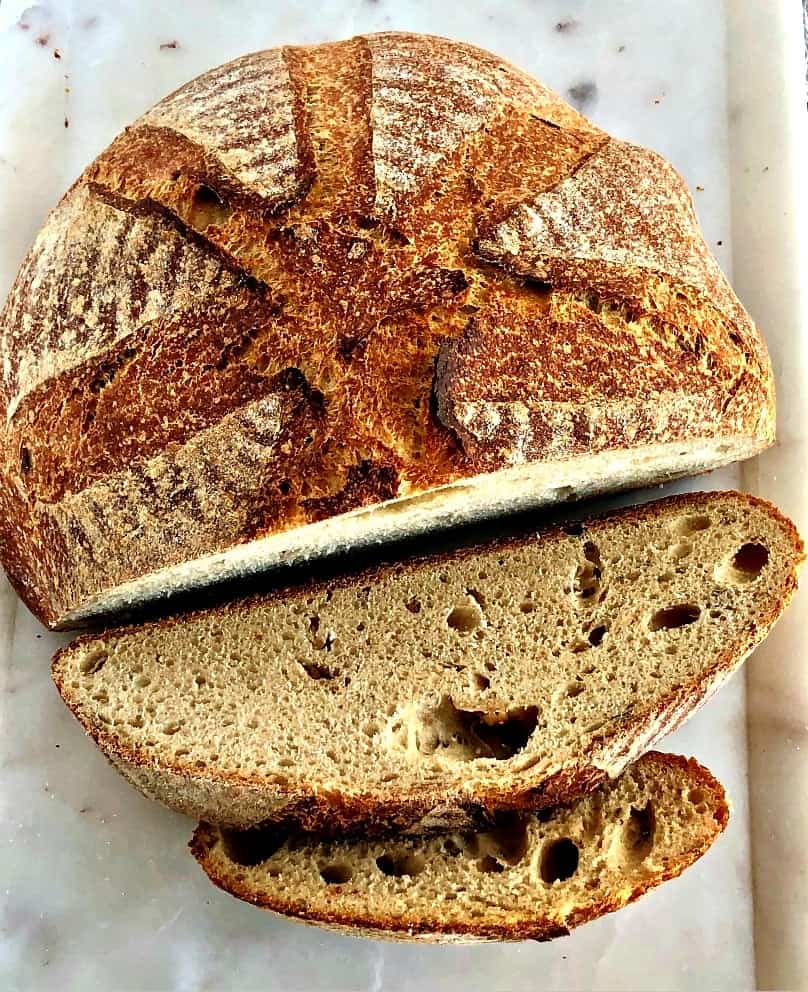
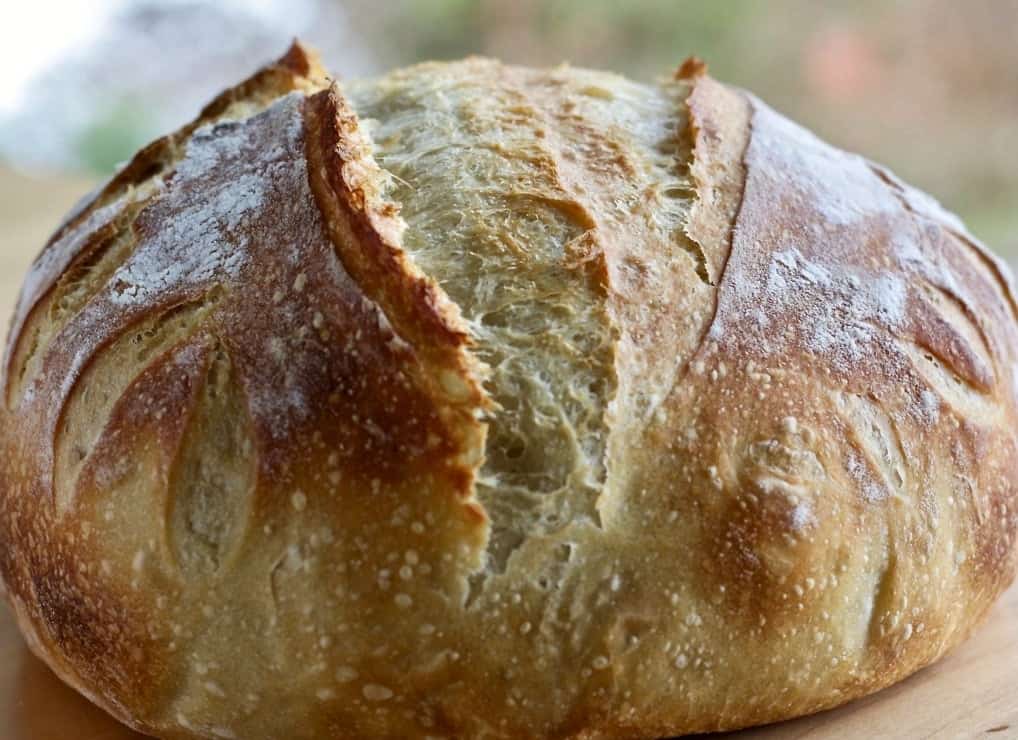
Sourdough artisan breads are famous for their crusty crusts and soft holy crumb. Perfect for dipping in soups and making paninis or crostinis. Who doesn’t love that shattery crust with a steak or plate of lasagna?
However, When you want a soft squishable sandwich with Mayo or a piece of buttery toast? Eat THIS sourdough sandwich bread.
More Sourdough Bread Recipes:
See our complete sourdough bread recipe tutorial and step by step guide for Beginners in our Artisan Sourdough Bread Recipe. Find all of our sourdough Bread Recipes here.
How long does Homemade Sourdough Bread Last?
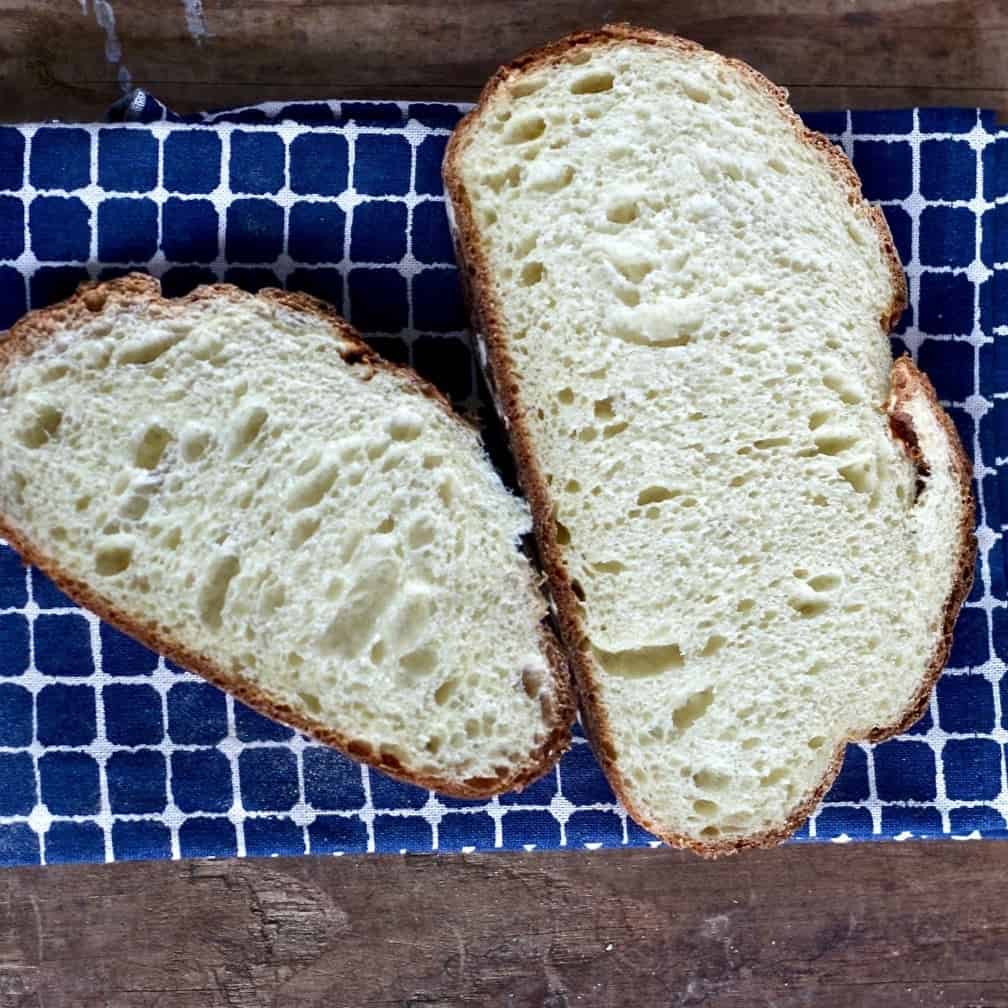
This bread will last about a week when stored in a proper airtight container. Homemade sandwich bread will mold quicker than store-bought bread. This is because homemade bread does not contain the preservatives that you will find in store-bought bread. Keep that in mind when making homemade sourdough bread. Store it properly to avoid a moldy and stale loaf of bread. This recipe makes two 1000 gram loaves of soft sandwich bread.
Is Sourdough Bread good for Sandwiches?
Regular Sourdough bread is great for sandwiches. Many restaurants use sourdough bread to make grilled cheese sandwiches, turkey, toasted sandwiches etc. A regular loaf of sourdough bread has a different shape than sandwich bread. It usually produces long and narrow pieces of bread. A sourdough sandwich bread will be shaped into a traditional bread loaf shape. This makes it easier to toast the sourdough bread in a toaster.
Soft sourdough sandwich bread is great for peanut butter and jelly sandwiches, turkey, or traditionally shaped sandwiches. The great thing about this bread is it is really easy to work with and store.
Why is my Sourdough Sandwich Bread not Rising?
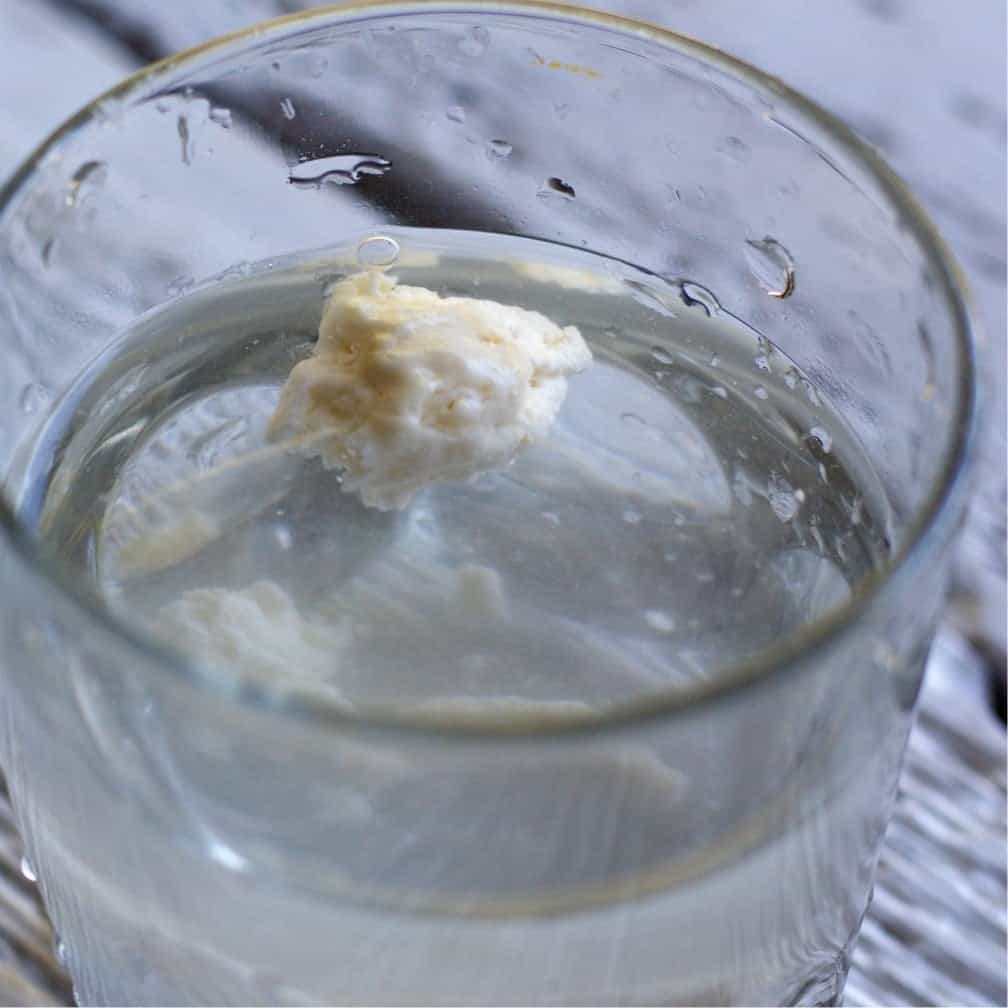
Sourdough Sandwich Bread not rising is usually due to a weak or inactive starter. Always ensure that your starter can pass the float test before using it to bake. It can be tempting to make the bread early before the starter is ready. Always wait until your starter can float in a cup of water before baking. There is no way to save a loaf of bread that turns out flat. It is worth it to properly prepare the starter for the best loaf of bread.
Do I need to score Sourdough Sandwich Bread?
There is no need to score a loaf of sourdough sandwich bread. This bread will rise and ferment without scoring it on top. If you wish to score the sourdough sandwich bread, you can do a gentle slice down the center of the loaf prior to baking. However, there is no need to score this type of sourdough bread. It will bake and rise just fine without going through the scoring process.
Watch our video tutorial to see all the techniques I use to make this bread recipe.
Sasha’s Soft Sourdough Sandwich Bread Recipe:
Sasha, our master baker contributor, created this sourdough recipe for her hubby. He wanted a soft white squishable bread with a soft crust. We all agree this bread makes great sandwiches.
Sasha’s family is incredibly lucky. And so are we. She is sharing her soft sandwich bread recipe with us so we all can benefit from her expertise.
Sasha also shared her Sourdough Milk and Honey Sandwich bread with us in case you missed it. Thank you Sasha!
Tips on making the Sourdough Sandwich Loaf:
This is a white bread recipe. However, you can mix whole wheat flour up to 50-50 with your white bread flour and still get good results.
- Begin with an active fed sourdough starter for best results. You do NOT need active dry yeast for this recipe.
- WATCH our video tutorial for ALL the techniques used in this bread dough making process. If you don’t know a term or technique the video will teach you.
- Good Flour is critical to the outcome of any homemade bread recipe. Use a fresh high protein bread flour (at least 5% protein).
How to Make a Soft Sourdough Sandwich Bread Loaf:
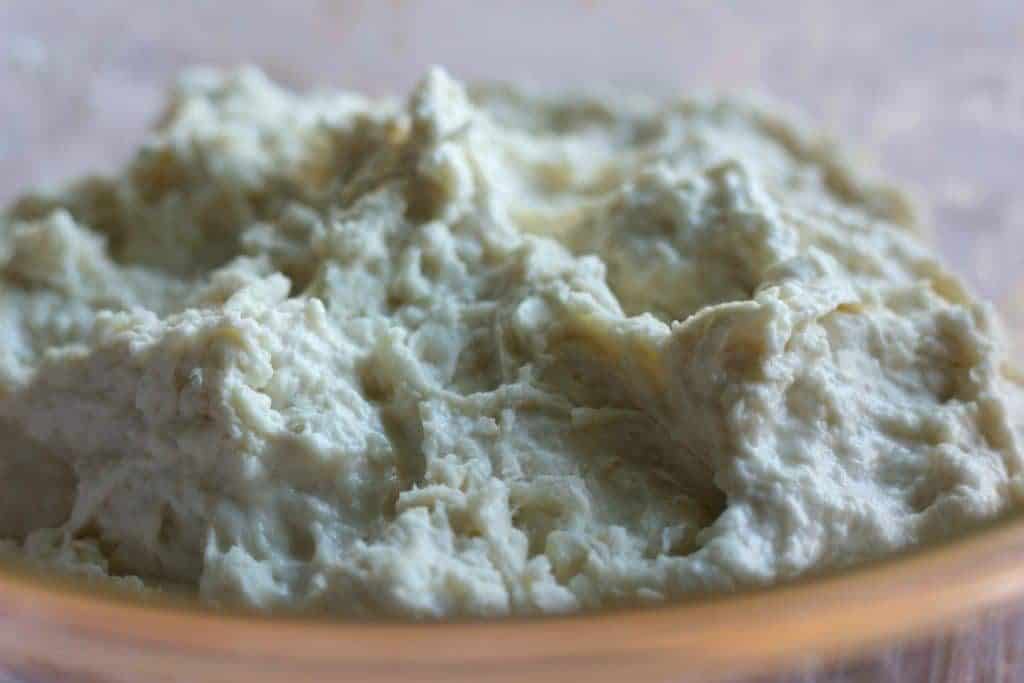
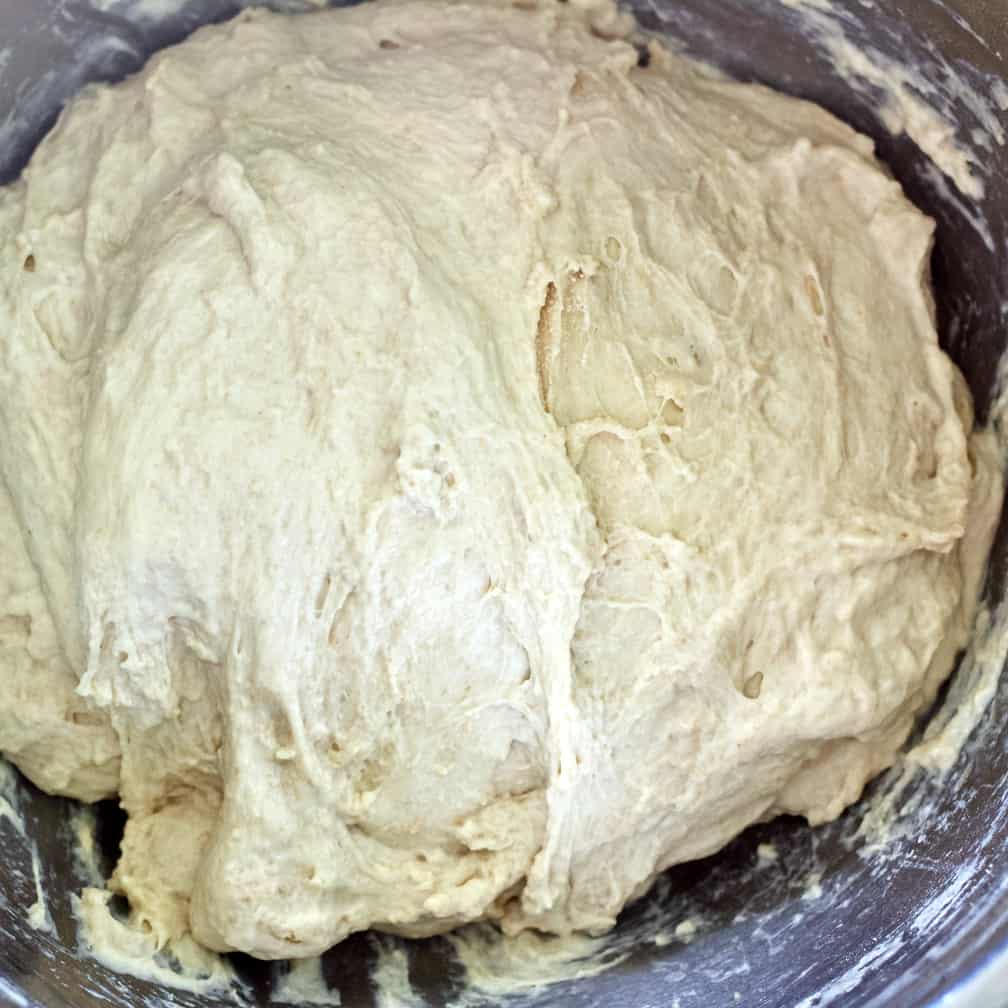
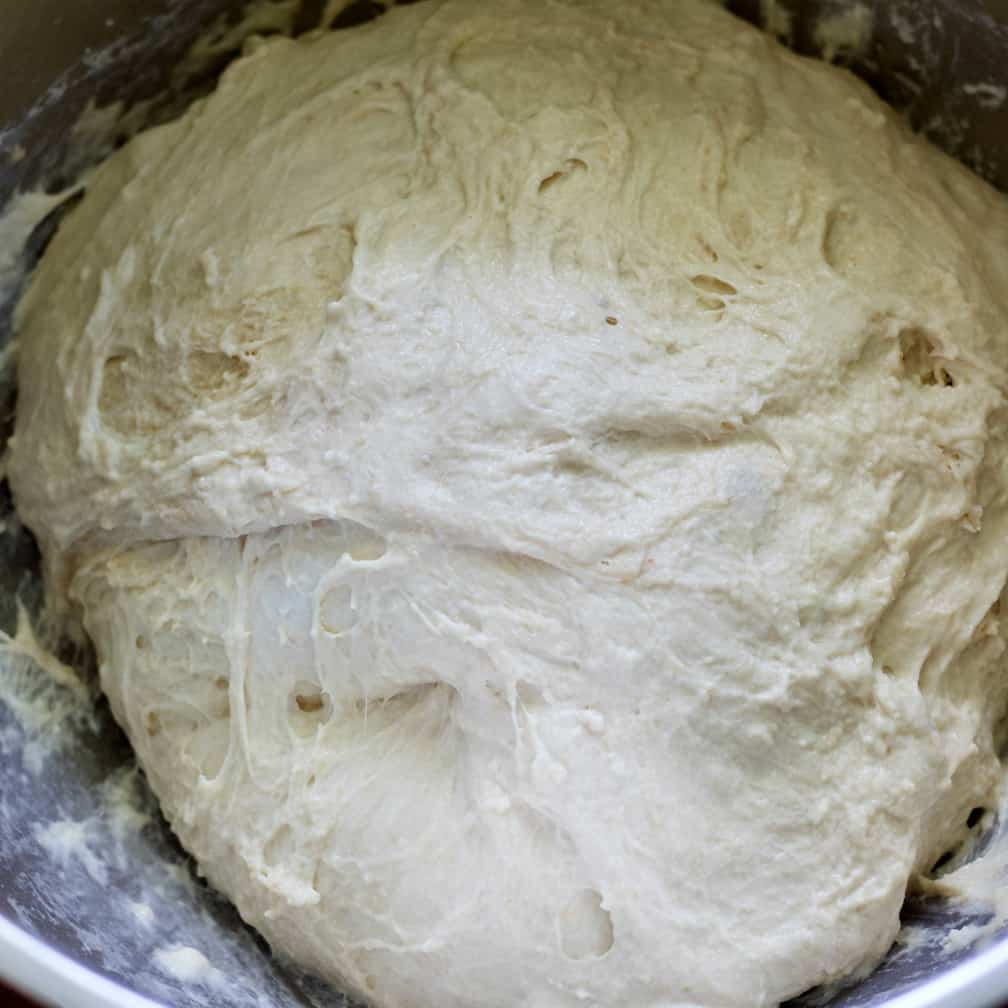
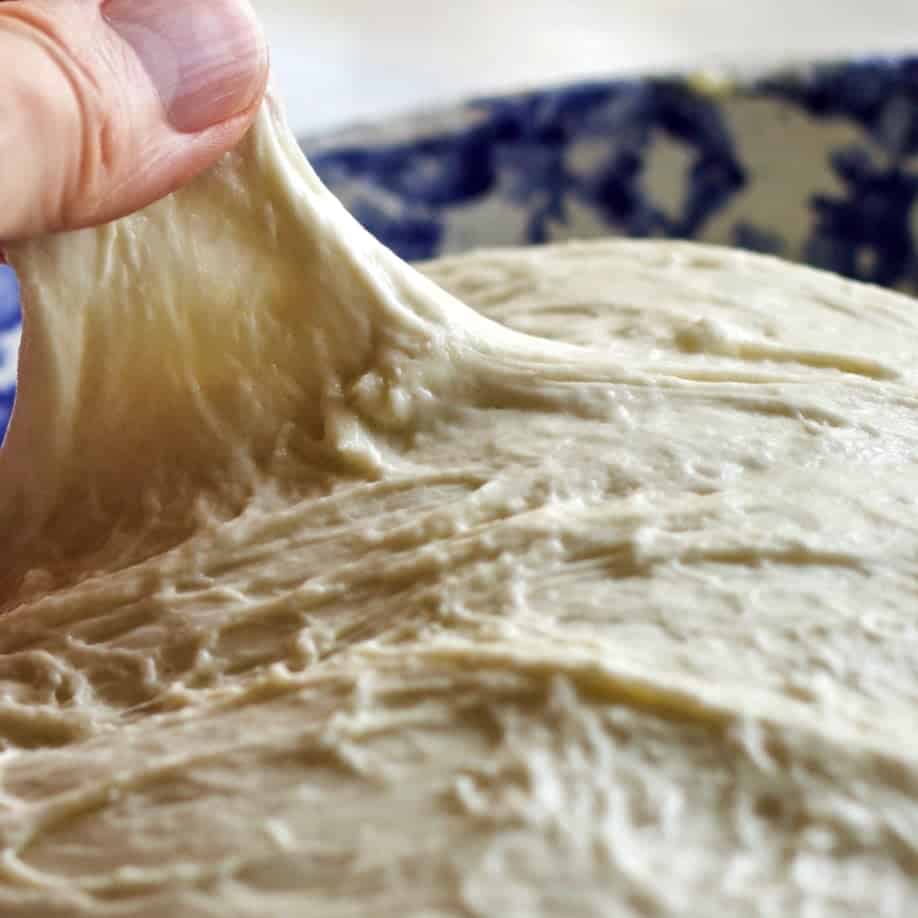
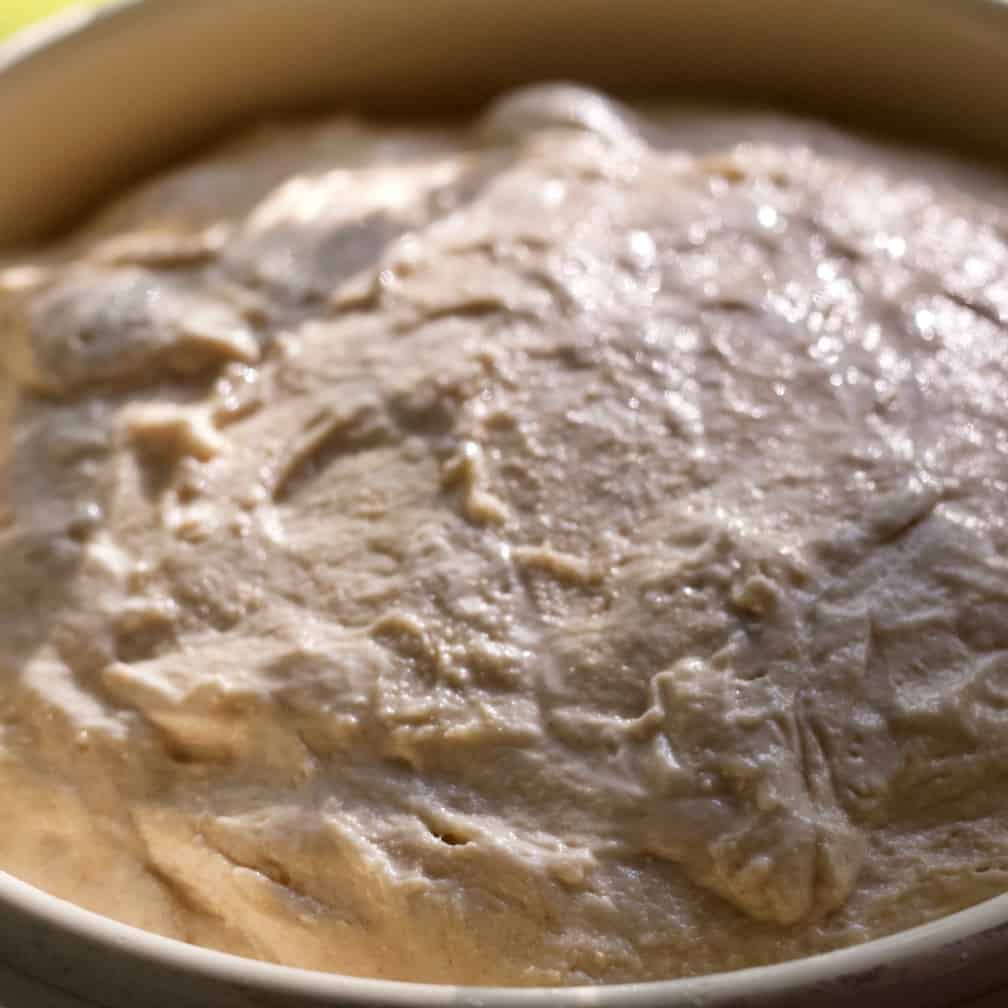
Here is a quick visual walkthrough of this recipe. The complete recipe is in our Printable Recipe Card. But here are the main points.
Sometimes a picture really helps. AND don’t miss our video tutorial (playing in the sidebar) if you need further examples of the techniques.
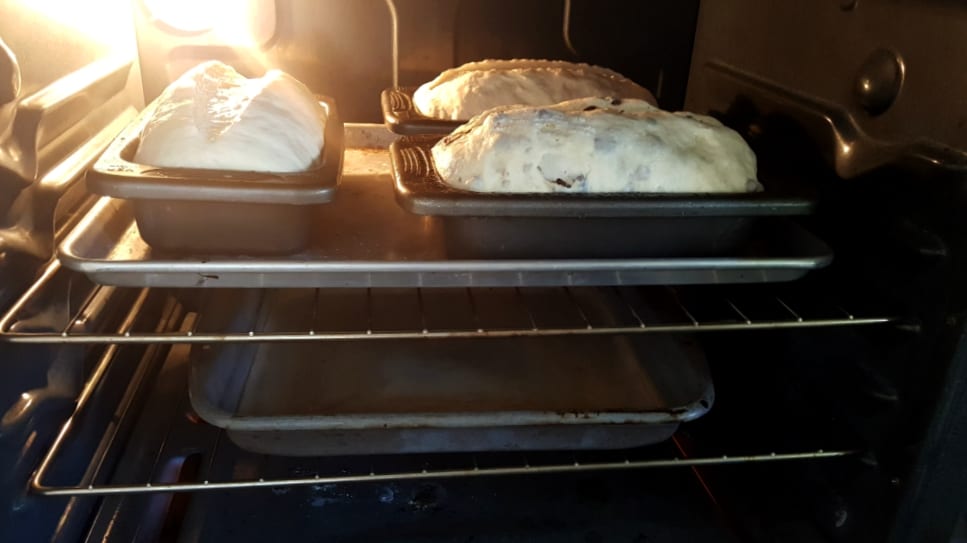
Cinnamon Swirl Bread Variation and Soft Cinnamon Sourdough Rolls:
Look at the bread baking in the oven (pictured above). The one closest to the front sideways is This soft sourdough bread made as Cinnamon Raisin Bread.
You will find This Complete recipe post for Sourdough Cinnamon Raisin bread has LOTS of tips. A complete walkthrough and guide for incorporating the plumped raisins, layering the cinnamon filling and forming the loaves.
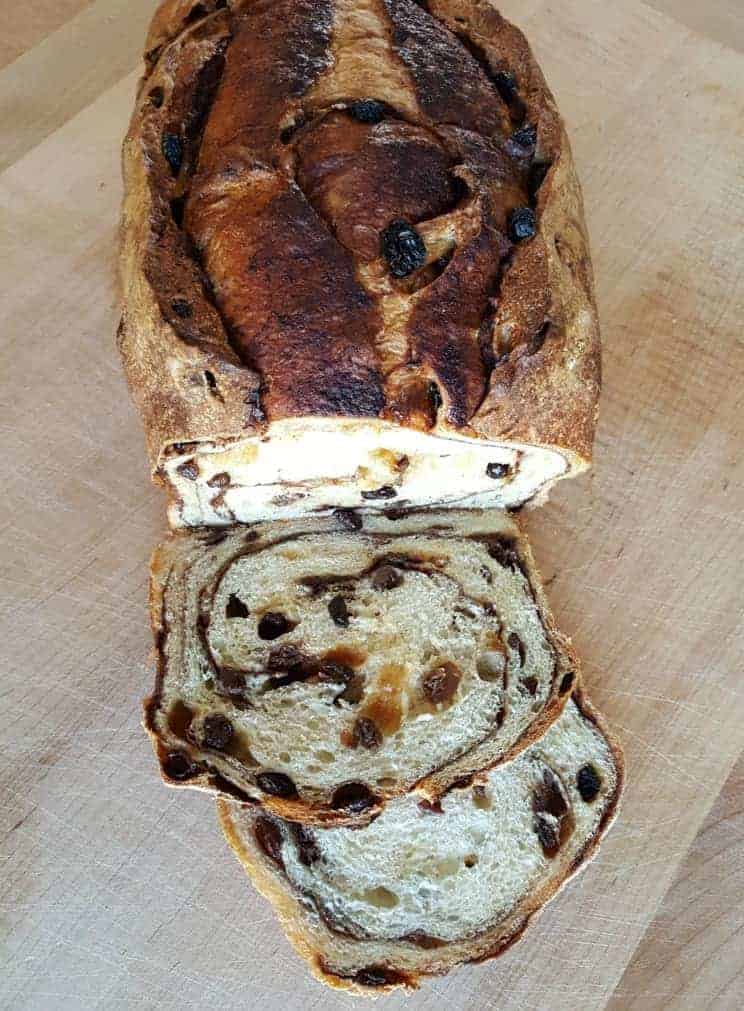
Soft sourdough made as cinnamon raisin swirl bread is pretty darn amazing breakfast food. Give it a try.
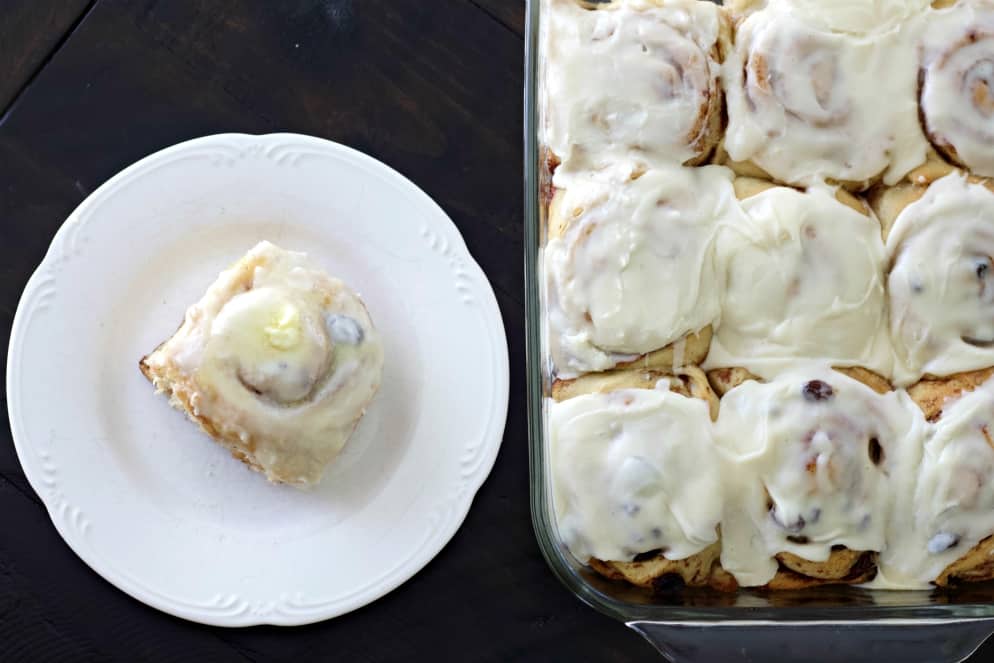
Also make these Soft Sourdough Cinnamon Rolls from this bread dough recipe. They are absolutely scrumptious!
How to Shape A loaf of Bread:
You can bake this recipe in boules. However it is much easier to eat as sandwiches and toast when baked in pans.
Here’s how to shape the dough for baking in bread pans. I use two 9 x 5 inch bread loaf pans for this recipe.
Prepare the dough for Shaping:
- Remove Dough From Fridge and allow to come to room temperature. This will take about 2 hours.
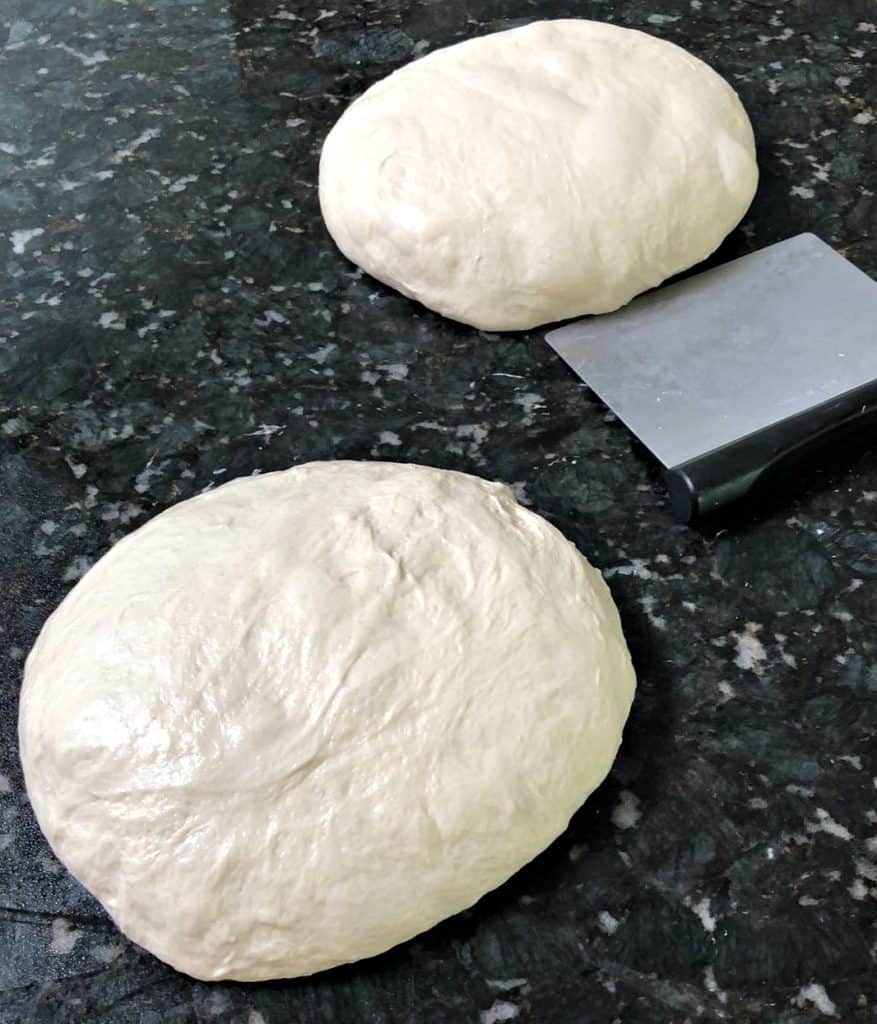
- Divide and shape the dough into two 1000 gram balls of dough.
- Bench Rest the balls loosely covered about 60 minutes until very elastic.
Shaping:
- Choose one dough ball. Set the other aside to be next.
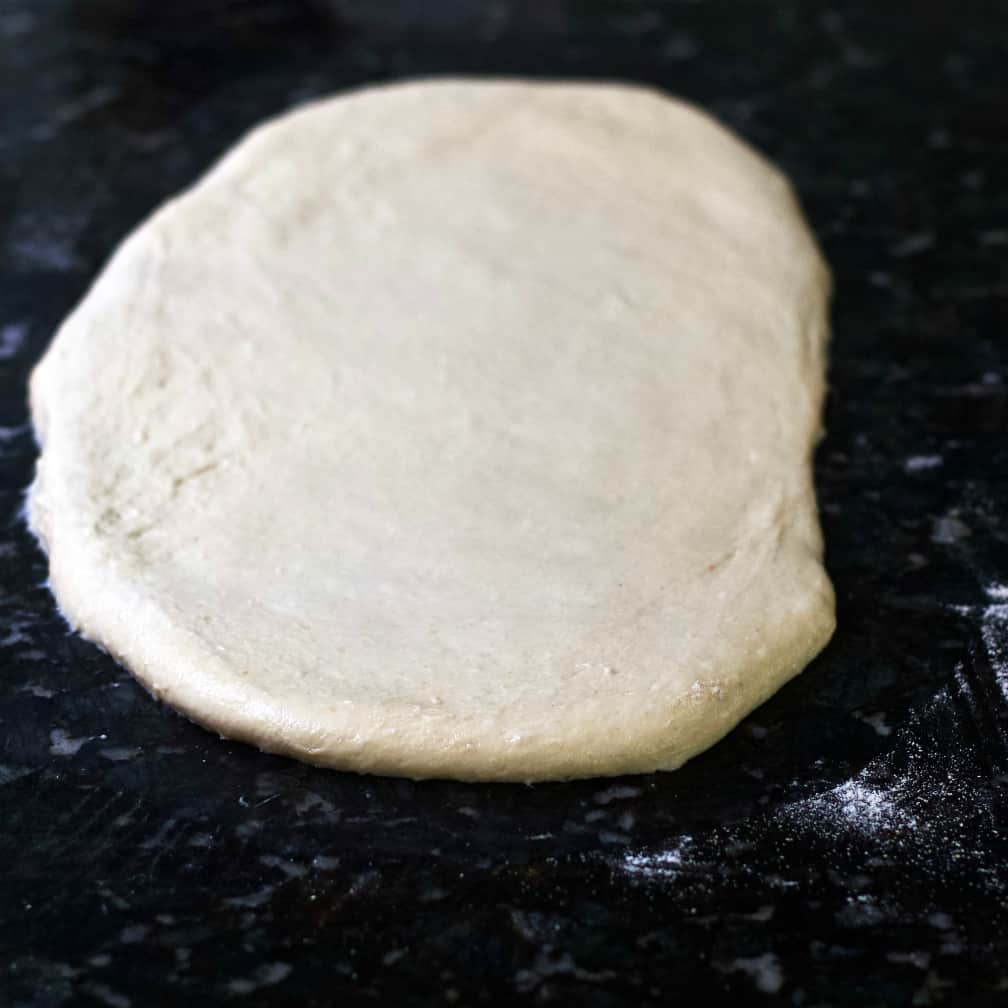
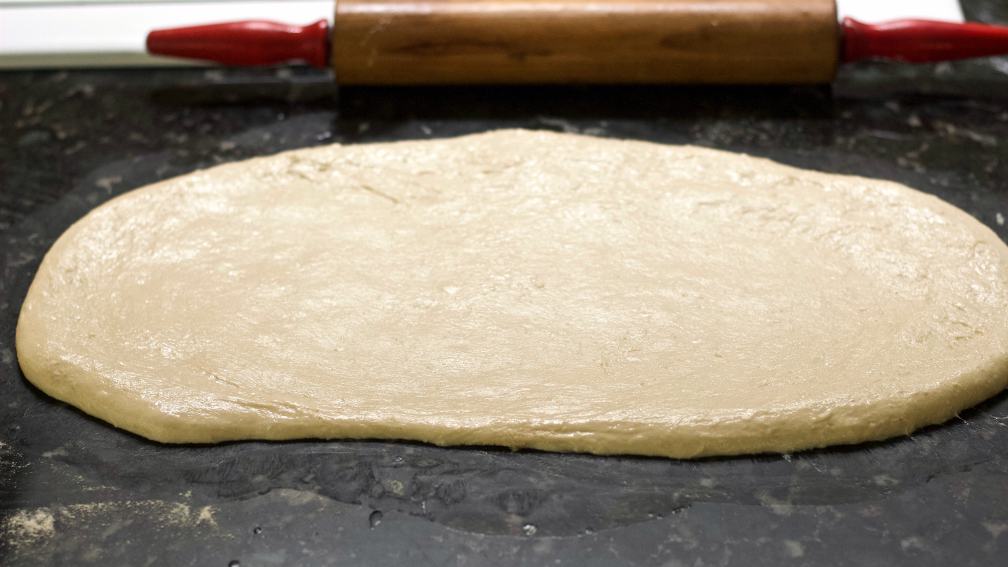
- Flatten the ball on a floured board with your rolling pin to degass. This may take several passes. (You will notice my bread does still have a few small holes. It needed more degassing)
- Shape the degassed dough into a rectangle and spritz with water.
- Bring the long edges into the center and form a closed seam.
- Fold the two front corners to the middle seam as shown below.
- Roll the dough tightly. tucking it as you roll to avoid air pockets.
- Pinch the ends of the loaf and flatten the seam.
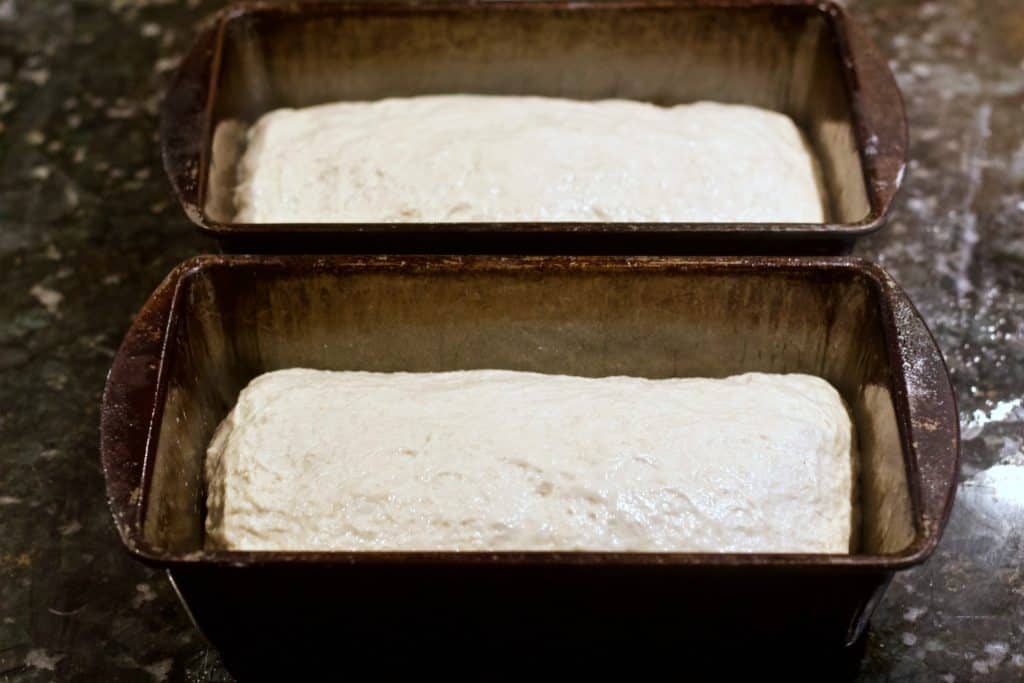
- Place the dough loaf into your OILED loaf pan.
- REPEAT with second dough ball. Continue with the recipe.
For more tips on shaping your bread read our sourdough shaping guide.
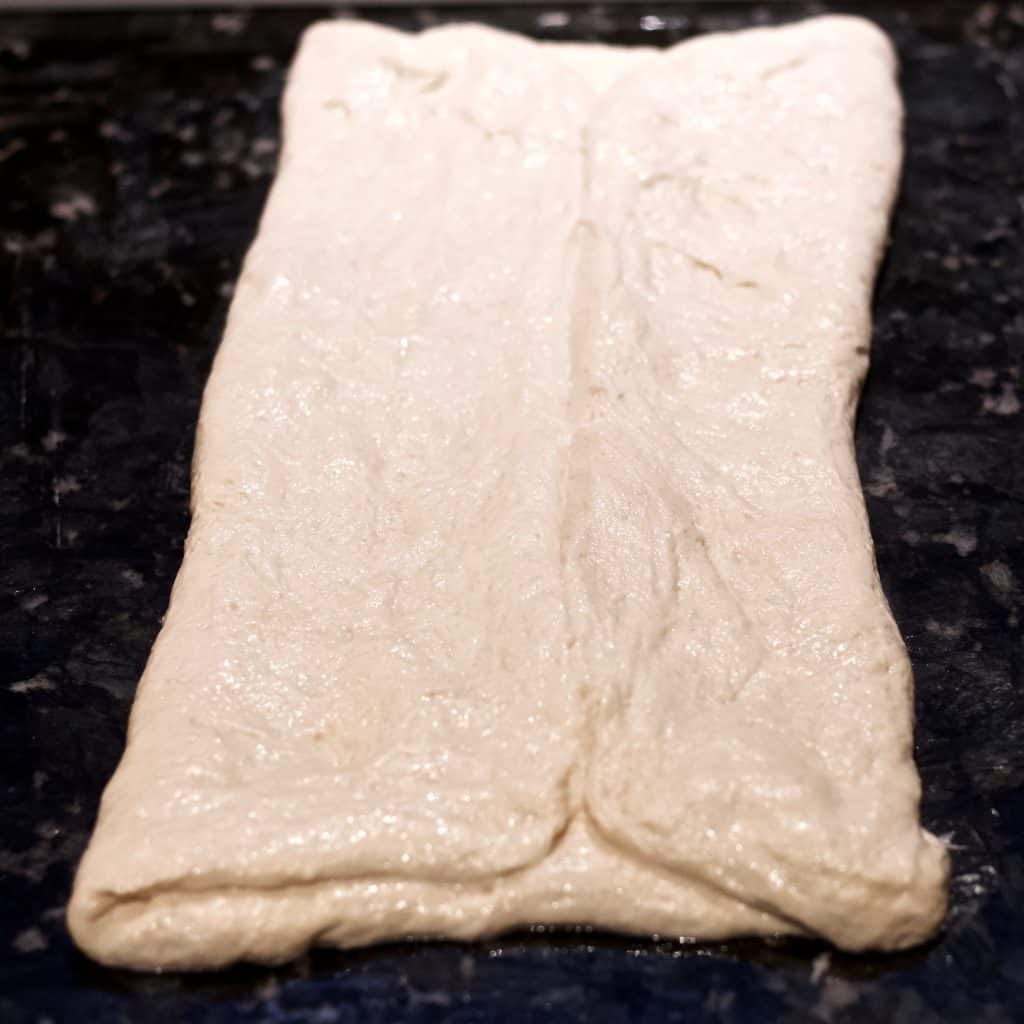
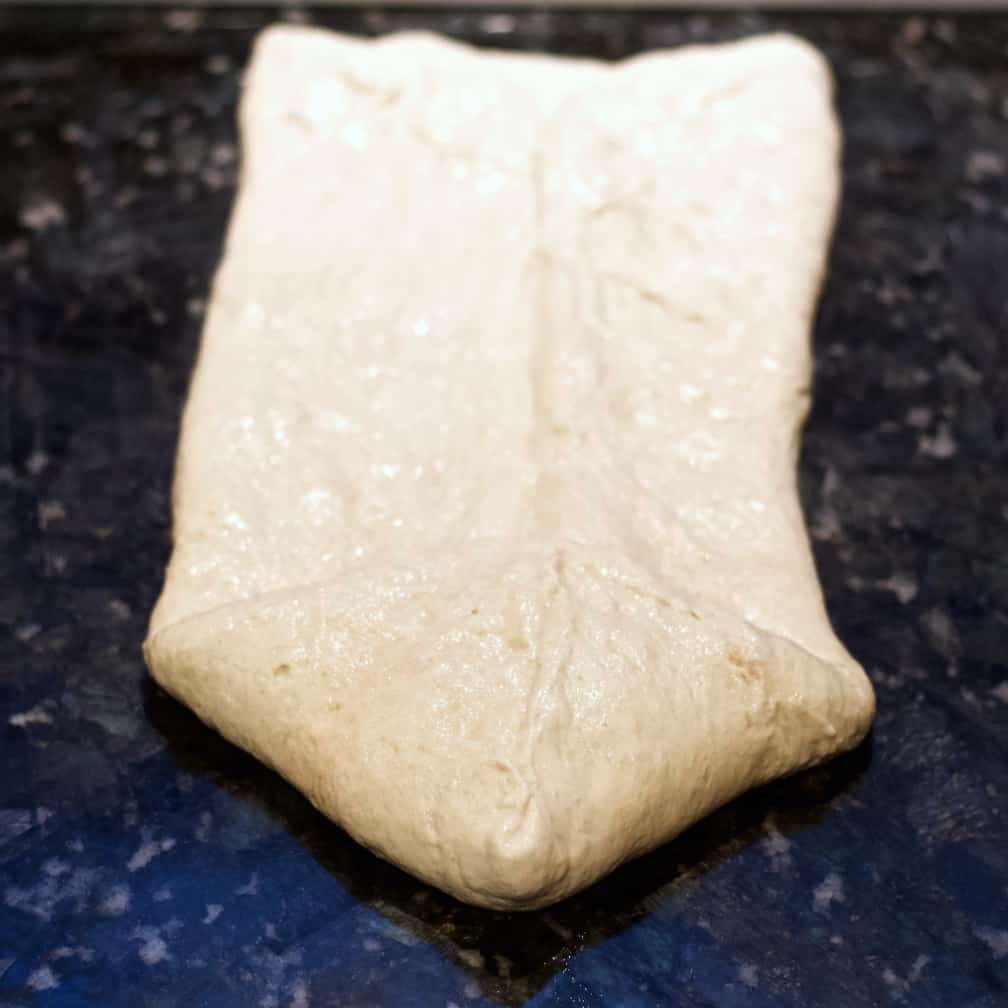
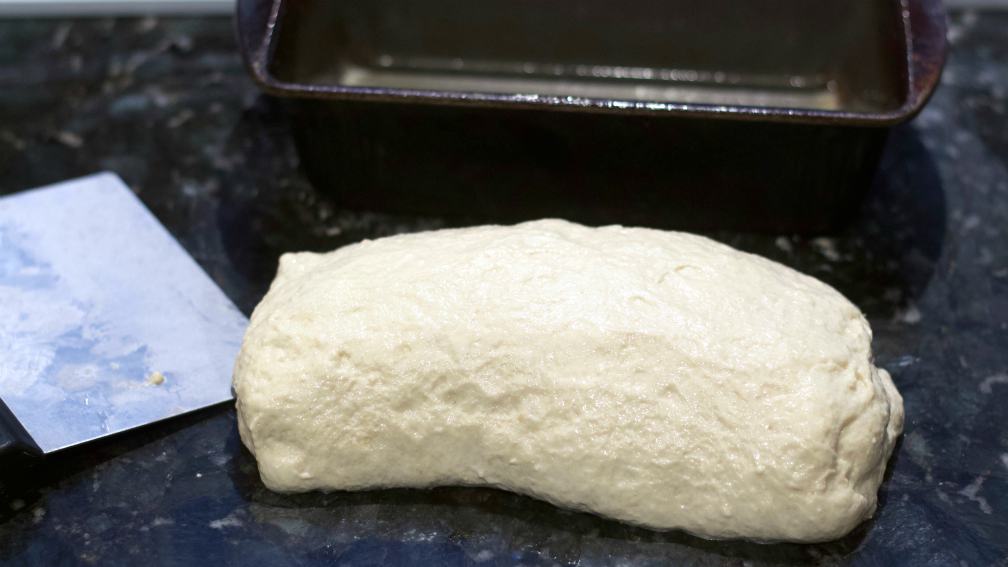
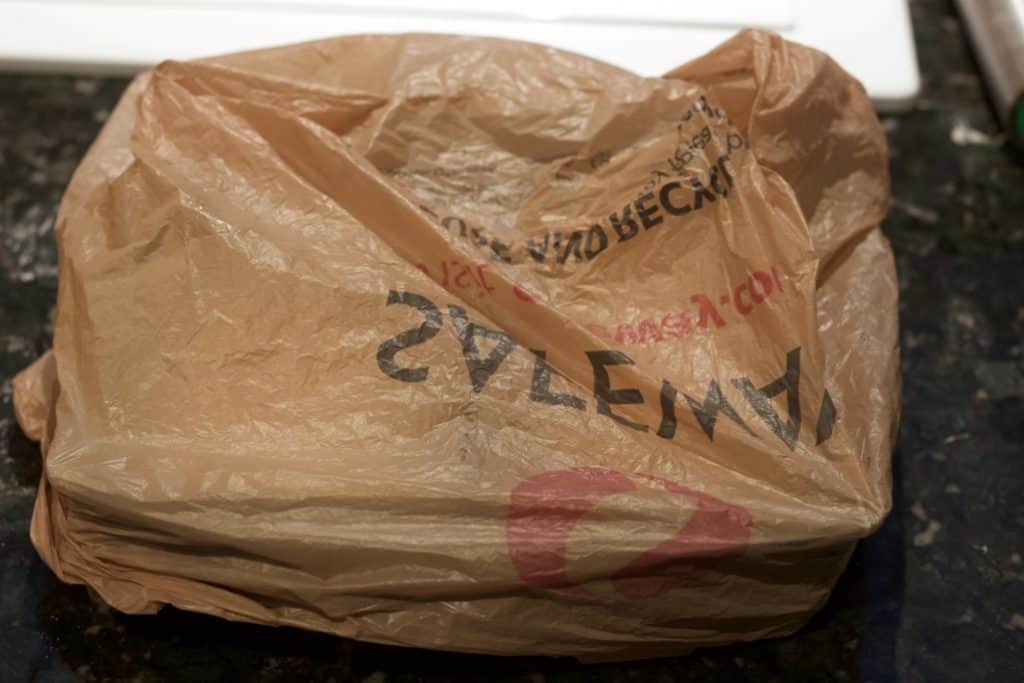
The final rise is done in the plastic bags as shown. Allow the dough to rise to the pan top or slightly above.
Now when the oven is thoroughly preheated, remove one loaf from the fridge, score it deeply and bake as directed with a water bath.
Your Printable Recipe Card:
Read the complete recipe and instructions below. If you print this recipe the pictures will not print. This is to save you ink and paper.
NEW! We now have a complete video recipe demonstration of this bread in the sidebar and the bottom of the printable recipe card.
Soft Sourdough Sandwich Bread Recipe
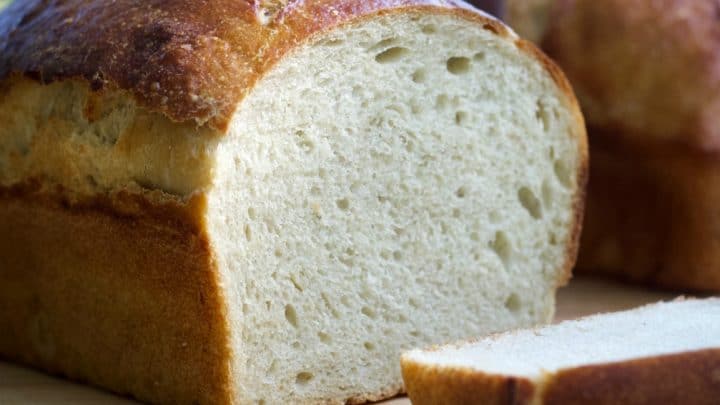
Soft Sourdough Sandwich bread is the perfect soft squishy bread for toast and peanut butter sandwiches. You can also grill this bread for amazing grilled cheese sandwiches. The flavor is outstanding.
Ingredients
- 300 grams starter-freshly fed and active
- 650 grams warm water
- 50 grams honey
- 40 grams avocado oil
- 1000 grams White bread flour (high protein)
- 20 grams Salt
Instructions
MIXING:
- Begin with a very active recently fed starter. It should pass the float test.
- Set a large bowl on a digital food scale set to grams and press the tare button. The scale should read zero.
- Pour in the water to weight of 650 g. Press tare.
- Pour in 300 grams of starter. Press tare. The starter should form a floating mass on the water.
- Add the oil. Press tare
- Add the honey. Press tare.
- Whisk together the starter, oil, honey and water until they are mixed.
- Add the 1000 grams of flour.
- Mix the flour into the water/starter with a dough hook, spatula and your wet hands until you have a shaggy ball of dough.
AUTOLYSE: Technically our process is a fermentalyse, since we add the starter in with the flour and water initially.
- Rest dough 1 hour.
- Sprinkle salt across dough.
- spritz with water bottle and work in the salt with wet hands.
- Rest 30 mins
STRETCH AND FOLDS:
- Begin Stretch and Folds. You need 4 rounds of stretch and folds 30 mins apart. See video for technique.
LONG COLD RISE:
- Refrigerate overnight or up to 24 hours.
BENCH REST DOUGH:
- Remove from fridge and warm to room temperature. (ABOUT TWO HOURS)
- Divide the dough into two 1000 grams dough balls by weight.
- Bench rest 30 to 45 minutes until dough is elastic.
SHAPE AND FINAL RISE:
- Choose one dough ball. Set the other aside to be next.
- Flatten the ball on a floured board with your rolling pin to degass. This may take several passes. (You will notice my bread does still have a few small holes. It needed more degassing)
- Shape the degassed dough into a rectangle and spritz with water.
- Bring the long edges into the center and form a closed seam.
- Fold the two front corners to the middle seam as shown below.
- Roll the dough tightly. tucking it as you roll to avoid air pockets.
- Pinch the ends of the loaf and flatten the seam.
- Place the dough loaf into your OILED loaf pan.
REPEAT for second loaf.
- Let sit on counter 2 to 4 hours until the dough reaches to the top of the bread pans. For best oven spring chill two hours in the fridge covered.
BAKING PREP AND INSTRUCTIONS:
- Preheat oven and water bath(any pan half full of water. Set it on the shelf UNDER THE BREAD) to 400° F.
- Remove the loaves from the fridge and score them deeply. (I do three slashes diagonally accross the top).
- OPTIONAL: For a shiny loaf of baked bread, brush the dough with a beaten egg.
- Set the loaf pans in the middle of oven.
- Bake the loaves 15 minutes.
- Reduce the oven temp to 375 degrees F.
- Bake an additional 25 to 30 minutes.
- Using a digital thermometer check internal Temp of loaf. It is done at 200°. If you don't have a thermometer pop loaves out to test for hollow on bottom. Or thump the loaf. Does is have a hollow sound?
- Remove from oven and cool on racks to room temperature before cutting the bread.
Notes
- Measure the ingredients CAREFULLY for best results.
- THE SALT: I use Himalayan salt. All salt works. However, they have different volumes by weight. So you need to be careful. Weighing helps get it right.
- THE OIL: Avocado oil is recommended for best health. Use any neutral flavor oil you prefer.
- THE FLOUR: Use any high protein (On the label 12 % protein or 5 grams protein) organic white bread flour. You can make this loaf with 50/50 white and WHITE whole wheat.
- The loaf will stay soft and have a great nutty flavor. Using 100 percent whole wheat or Hard red whole wheat will give you a different result. The recipe may need some adjusting. I suggest you stick with 100 percent white or 50/50.
- 2 2/3 Cups -300 grams starter-freshly fed and active
- 2 3/4 Cups 650 grams warm water
- 2 3/8 Tablespoons -50 grams honey
- 3 Tablespoons- 40 grams avocado oil
- 8 Cups- 1000 grams White bread flour (high protein)
- 1 Tablespoon-20 grams Salt
Conversion CUPS to GRAMS:
I do NOT recommend volume measurements for best results with sourdough baking. There are differences in the starter and flours that make weighing by Scale a MUCH more reliable method. But if your not using a scale here are the approximate volume measurements of the ingredients.
Final NOTE:
The video in this post is for those unfamiliar with the techniques I use. It is actually demonstrating our Beginner Sourdough Artisan Bread Recipe. This soft sourdough sandwich bread process uses many of the same techniques.
Recommended Products
As an Amazon Associate and member of other affiliate programs, I earn from qualifying purchases.
-
 Fletchers' Mill Rolling Pin, Maple - 18 inch, Dough Roller, Perfect for Skilled Bakers, Home Chef's, Great for Bread, Pasta, Cookie Dough, Fondant, Pastry, Cookies, Pie, Pizza, MADE IN U.S.A.
 -
 Pyrex Glass Mixing Bowl Set (3-Piece)
 -
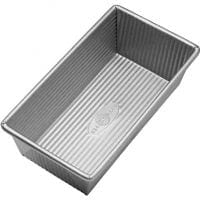 USA Pan Bakeware Aluminized Steel Loaf Pan 1140LF 8.5 x 4.5 x 3 Inch, Small, Silver
Nutrition Information
Yield
24Serving Size
1 sliceAmount Per Serving Calories 171Total Fat 2gSaturated Fat 0gTrans Fat 0gUnsaturated Fat 2gCholesterol 0mgSodium 325mgCarbohydrates 32gFiber 1gSugar 2gProtein 5g
Sourdough Troubleshooting:
If your bread doesn’t turn out the way you expect, start with our comprehensive Sourdough Troubleshooting Guide
Or jump to the specific issue you’re seeing: Find all of our Sourdough Baking guides here.
- Bread turns out dense – Why Is My Sourdough Bread Dense?
- Dough spreads instead of rising – How to Shape Sourdough Bread
- Score won’t open – How to Score Sourdough Bread
- Crust is soft or pale – How Steam Baking Sourdough Affects Oven Spring and Crust
Follow Us:
We enjoy meeting you on our social networks. Follow us on Facebook, Pinterest, Instagram . Tag us with your pictures of our recipes and comment on how it went for you. We would love to see what you do with them.
We often like, comment and share your posts of our recipes on our daily Instagram stories.
Ask questions and rate the recipe in the comments section below. Please share what you did with this recipe. We are always looking for more and better ways to make homemade food. Other cooks love your ideas!
Recent Posts:
Contact Sasha over on Etsy if you want to buy sourdough starter. She has a well established starter just for you. She sells all over the US.
I typically don’t comment on these pages but this recipe is fantastic! The bread turned out great and is much more usable than a boule. Will definitely make again.
Hi Kieron, We are so happy you enjoyed this bread recipe. Thanks for taking the time to comment and review for us. Happy Baking!
My daughter and I have been avoiding wheat due to some sensitivities, but have been wanting to try sourdough to see if there’s a difference. I just made this recipe for the first time and it is SO GOOD, especially after not eating bread for so long!! Here’s hoping we still feel good because I will be making this a lot, haha! I’ve already begun the cinnamon roll recipe for Easter, but we will see if they last that long 😉
Hi Courtney, Sourdough does digest better than other non fermented breads. I hope it works for the health of your family. It’s wonderful to hear you’re enjoying it! We also have a tartine style sourdough recipe. Which uses only flour, water and salt with the starter. Give that one a try too and see if it helps with the digestion. Happy baking!
I absolutely LOVE this recipe. I have been making a batch or 2 of this since the beginning of the year and we love having fresh bread every week. It took me a couple of weeks to get all the kinks worked out but now it is smooth sailing. I was wondering if this recipe could also be used to make rolls and bread bowls? I don’t think that it would be an issue but was wondering if you or anyone else has tried this?
This bread would be fantastic as rolls. It might get a bit soggy for bread bowls. But it’s worth a try. Let me know if you try this. This recipe is the base for our soft sourdough cinnamon rolls and they are amazing. Also I use this dough in our cranberry walnut bread. For the bread bowls we also have a completely different sourdough recipe that would be excellent for bread bowls. Try our Sourdough Rosemary Garlic bread. Happy Baking!
Just made this bread and it was so yummy! I made your sourdough cinnamon rolls a couple days ago and loved them so much, I wanted to try your sandwich bread as well. Wow! Thank you so much for this recipe. I am so amazingly floored/shocked/beside myself.
It’s great to see this Nadine, I’m so happy you’re enjoying our recipes. Your lovely comment made my day. Hope to hear from you again. Have a wonderful day!
My Soft Sourdough Sandwich Loaf are dense & heavy instead of fluffy & light. What has gone wrong since I followed exactly as per the recipe. Kindly advise. Thanks & regards, Alison.
Hi Alison, I’m sorry to hear this.
First off I’ll run through a few things with you.
-Did you use a high protein bread flour? On the label the protein content should be over 12% or 5 grams of protein.
–the starter is the next possible culprit. I just wrote a post on how to balance a starter for bread baking. Take a look at that and see if that might be the problem.
–Over proofing can sometimes happen as well. This means the dough fermented too long and ran out of food before finishing.
-Did you use a digital scale to weigh the ingredients? Measuring by weight is the best way to ensure consistency of results in this recipe.
-Did you use a digital thermometer to make sure the bread was fully cooked to over 200 degrees F?
If all of these seem ok to you I would try the recipe again. It’s possible you missed a step in there somewhere? I am very confident of this recipe. It has very high marks from our bakers. Even new sourdough bakers.
If you have any questions during the process I’m very happy to walk through it with you. Please try again! All the best.
@Alison Sim, I’ve been making this for awhile now and the one time it didn’t turn out, it was because I used room temperature instead of warm water. Lesson learned!
Thank you so much for the delicious recipe. There are only 2 of us in our house so I divided the recipe in half and it was perfect!
Thank you so much for the wonderful review. We appreciate you sharing your experience with this recipe.
I’ve made this a few times now. The end results, taste wise, have been family approved! However, when I roll it out and shape before putting it in the loaf pans, my dough is really sticky. Any tips?
Hi KiRA, This is a high hydration dough. That is why it is sticky. And also why you love the results so much. Handling high hydration doughs is tricky and can take some time to get the hang of. But that is where your tender flavorful results begin.
TIPS: Handle dough as little as possible. Keep hands wet although this will increase hydration so be careful with this.
-Use more flour on the counter and your hands if you hate to get hands wet. But this can dry the crumb and you’ll get a less tender result.
The thing is just learning yourself and this dough. You can play around with it until you are happy. If the stickiness really bothers you add another 50 grams or so into the recipe at the beginning and see if it comes out better for you. Less hydration will make the dough easier to handle.
Bread baking is a science project. Check your flour. High protein flours are always going to give you best results. .
No knead doughs are as hands off as your going to get in sourdough bread baking. And if your dough is sticky and hard to manipulate that is normal. Watch the video to see me do it. I often use my bench scraper to pull the formed dough up into a ball when the dough sticks to the counter. Wet Tools and Wet hands are my go to for working this this recipe.
My favorite dough mixing tool is a Danish dough whisk.I use it for the first step in making the shaggy dough ball. And THESE are my very favorite dough handling tools. They all inexpensive and worth their weight in gold. Just use them wet to avoid the sticking.
Hope this helps. Have a wonderful day!
Question. After the dough is in the pan you mention putting it back in the fridge for 2 hrs. Is this instead of the 2-4 hrs for the rise to top of pans or in addition to the 2-4 hrs rise in the pans.
Hi Dot, Thanks for the question. For bread pan loaves baked with the water bath just rise the loaves on the counter until the dough reaches the top of the pan. Than bake. A trip to the fridge at this point should not be necessary. When I bake in boules I do the final rise in the fridge and then bake in a HOT covered preheated dutch oven (450 degrees F).straight from the fridge. This gives you the best oven spring. Hope this helps!
This was my first attempt at sourdough bread and I’m so pleased. It’s well worth the time involved to follow all the steps. Thank you!
Hi Amanda, That’s wonderful to hear! I’m so happy you are proud of your first sourdough loaves. Thank you for letting us know this recipe was a success for you. You are off to a wonderful start. Happy Baking!
I have made this recipe a few times now and it works great. It makes fabulous soft sourdough with a nice crust. Brilliant for sandwiches! Great recipe!
Thank you for the great review Murray. So happy you love this recipe. Happy Baking!
How long should the overnight rest be? Is more than 12 hours ok?
Hi Chelsea, Yes you can lengthen the long cold rise to up to three days. I don’t really recommend over 24 hours since your dough can become exhausted. It all depends on your starter strength and the protein content of your flour. If you have to go over 24 hours keep an eye on it. Hope this helps.
The recipe doesn’t say what size bread pans to use? In the video they look larger than 9×5 inches? Please let me know the size. Thanks!
Hello Rachel! They are standard 9×5 bread pans
This bread recipe works great. I half the recipe and reduce the salt. I use a half whole wheat half white bread flour and it still works beautifully. The first couple of loaves were not done but I bought a thermometer and that has solved the problem. Plan to try the cinnamon raisin version. Thank you for sharing.
Hi Barbara, I always check the loaves with a digital thermometer. It easy to be fooled by the look of the loaves as they bake. This is especially true of the cinnamon raisin bread. The loaves can take a while when they are full of the fillings. Thanks for the feedback. We look forward to seeing you again. Happy Baking!
I am struggling a little with this recipe. The first time was perfect. However the past few times have been total failure. I cannot seem to get the nice elastic pull shown in your video for the stretch and fold. The bread is edible but just not what I want. Any suggestions?
Hi KT,
I’m wondering if you starter is out of balance. This happened to me a few times. So Sasha (this recipe creator) told me how to rebalance it.
Try feeding your starter this way to prepare it for baking. Mix 100 grams starter with 100 grams warm water and 100 grams flour.
Now let it sit until it doubles and then floats. Sometimes even a floating starter is out of balance and can cause trouble.
The other ingredient that’s important is your flour. It needs to be 12% protein on the label or 5 grams. I use King Arthur, Montana all purpose flour or Bob’s Red mill bread flour.
This is a very reliable recipe. I just made it yesterday as both the plain loaf and the cinnamon raisin loaf. It came out beautifully and the stretch and fold was as expected.
However, I did get the dough rather wet when I was handling it and that caused the dough to be rather unmanageable after the bench rest.
The loaves baked well though so I don’t think that was your issue. If the gluten is not developing during the stretch and folds I’d look to the flour first and make sure your starter is well fed and balanced.
Hope this helps. Please let me know if I can answer more of your questions. And don’t give up!
@Diane, I have continued to practice, practice, practice and I have to say this is my only go to recipe now! I love it! The video helped tons and your tips were awesome. I do have to up the water a tad to 675gms but this has made HUGE difference in the dough. The stretch and folds now look like your video and the bread has a way better crumb. Your tips gave me the confidence to continue on with the practice! We absolutely love it. I make 1 regular and one cinnamon every time and we eat every last crumb. Thanks for all of your help and sharing your talents!
Hi KT, This is amazing. 🙂 Thank you so much for your great review. It’s very rewarding to me that the tips helped. I’m just so happy you stuck with the process and enjoy this recipe so much. Have you tried our other recipes that use this dough? The cranberry walnut bread and sourdough cinnamon rolls may also interest you. Have and wonderful day and happy baking!
Hi Diane,
I’m a relatively new sourdough baker. I’ve made my starter about 6 weeks ago and I’ve made a couple of simple easy boules and some discard recipes. I’ve been searching for a recipe for soft sandwich sourdough and came upon yours and all the reviews have really made we want to make this. Normally, when I feed my starter, I discard(save) all but 1/2 cup, to which I add 120g water and 120 g flour so I guess that is a 1:1:1 ratio. Anyway my question maybe a dumb one but if I use instead 100g of my existing starter and feed it 100g flour and 100g water will I not use all of this and will I have to build a brand new starter? Or do I take 1/2 cup more from the discard from my original starter and feed it also at the beginning when I begin this? Have I confused you now? Somehow I seem to always complicate things more than I have to. Sorry
Hi Beth, Welcome to Homemade Food Junkie. We love to help and answer questions so never worry about that.
The answer: DON’T ever run yourself completely out of an active strong starter or you will have to go through making it all again. Instead, feed your starter as directed. Let it sit for a few hours until it doubles.
NOW feed it again and wait till it doubles and floats in water before you use it. Put the rest away in your fridge.
For this recipe you will need all of the 300 grams of fed starter. So you will have about that much extra to store. We have LOTS of great recipe to use up discard starter if you want to store less.
Please let us know if we can help you further. I’d love to know how this recipe turns out for you. Happy Baking!
@Beth, this used to confuse me also. I always keep 150 grams of starter. When needed, I add 150 grams of water and 150 grams of flour. When ready, I take 300 grams of starter and put the leftover starter (150 grams) back in the fridge. No discards ever 😊
I’ve made this bread every other week for months (and also the cinnamon raisin version) and I get perfect bread every time now!
Last night while sitting on our back patio looking at my fresh herbs, my husband asked if I could add fresh rosemary (or other herbs) to the recipe. What step would you suggest adding chopped rosemary? I was thinking 3 – 4 stalks for the full recipe, unless I can split out the dough (like when making cinnamon raisin bread) and make only one of the two loaves with herbs.
Thanks for your wonderful feedback on all of these comments!
Hi Tammy,
Thank YOU for the great idea. We so enjoy talking and throwing out ideas and helps with our bakers. You make this blog a wonderful community. We love that.
Rosemary bread is SO good. We have this Rosemary Garlic sourdough bread recipe for you. It is a heavier denser bread than the soft sourdough though.
If you prefer to add the rosemary into the soft sourdough recipe and want to split the dough into one loaf for the rosemary and one plain try adding 1 Cup of fresh rosemary leaves (strip them off the stalks)follow the process for the cinnamon raisin loaf. You can also roast garlic and add it in. This recipe makes a good boule rather than pan loaf and you can bake it that way for a more open crumb.
Our Cranberry Walnut Bread is also built on the soft sourdough recipe. You can see there what this dough bakes like with inclusions and baked as a boule there.
If you are on instagram please tag us with your pics. We’d love to see what you do with our recipes. Happy New Year and Happy New YEAR. 🙂
Just wondering when I feed my starter how long after can I start the sandwich bread,,love your recipes
Thanks Val, It’s great to know our recipes are working well for you.
To answer your question: The time to begin your bread will be when the starter floats in water. If you have a well balanced and older starter this is about 5 to 12 hours. It will take different times depending on how hungry the starter is and if it is a young starter it will usually take on the longer side to build strength. Be sure to feed it 1:1:1 proportion for baking. This will give you the best balanced and strongest starter to begin the recipe. Happy Baking!
I am not sure why this has happened. My bread did not rise as good as last time and is more dense. Thankfully, it taste good still. I’m so confused on what happened.
My guess is something went wrong with the scale. I can say my own digital scale will give me kinda wonky numbers if the battery gets low. Hopefully next time you’ll get a more normal result. I have made this recipe for four years. It is highly reliable. Be sure you are using an active starter that floats and a good strong flour. All the best. Happy Holidays!
I meant they weighed 700 grams verses 1000 grams.
Interesting. I JUST made this recipe and it was just the same as always. So I’m not sure what happened either. Did the bread turn out ok this time? If so I’d not worry about it. If there was a problem with the scale or anything the main thing is proportion of ingredients is correct. Although having such a large volume difference in the loaves from one time to the next is perplexing. I hope you enjoy the bread. 🙂
Hello! This is the 2nd time making this bread which turned out great for me last time. I USA scale and measure everything out in grams but when I separate my dough balls they equal about 500 grams a piece and not the 1000 you listed? Just not sure why such a big difference.