
Beginner Artisan Sourdough Bread Recipe
As an Amazon Associate and member of other affiliate programs we earn a small commission from qualifying purchases through our affiliate link. For more information read our Entire Affiliate Disclosure.
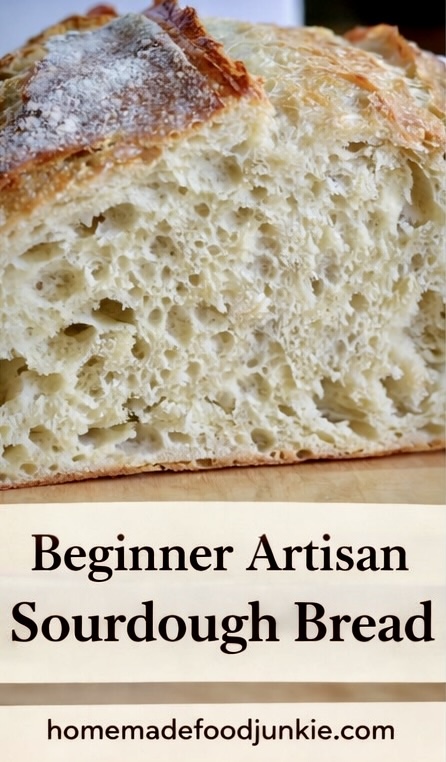

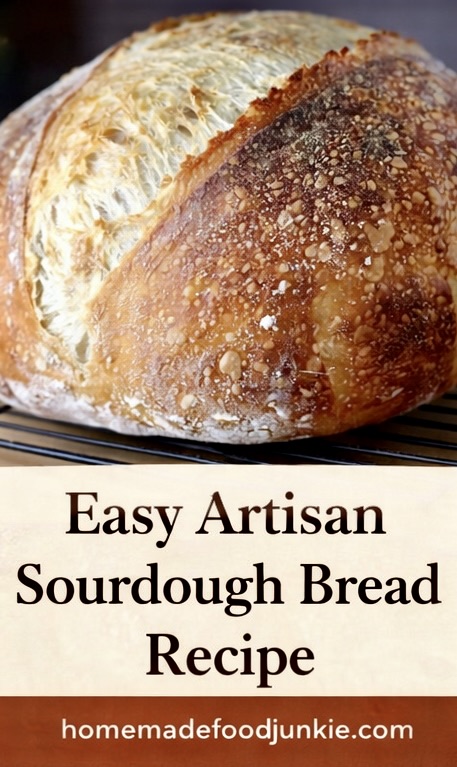
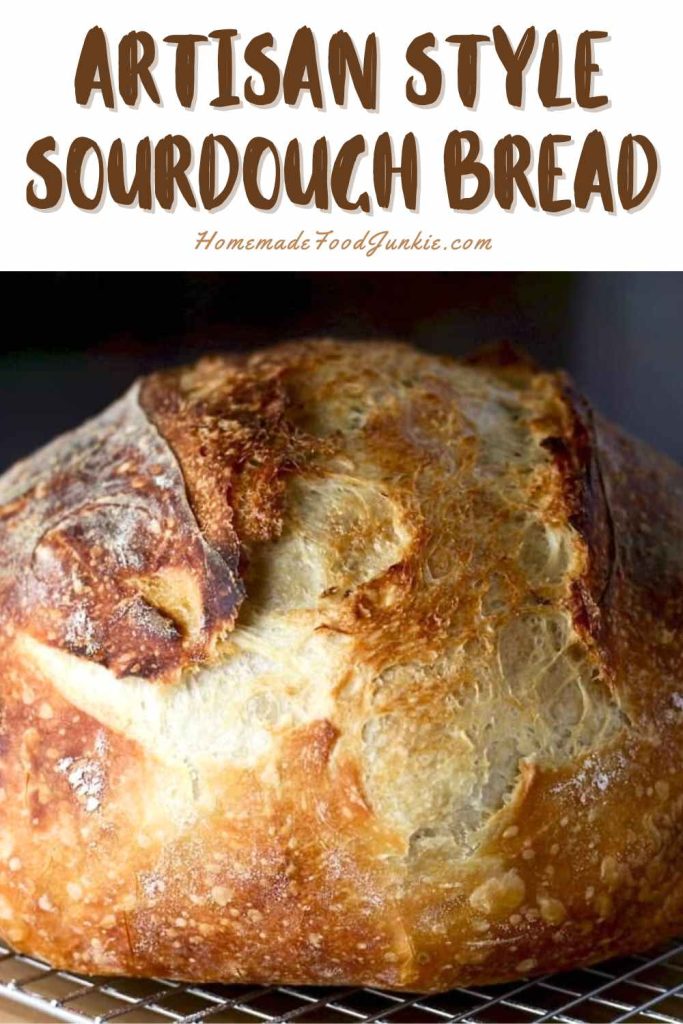
Homemade sourdough bread is one of the most rewarding baking projects you can take on. This beginner artisan sourdough bread recipe uses a Tartine-style method to create a crusty loaf with an open crumb, deep flavor, and beautiful oven spring—without kneading.
If you are new to sourdough, this artisan sourdough bread recipe walks you step by step through the long cold fermentation process that helps build structure, flavor, and rise. It is a true no-knead sourdough bread method designed to help beginners make bakery-style sourdough bread at home.
Over the years, this recipe has brought in hundreds of questions from bakers working through the same common sourdough issues: shaping sticky dough, scoring confidently, getting better oven spring, understanding crumb, and fixing dense loaves. To make this recipe easier to succeed with, I’ve linked my step-by-step sourdough guides throughout this post so you can get help exactly where you need it.
In this guide, you’ll learn:
- how to build dough strength through stretch and folds
- how long cold fermentation improves flavor and structure
- how to bake for a crisp crust and open crumb
- how to avoid common beginner sourdough mistakes
Let’s walk through the process.
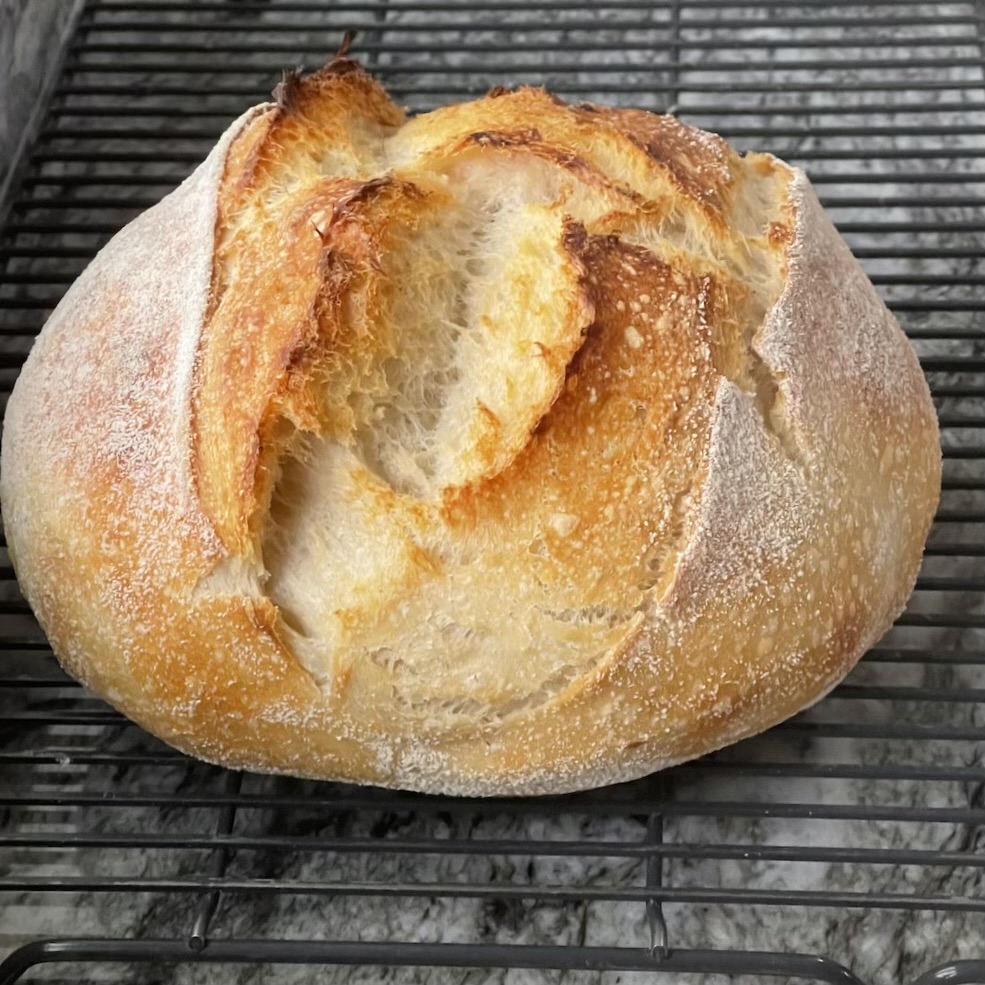
Start Here If You’re New to Sourdough
If you want help with specific parts of the process, these sourdough guides will walk you through each step in more detail:
- Want better dough tension and loaf shape? Read How to Shape Sourdough Bread
- Need help scoring your loaf? Read How to Score Sourdough Bread
- Want better oven spring and crust? Read How Steam Baking Sourdough Affects Oven Spring and Crust
- Not sure what your crumb is telling you? Read How to Read Sourdough Crumb Structure
- Struggling with heavy loaves? Read Why Is My Sourdough Bread Dense?
- Wondering whether you need a dramatic ear? Read Do You Need an Ear on Sourdough Bread?
This recipe is the foundation. These guides will help you understand the process and improve your results from one bake to the next.
This beginner artisan sourdough bread recipe includes a complete step-by-step video walkthrough of the Tartine-style method. If you prefer learning visually, watch the entire process from mixing to baking.
If the embedded video does not load due to ad blockers, you can watch the full artisan sourdough bread tutorial directly on our YouTube channel here.
Watch the Video Demonstration:This video compresses the 24 hours it takes to complete this recipe into about 6 minutes. You can accomplish this basic sourdough recipe. And your family will love you for it.
What is sourdough Bread? Sourdough bread is a type of bread that is made through a fermentation process that uses a natural starter culture, rather than commercial yeast. The natural starter culture, also known as a sourdough starter, is made from a mixture of flour and water that has been fermented by wild yeast and lactic acid bacteria. This mixture is then used to ferment the dough for the bread, which gives it its characteristic sour flavor.
Is sourdough a Healthy Bread? Sourdough bread is made through a fermentation process that uses a natural starter culture, rather than commercial yeast. This process can result in a bread that is easier to digest for some people and that has a lower glycemic index than other types of bread. Additionally, sourdough bread is a good source of fiber, protein, B vitamins, and minerals like iron and zinc.
Read My Post on Why Sourdough Bread Is good For you. It goes deep into why sourdough bread benefits your health and should be a regular part of your diet for good health.
This is a basic sourdough bread recipe that uses the long cold rise method. Allowing the dough to ferment in the fridge for 12 to 36 hours will develop the flavor and texture of the bread and allow the fermentation to give you the best health benefits of sourdough bread.
I have had a LARGE number of readers tag us on our various social networks and email me pics of their wonderful results. The best part of my day is seeing your successes.
Learn the techniques used in this naturally fermented bread recipe. Take every step in order and make this beautiful sourdough bread. Let us know in the comments if it helps you out.
This is a lean bread. Very crusty with a tender, creamy well developed crumb. And only THREE ingredients. Flour water and salt.
Learn this beginner sourdough artisan bread recipe. It will pay you back every time you DON’T buy an artisan loaf from the bakery.
Artisan bread making is a HUGE subject. I will go into as much detail as I can for you here and include resources for you. Feel free to ask your questions. But FIRST PLEASE READ the entire tutorial.
Sourdough artisan recipes with the stretch and fold method and long cold rise are a unique class of bread. Learn the methods to make these breads and you will be a bread baking star in your foodie circle.
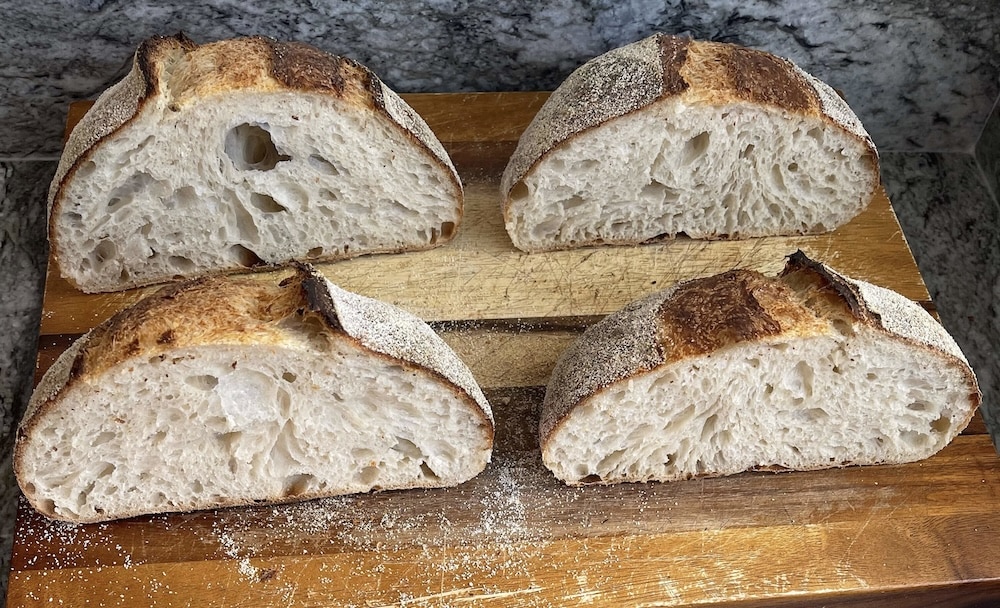
Do you need a dutch oven for sourdough bread?
Baking sourdough loaves in your dutch oven provides a way to steam the dough as it bakes. This helps form a crusty loaf with a tender moist center. The dutch oven sourdough bread method keeps the outside crust from becoming too tough during the main baking process. The lid comes off the dutch oven the last 10 or 15 minutes of baking which allows for a crispy crust with a tender bread center.
To ensure proper bread baking you will need to create an environment that captures both steam and maintain heat. There are a few other methods you can try if you do not have a dutch oven.
Use a baking stone to help maintain the high heat needed for proper artisan bread baking. Use a casserole dish or deep roasting dish that can hold in the steam. A deep cast Iron pan with a lid on it can also be used for sourdough bread baking, just make sure that it is tall enough to allow the bread to properly rise. And if all else fails try a cookie sheet with a roasting pan lid over it.
Steam Baking:
The point is you need to create steam around the dough as it bakes. Most ovens do not have a great seal. So spritzing the bread in the oven as it bakes is less than ideal. For the best crust and texture you need constant steam around the loaf while it bakes at least the first 15 to 20 minutes. Read our Guide on Steam Baking Sourdough to go deeper into this.
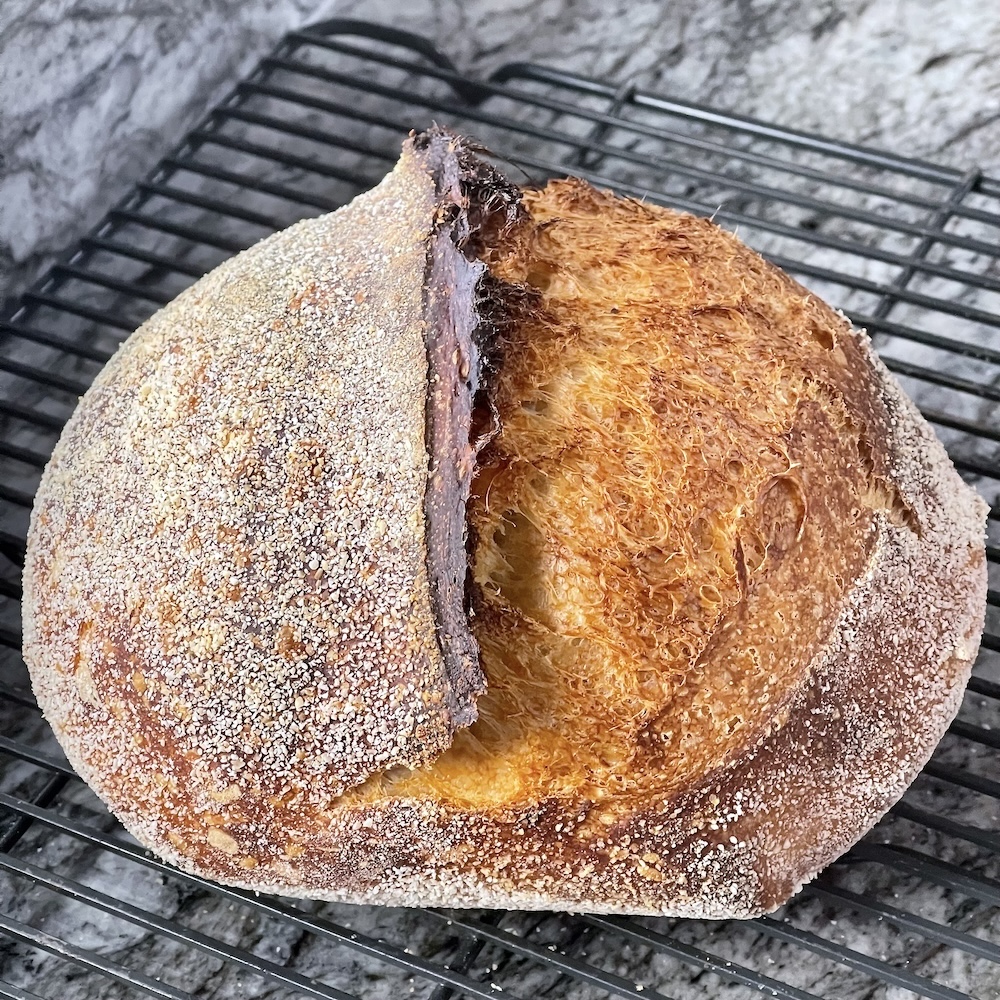
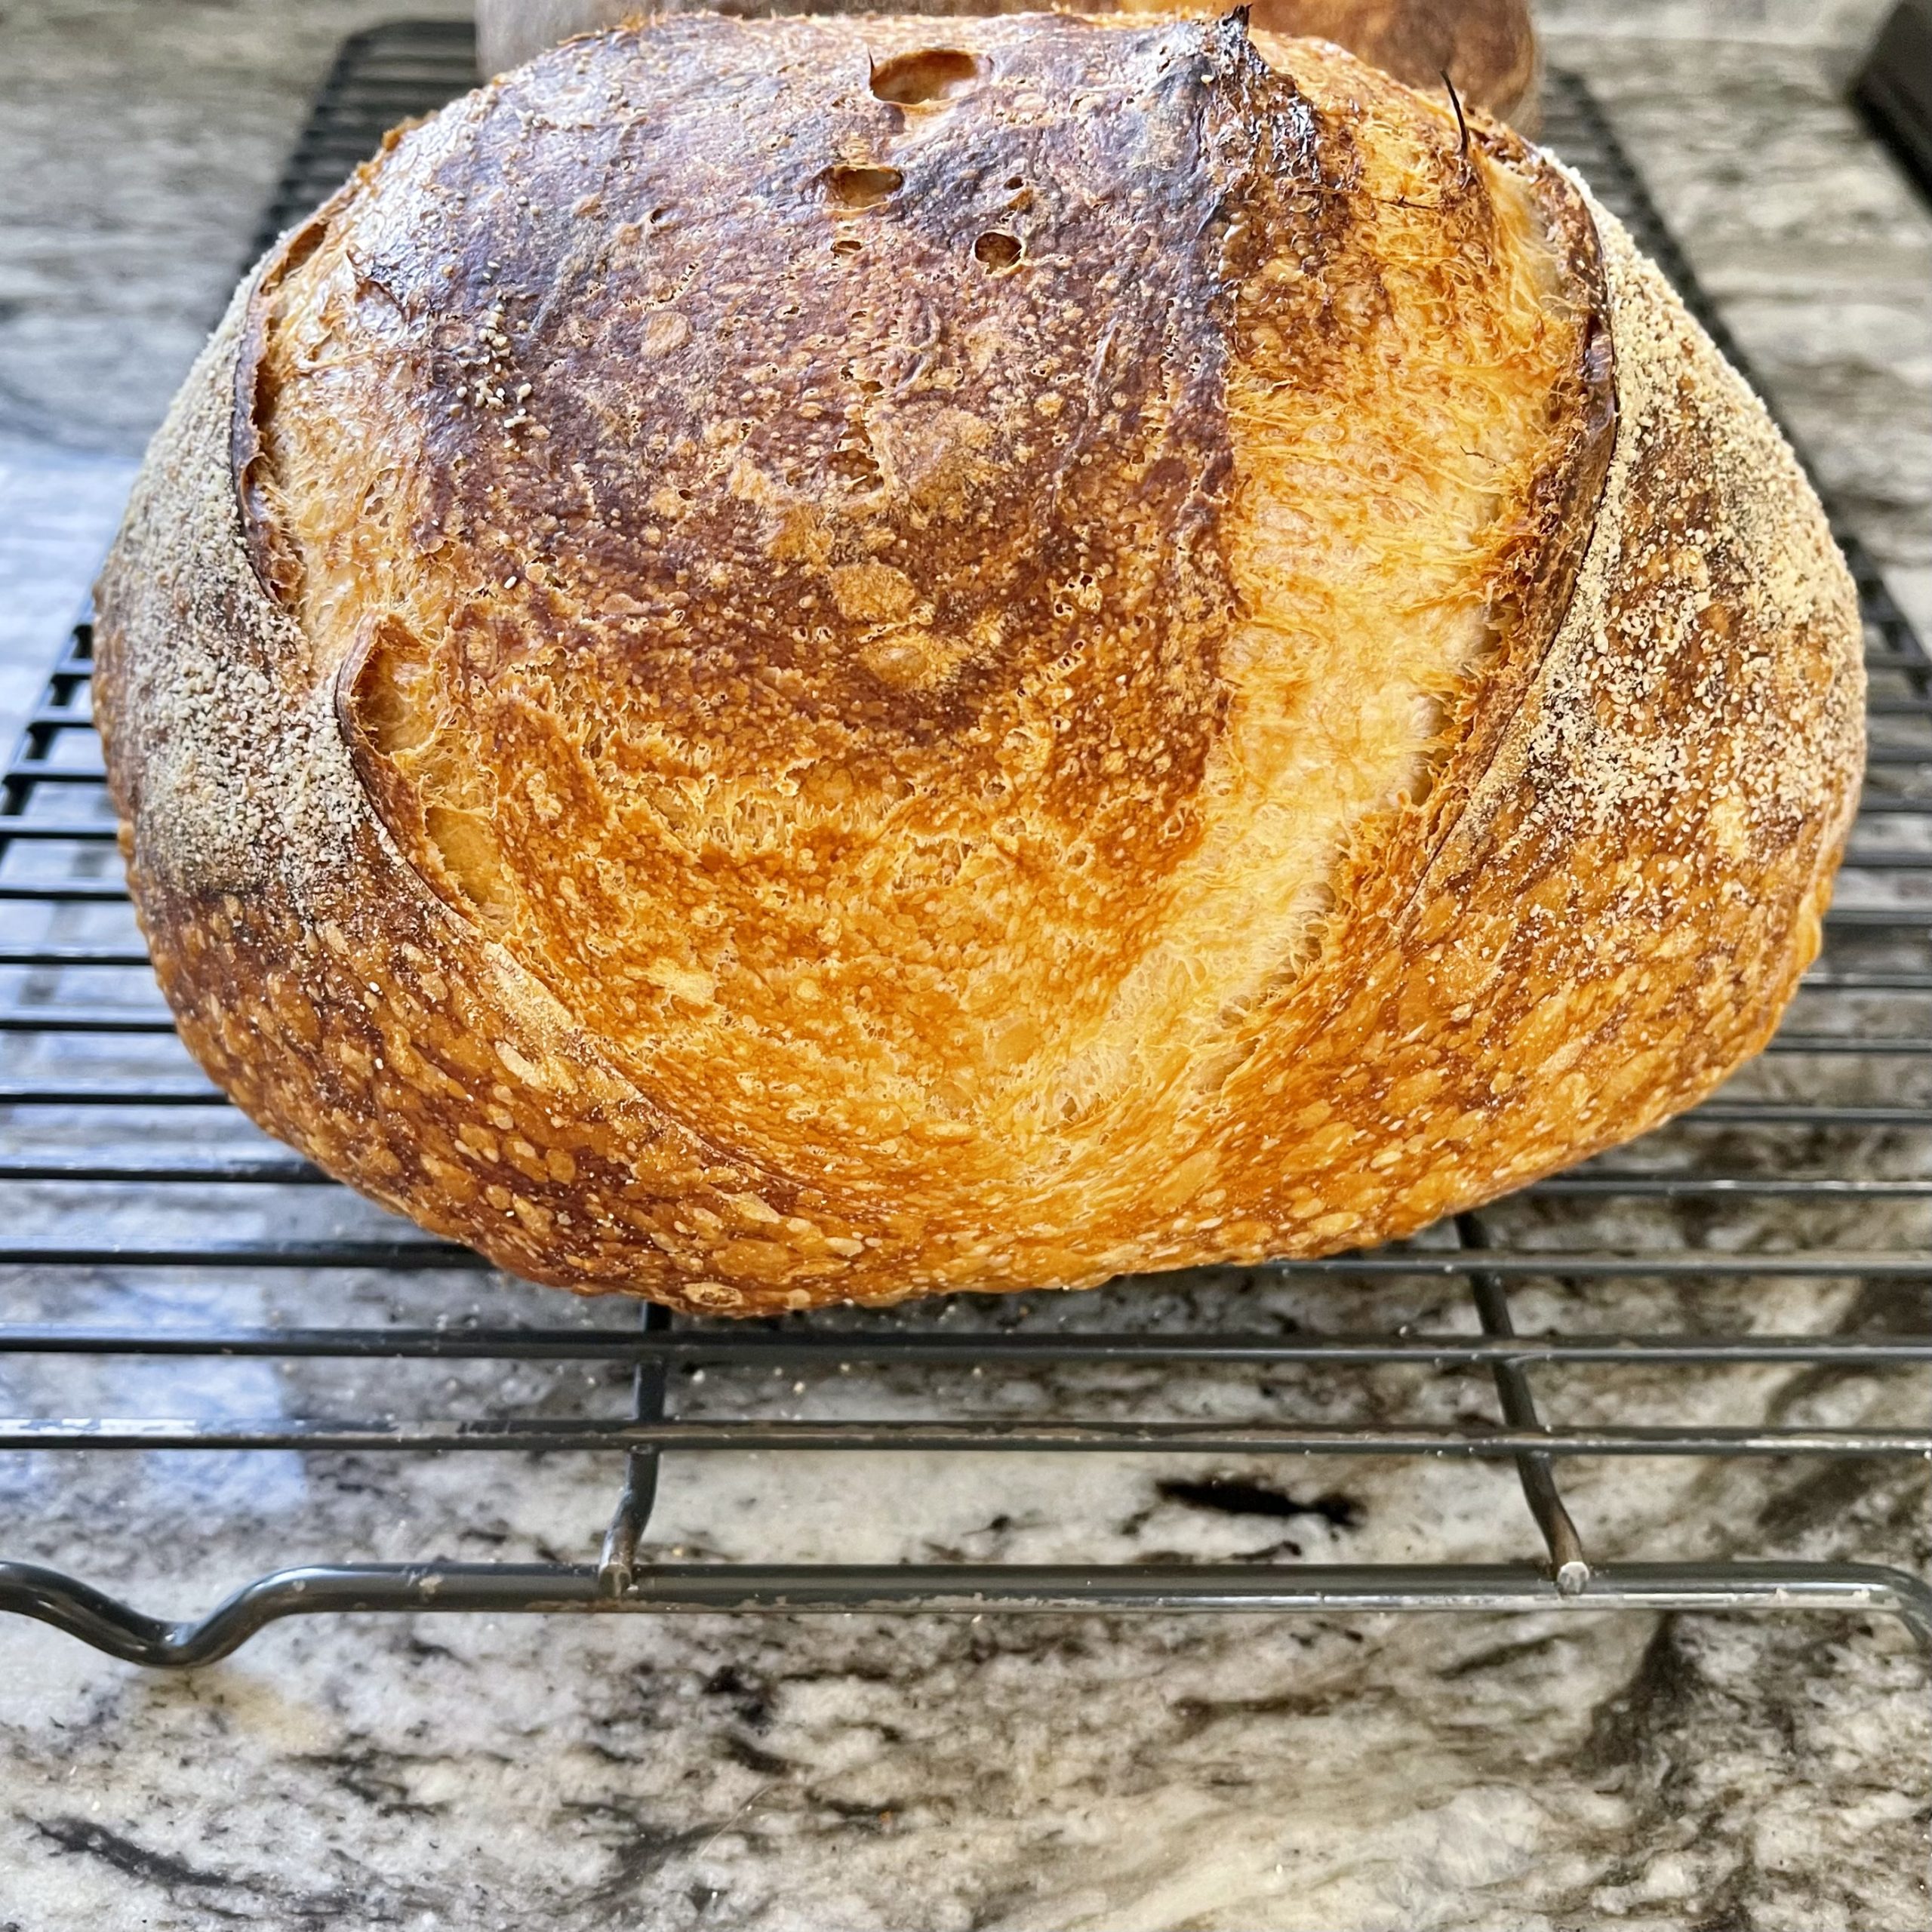
That shattered crust and open tender crumb is the Homemade Food Junkie Artisan sourdough goal. Learn this method. There is no going back. And you can do SO many bread varieties with this recipe.
Supplies:
If you make sourdough loaves like this for a while you will get MUCH better results from a few purchases. The crusty flavorful breads are so good. All you need is flour and salt and a few supplies to bake some pretty amazing breads.
- Measure your ingredients by WEIGHT. Measuring by weight is one of the simplest ways to improve your sourdough results. Learn why it matters in Measure Sourdough Ingredients by Weight. Flours especially need weight rather than volume measures for the most consistent results. Here’s a decent 22 lb. food scale.
- Salt measured by volume is unreliable because crystal size and density vary—weight is consistent. I use sea salt or pink salt for this recipe. Salt plays an important role in fermentation and dough strength. Learn more in Salt in Sourdough Bread: Why It Matters.
- You will need a dutch oven or other HIGH HEAT (to 500 degrees) oven safe skillet with a lid. Use either a cast iron skillet combo or a dutch oven. Here’s my 6.5 quart Le Creuset oval Dutch oven (gifted to me by my Lovely In laws).
- I am SO happy I bought this dough scraper set . They are VERY helpful working with high hydration doughs. The bowl scraper is genius. This is a sticky dough and the bowl scraper (when wet) slides that dough around like a dream.
- 8.5 inch Bannetons are for the final long rise often done in the fridge. They come with handy cloth liners that fit to help keep the dough well formed. The finished bread has lovely ridges in if you remove the cloth liners and just flour the baskets.
- A lame knife for scoring your loaves. Also really helpful in releasing the dough to rise properly.
- A VERY good starter. You can make and strengthen your own with our tips in this post. OR buy it from our friend Sasha on etsy!
Interested in baking 100 percent whole wheat sourdough bread? Hop over to our post on Beginners Whole Wheat Artisan Sourdough Bread .
I put helps, tips and information into the sourdough whole wheat bread post specific to working with whole wheat flour.
How to Bake Sourdough No Knead, Tartine Style Bread:
This is a basic artisan bread. The 4 stretch and folds 30 minutes apart replace the traditional kneading yeast bakers are used to. This bread does all the work for you. It just takes time.
Sourdough dutch oven bread recipe from a wild yeast starter. It uses the long cold rise and the stretch and fold technique we have discussed.
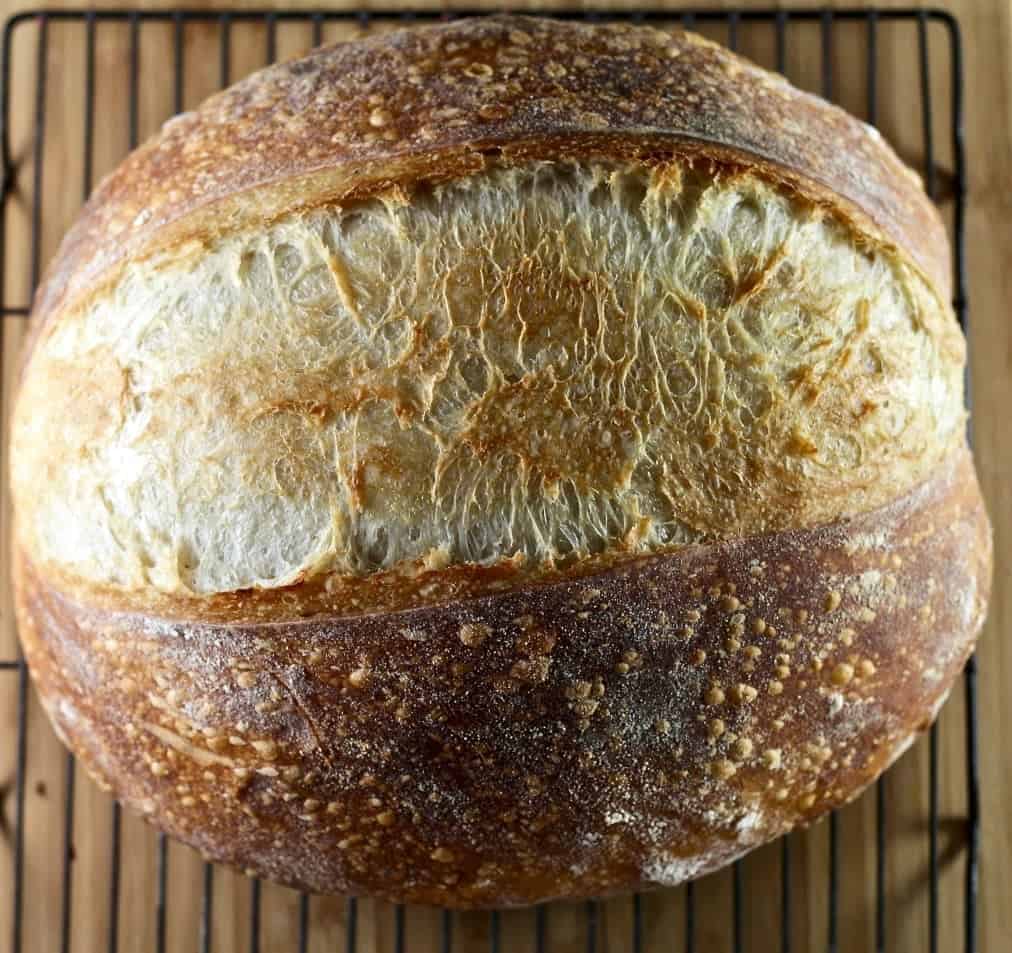
Once you learn how to make Sourdough bread a whole new baking world will open for you.
Use a very active wild yeast starter. Learn How to make Wild Yeast Starter in this post.
- Wild yeast starters provide a much Better, Fuller, more Complex….AMAZING flavor and texture than commercial yeasts can. You can easily build your own wild yeast starter. But plan ahead.
- Give yourself about a week to get it ripe and bubbly.
Sourdough recipes with starter require a VERY active Starter. You can use any starter recipe you prefer IF it can pass the float test. MOST important for a good rise in your loaf.
Where can I buy a Sourdough Starter?
You can purchase a sourdough starter on the online if you do not have one on hand. The other option is to make your own. However, established sourdough starters are a great option to make delicious bread quicker. We have purchased this sourdough starter on Etsy and have used it with great results.
This starter is very tangy. It is local to the San Francisco area and definitely is more of a San Francisco sourdough bread flavor. Click here to purchase the BEAST sourdough starter on Etsy.
How much Sourdough Starter is needed for a loaf of bread?
You will need 100 grams of active sourdough starter to bake one loaf of bread. This recipe calls for 200 grams of sourdough starter and yields 2 loaves of artisan bread. That’s because we feed the starter before baking. Every time.
Balancing Your Starter:
Feed your starter 1:1:1 and bring it back to the float test. I feed my starter the night before I want to bake.
- 100 grams starter-unfed or recently fed-room temperature
- 100 grams flour
- 100 grams warm water
Now let it ferment several hours to overnight to return the starter to the float test. This process is a simple way to ensure your active sourdough starter is properly balanced for bread baking.
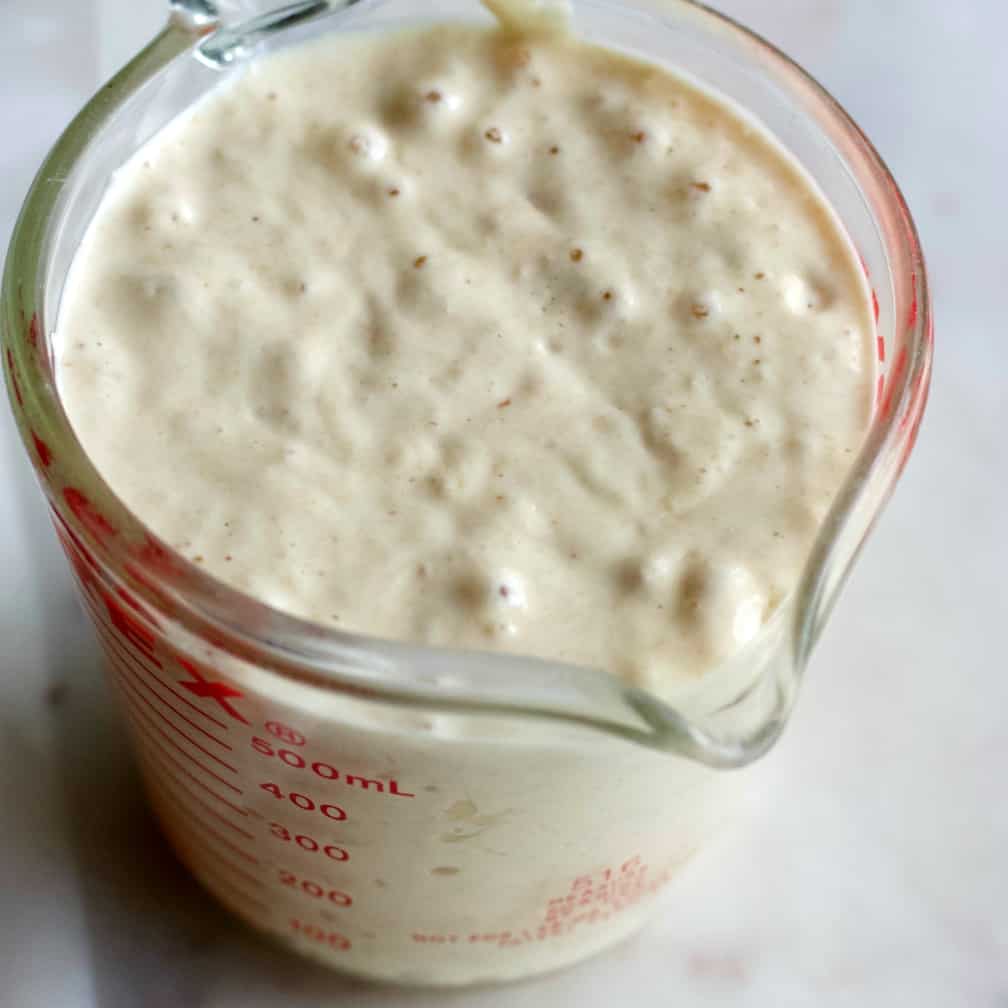
The float test:
The float test is NOT 100% accurate. But it most often works well as a tell for starter readiness. If Your starter is weak from going hungry too long, don’t use the float test. Rather feed the starter 1:2:2 and if it doubles in 4 to 8 hours it’s probably strong enough.
Most time the float test is a good indicator of starter readiness. If you take a teaspoon or so of starter and drop it in a cup of room temperature water it will float when it’s ready to make bread.
If your starter does NOT float. Feed and balance it as I describe above and try again after several hours to overnight.
But, even more important, make sure your starter is active enough to double in 4 to 8 hours or overnight. If it doesn’t, I recommend you feed it again before baking.
After the starter is active like this one, (and floats firmly in a cup of water) it’s time to bake bread.
Use high protein bread flour:
When I started making sourdough I used my all regular all purpose flour. The bread was delicious BUT it did not give me the form or the rise I prefer.
I was schooled on this by our contributor Sasha Hunter our bread baker extraordinaire friend.
Sasha recommends King Arthur bread flour or high protein All purpose Montana White flour. What a difference in my loaf rise! Look for flour the is over 12% protein or 5 grams protein on the label. Flour choice has a big impact on dough strength and rise. For a deeper look at how different flours behave, see Sourdough Flour Types Guide.
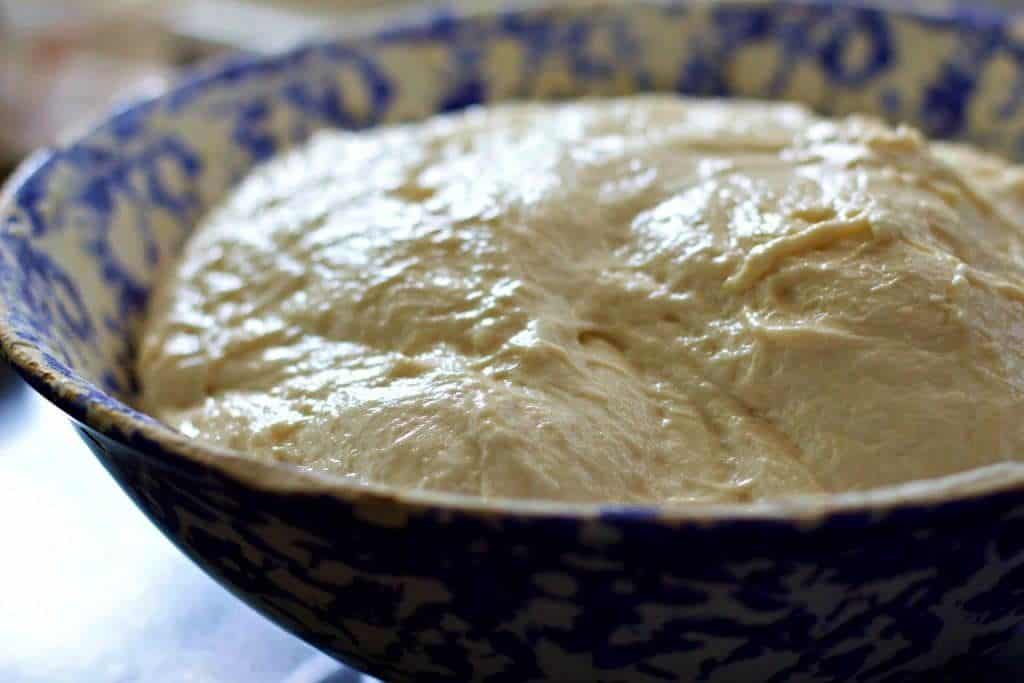
More Helpful Tips:
- Expect the dough to be sticky:
- WET HANDS really help when handling this dough. The stretch and fold process transforms the dough from a sticky shaggy mess to a workable dough. But it will always be slightly sticky with 100 percent white flour and High hydration.
- MEASURE YOUR INGREDIENTS BY WEIGHT FOR BEST RESULTS:
- Your climate, flour type, season of the year…all sorts of stuff changes the way a bread baking recipe works. This is especially true of this type of bread.
- High hydration loaves can be tricky. Help yourself out and weigh the ingredients. WEIGHING is best for consistent results. Read more about measuring by weight.
- Begin with a healthy leaven (your wild starter) that bubbles and floats in a cup of water. (More on that below.)
What Is Autolyse vs Fermentolyse?
In traditional bread baking, an autolyse is a resting stage where only flour and water are mixed and allowed to hydrate before adding starter and salt. This helps develop gluten and improves dough structure.
In this recipe, the starter is added at the beginning, which makes this step a fermentolyse rather than a true autolyse. That means fermentation begins during the resting period, not just hydration.
Both methods help improve dough strength and handling, but fermentolyse combines hydration and early fermentation into one step, simplifying the process for home bakers.
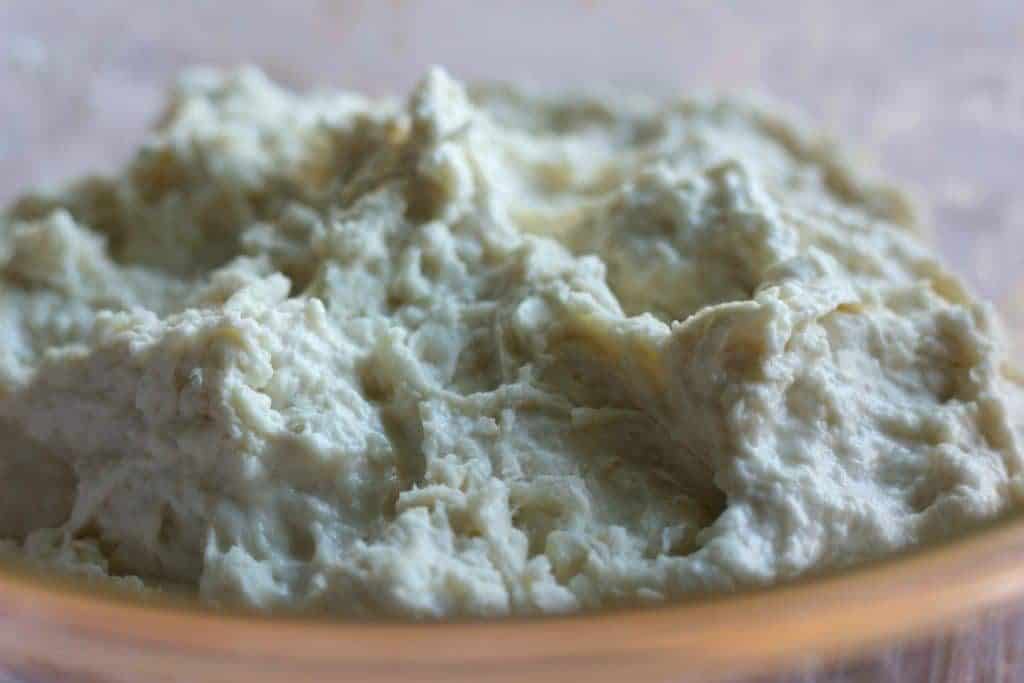
This is done immediately after you mix your starter, flour and water. The purpose of this passive process is to fully hydrate your dough.
Fermentolyse 60 minutes. it’s Important for complete dough hydration and good fermentation- you can rest the dough up to four hours. Do NOT skip this step.
Hydration and flour type both affect how your dough develops during this stage. Learn more in Understanding Sourdough Hydration.
REMEMBER Temperature affects ferment rate.
- Keep the dough at around 70 to 75 degrees F. for the bulk rise.
- Some flours are easy to over ferment and other flours need a warmer temp (Not too warm though) to get properly fermented.
- Learn your dough as you handle it. Watch it go through the stages. If it gets slack and won’t rise the dough might be over fermented. (pizza!)
f you’re unsure whether your dough is ready to move to the next step, see How to Proof Sourdough Bread for clear visual cues.
The stretch and folds replace kneading in this recipe. Making sourdough bread no knead makes it simpler and less likely you will overwork the dough. In my opinion, the bread texture is significantly improved with the no knead method of sourdough bread making.
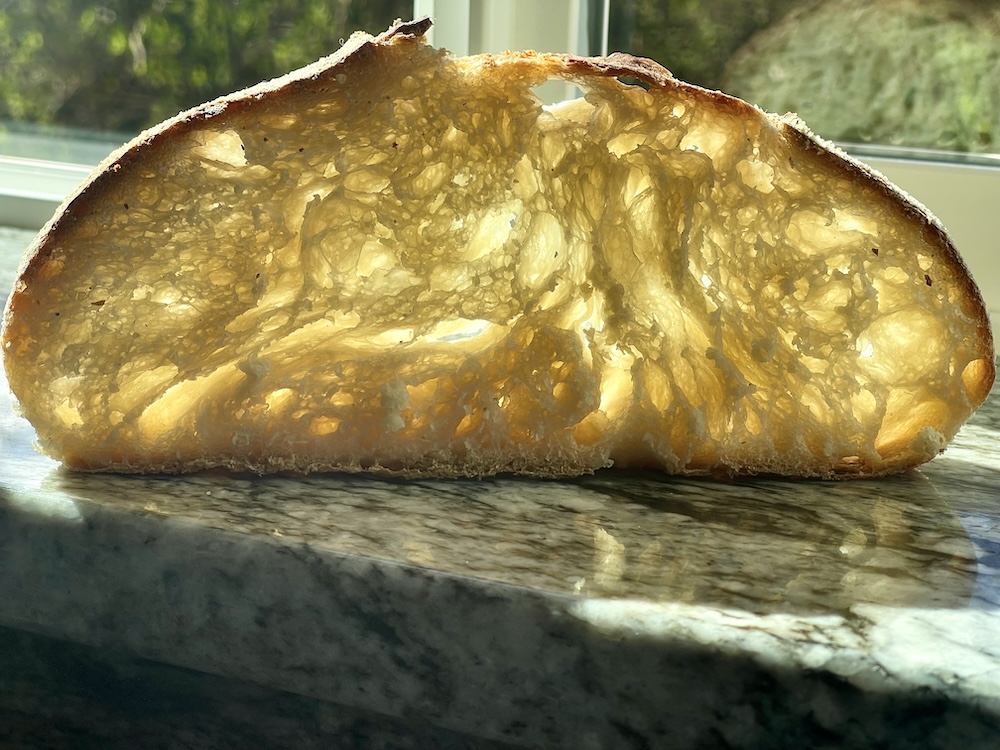
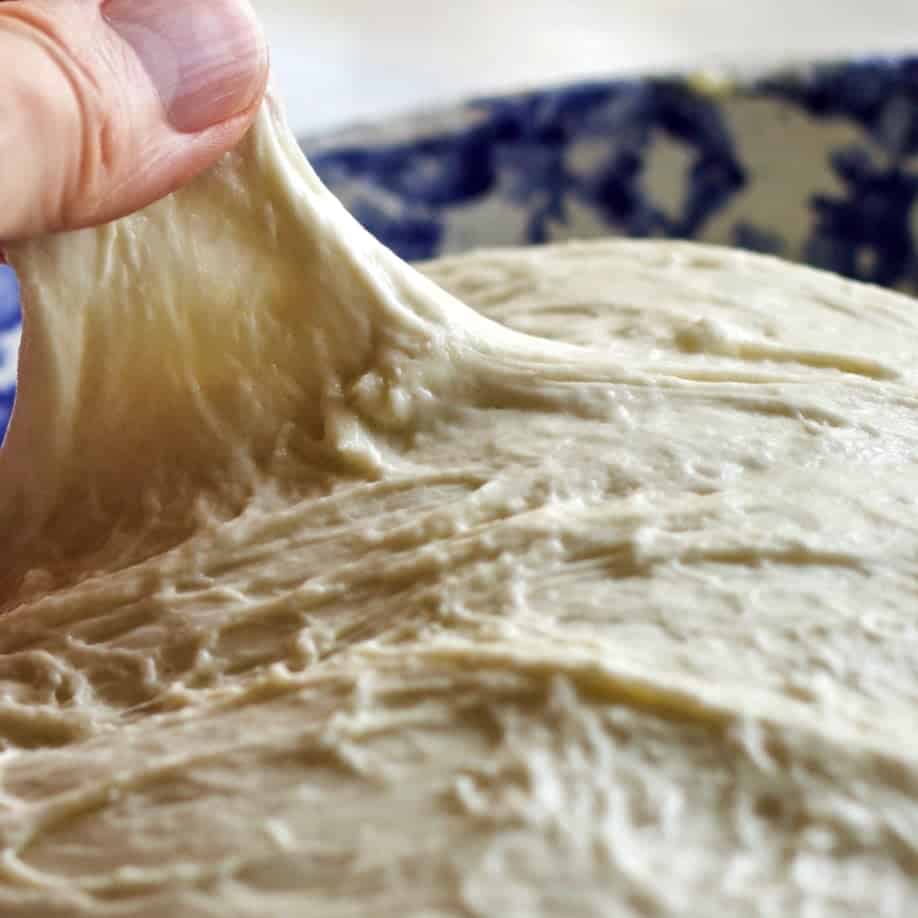
Your Dough should pass the windowpane test. Which means when you stretch the dough it’s pliable and stretches thin enough you can see light through it.
This is a test of gluten strength. Read more about dough structure.
The Final Rise.
Cold fermentation and proofing time both affect structure and flavor. This recipe uses both the cold bulk (referred to in this recipe as the Long Cold Rise) and the cold proof (dough in banneton, in fridge for final rise.) Learn more in Cold Proof vs Cold Bulk Sourdough. It explains both processes and why we use them as we do.
- Cold temperature (below 55 degrees F- I use my fridge temperatures) and long rise (12 to 24 hours) give the dough a chance to develop better texture and flavor in the final rise.
- I have made this bread with a four hour final rise and also a 36 hour long cold rise. It all impacts the results. I do notice an improvement in the dough structure with the overnight rise.
NOTE: I sometimes cheat on this recipe by fudging the rise times or reducing the other steps. Life happens 🙂
However, The results DO vary. For best results FOLLOW the directions and keep to the timetable for every step. As you gain experience with this recipe your hands will learn the dough. Then you can play around with it and still get good results.
Shaping your dough:
Learning how to shape sourdough properly is key to oven spring and crumb structure. For a full step-by-step breakdown, see How to Shape Sourdough Bread.
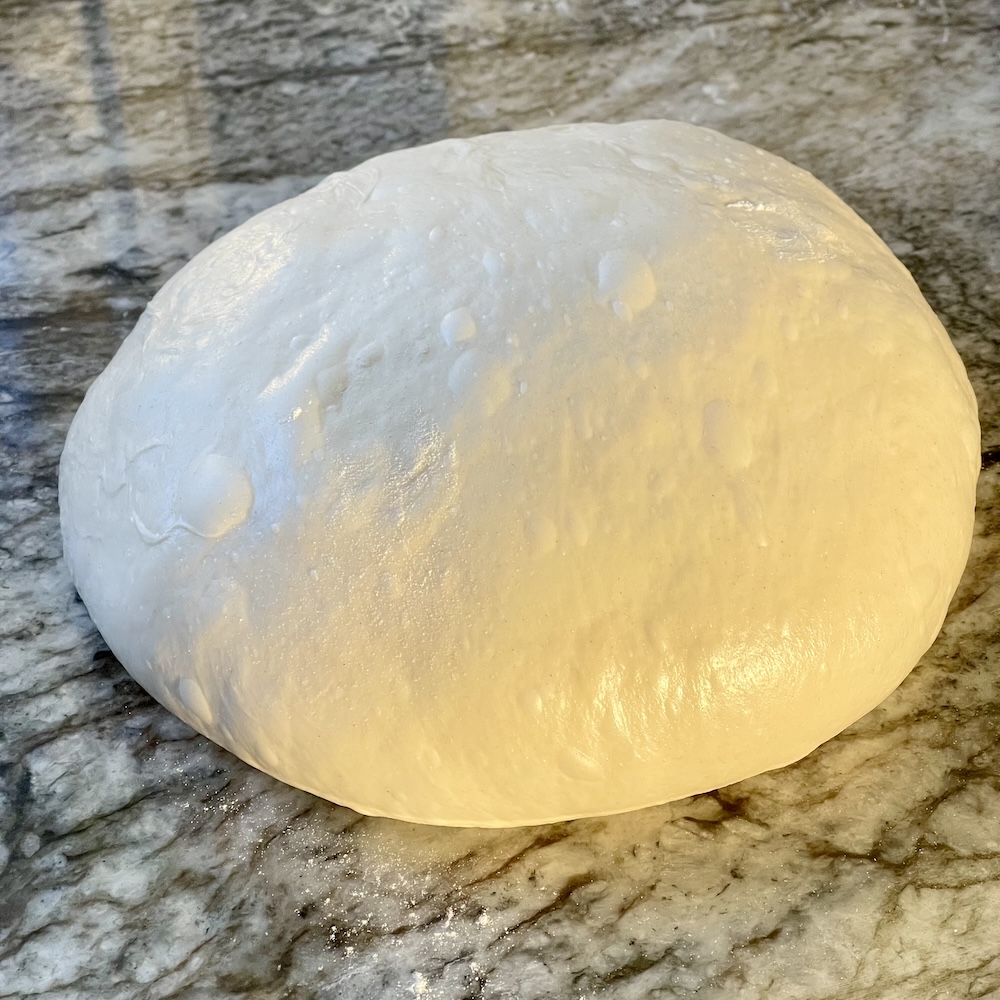
Learning how to properly form your dough into loaves is one KEY to building the rise in your loaves.
- To have a open crumb you have to be very gentle when handling your dough in these final stages. The dough is full of air.
- You want to retain those bubbles in your dough as you work.
- It’s all about keeping the dough arated while you work it and building tension in the surface of the dough.
TIP: Please watch the video and look at how I pull the loaves around to keep the surface tension of the loaf while shaping the boules. This is key to building a good rise.
Making Sourdough Bread in bread pans
You might prefer an even crumb baked in a loaf pan for sandwich bread. Here are the steps.
Shaping dough for bread pans:
- I use two 9 x 4 oiled bread pans.
- After the final rise roll the dough into a rectangle so all the gasses are deflated.
- Fold the wide sides of your rectangle to the middle.
- On ONE end fold the corner to the middle seam making a point.
- Roll your loaf up from the point to the other end.
- Pinch the seams and ends.
- Place in oiled bread pans.
- Rise at room temperature until the dough is at the top of the pans.
IF your dutch oven is large enough put the loaf pan right in the dutch oven and cover it. Bake as directed. Works great!
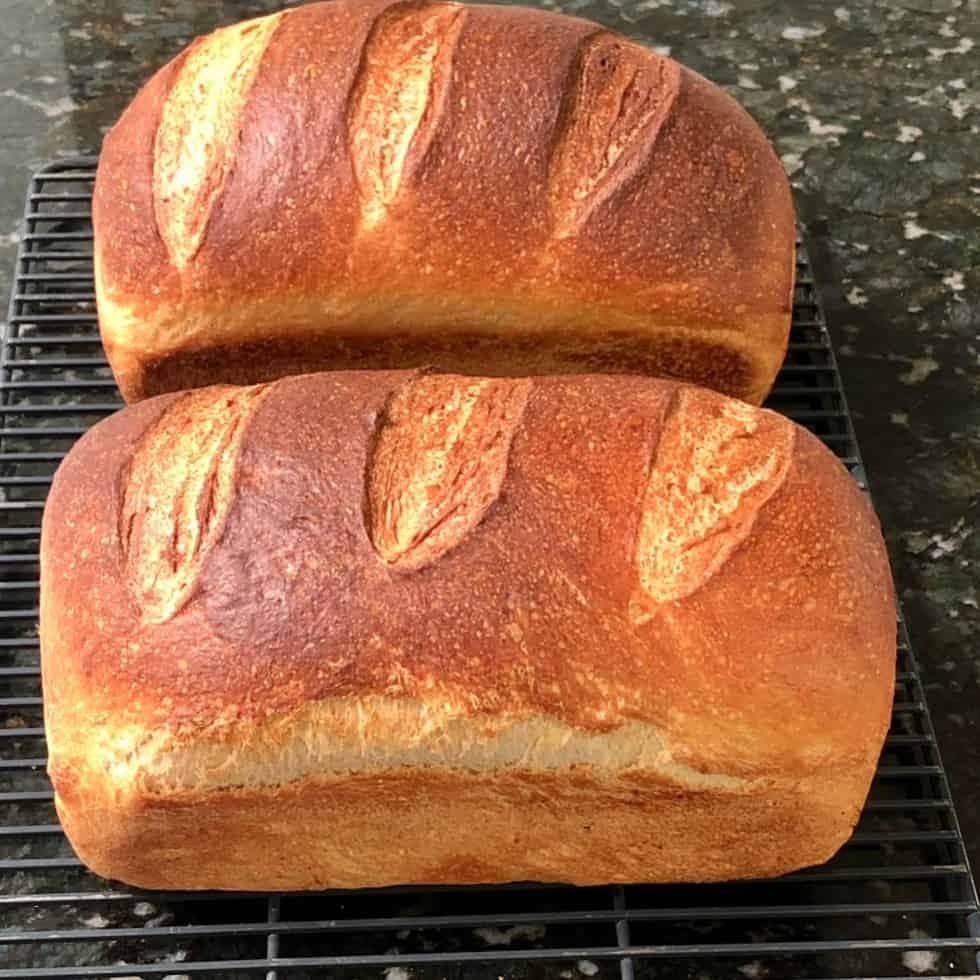
Baking sourdough hearth breads in bread pans:
- If you have a large dutch oven bake one loaf at a time in it. Follow the directions in the recipe card.
- If you cannot fit the bread pans into your dutch oven place them on a cookie sheet.
- You will also need a lower heat. Preheat to 400 degrees F. for 15 minutes. Reduce heat to 375 and bake another 30 to 40 minutes.
- On the shelf below the pans fill a pan with water (like a roasting pan) for steam.
- Spray your unbaked loaves liberally with water before setting them in your hot oven.
- follow the recipe instructions. Do the thump test to make sure they are done.
Sourdough Bread Recipe with Starter is very different from other yeast bread recipes.
Cooling Your Loaves:
You MUST resist cutting your divine smelling sourdough bread until it’s room temperature all the way through. Why?
- Your loaves are still baking and developing the crumb and crust even as they cool.
- Do you hear the ‘bread music’? Bread music is the crackling sound your crust makes as it cools. This creates a shattery artisan crusty loaf. Let it happen!
- Inside your bread the crumb is also going through its finishing touches. The crumb is setting.
- If you cut your bread when it’s still piping hot you will squish that gorgeous loaf. The crumb will be crushed and your experience with your sourdough artisan bread will disappoint.
- Cut your cooled loaves with a GOOD sharp serrated knife. The crust will be crusty. A good knife will penetrate the crust and NOT squish the tender crumb.
If you print the recipe the pictures will not print. This is to save you paper and ink.
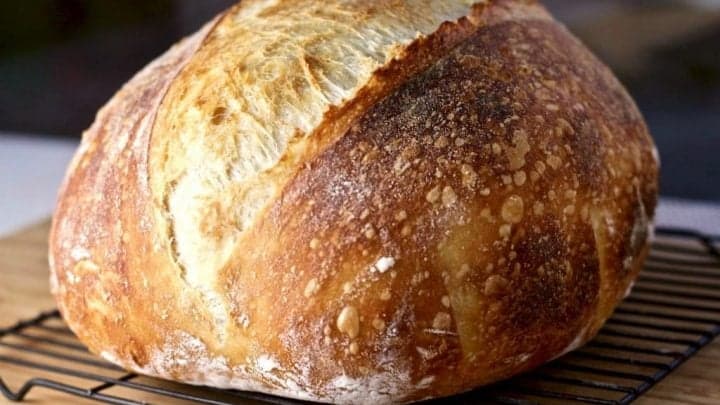
Beginners Artisan Sourdough Bread Recipe
Make your own delicious bakery quality artisan sourdough breads at home. This recipe is a good start for new sourdough bakers. It's a long process but an easy one. These breads are so worth it!
Ingredients
For the Dough:
- 525 grams water-80 degree F. -NO chlorine, 2.22 Cups
- 20 grams salt OR 1 Tablespoon MAX. (different salts might weigh out differently. They will also have different volumes so don't go overboard.)
- 200 grams Very active starter - make sure it floats , 1 + Cup
- 700 grams All purpose Flour (or bread flour), 5 1/2 Cups
Instructions
MAKE THE STARTER:
- Make the STARTER AHEAD
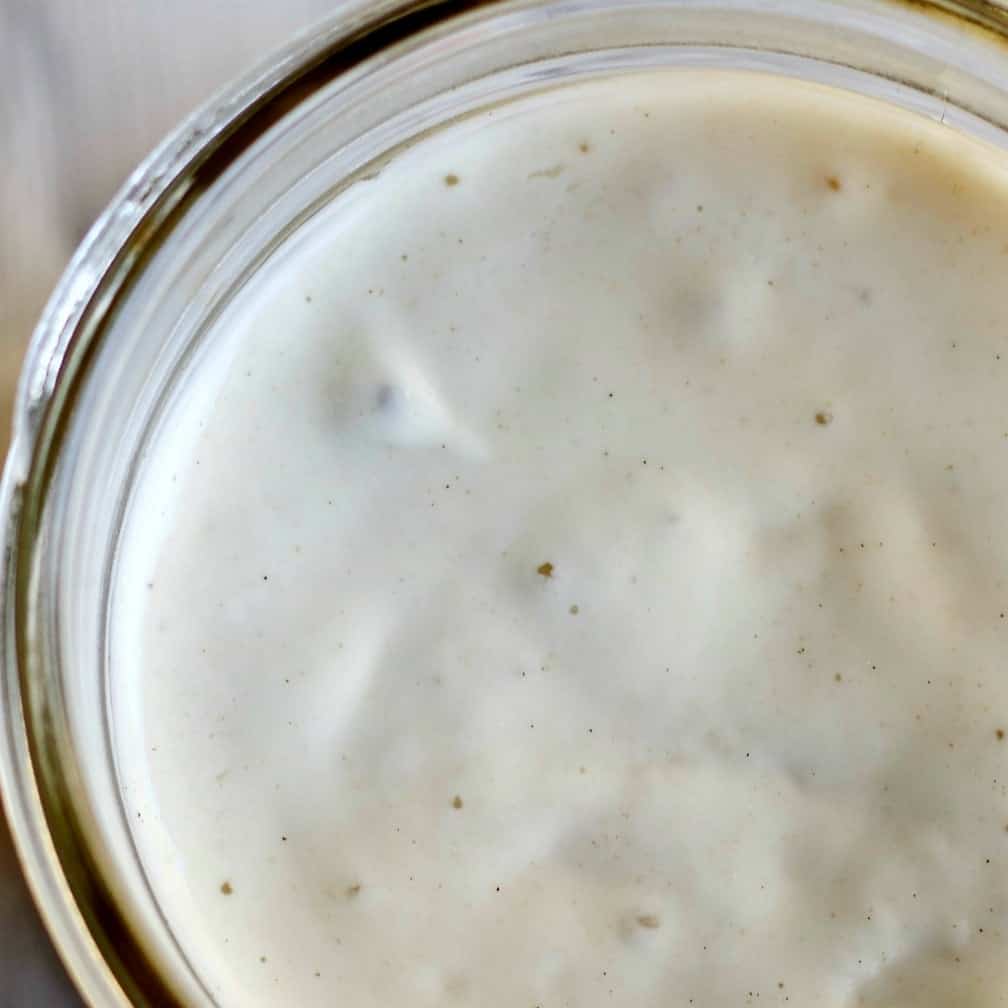 (This can take up to a week or more) AND DO NOT USE UNTIL IT IS ACTIVE ENOUGH TO FLOAT A TEASPOON ON A CUP OF WATER.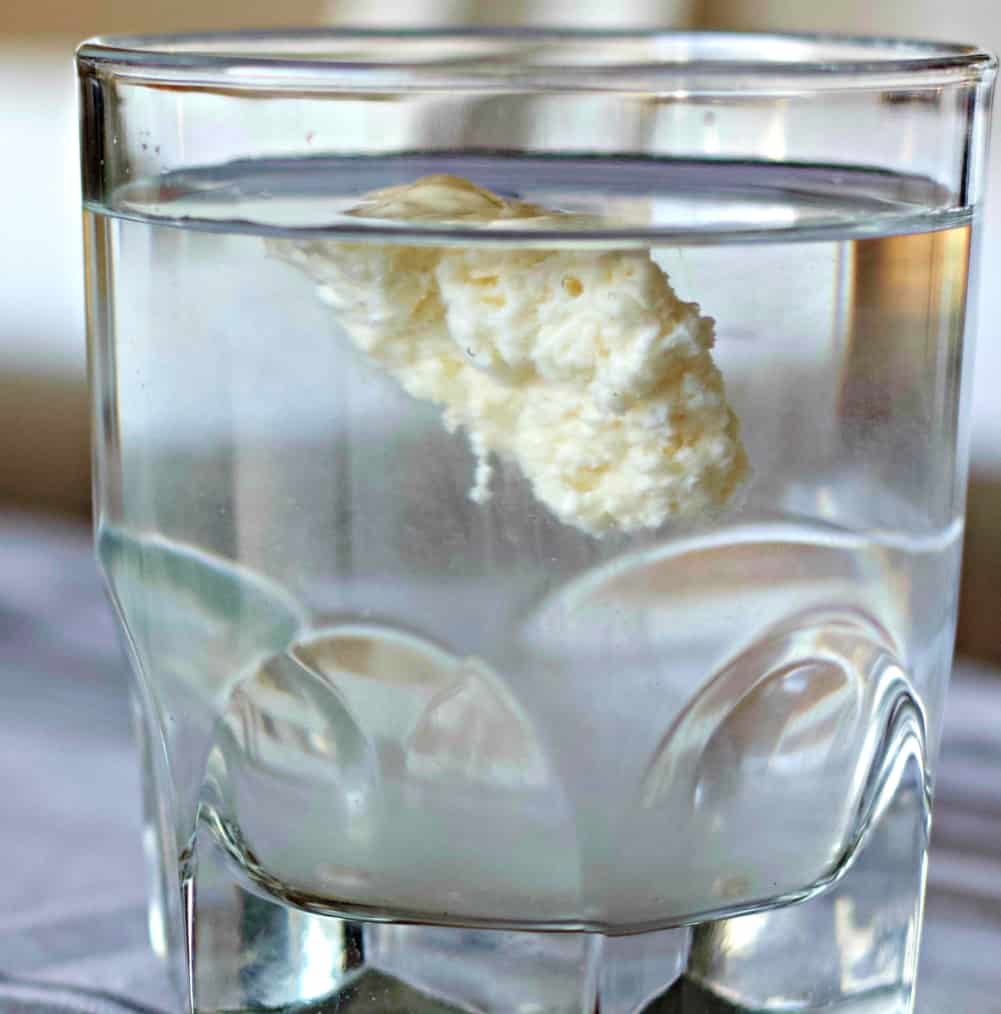
Prep the Starter For Baking:
- This process balances your starter for best rise. Feed 100 grams starter with 100 grams flour and 100 grams warm water.
- Let sit overnight.
- It should pass the float test in 8 to 12 hours.
- If it does not repeat feeding.
MIX THE DOUGH:
- Pour the water into a large bowl.
- Add the ripe balanced starter to the water and mix thoroughly with a whisk or by hand until the floating cloud of starter is mixed completely into the water.
- Add the flour to the leavened water and mix with the dough bowl scraper or other spatula. At the end use wet hands to form a shaggy dough ball.
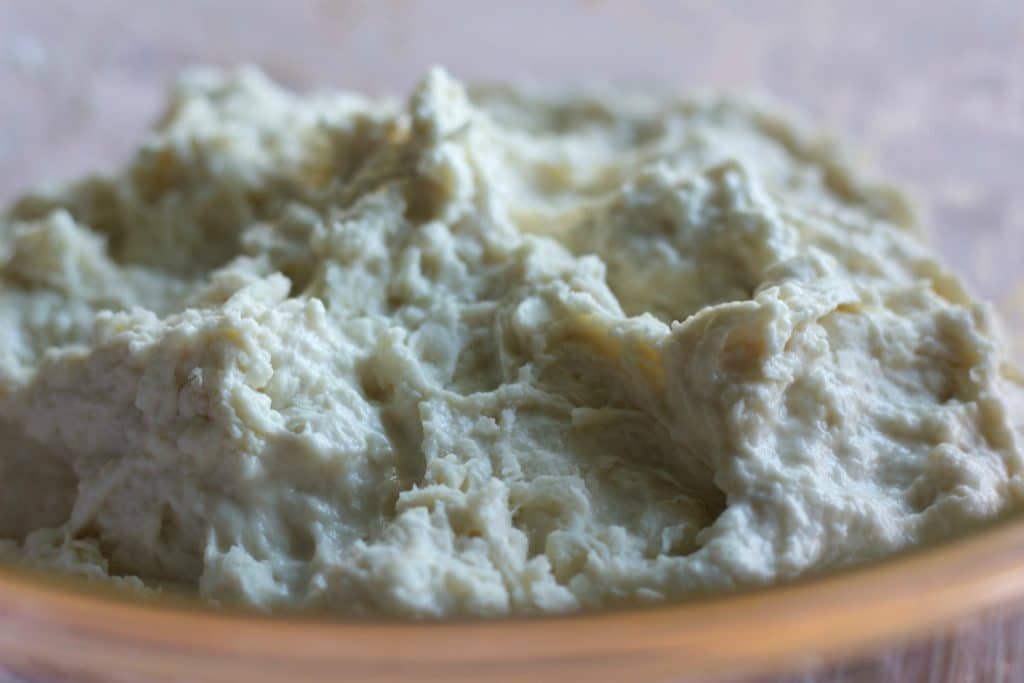
fermentolyse
- Let it rest (fermentolyse stage) about an hour. This stage can be extended without worry up to four hours.
- After fermentolyse, add the salt to the bread dough. Use your hands to pinch and stretch the dough gently until the salt is mixed into the dough.
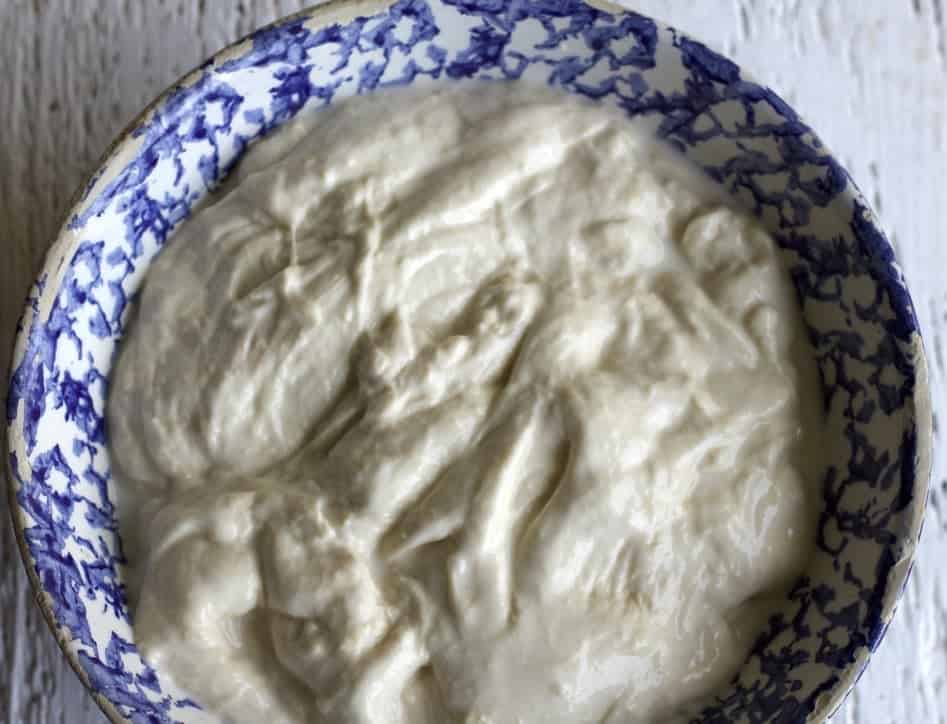
Stretch and Fold:
This process builds the structure of your dough without kneading.
- Using your wet hands pull the dough from under the dough ball up and stretch it gently as you pull it over the dough ball top. Release. Repeat this process as you give the bowl quarter turns until the dough is stretched and pulled from each quarter of the bowl.
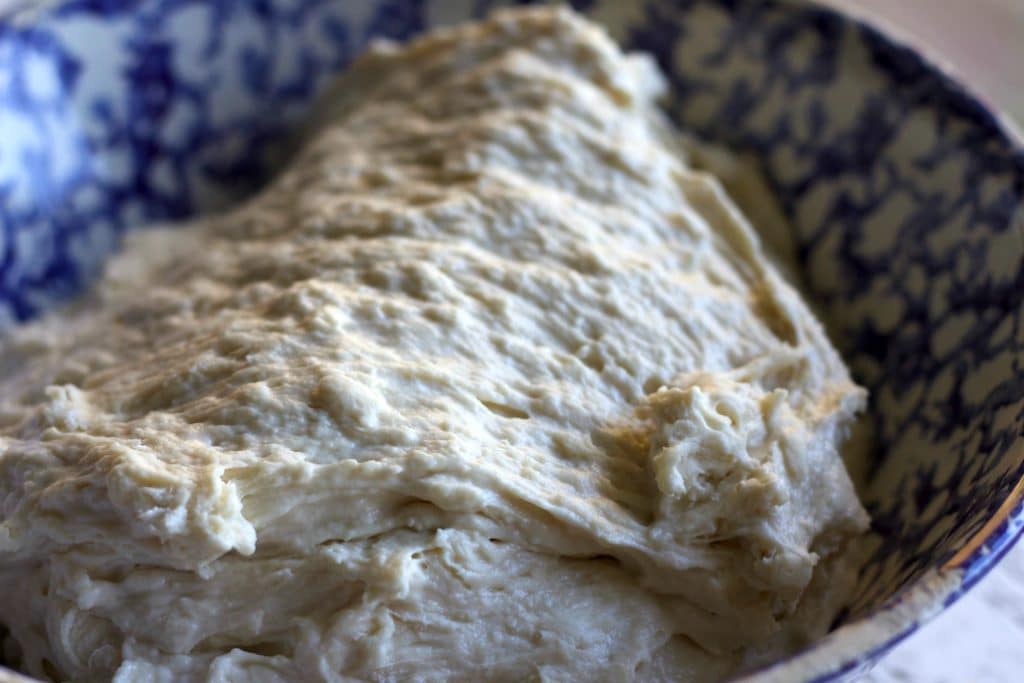
- Over the next 2 1/2 hours repeat the stretch and fold every 30 minutes for a total of FOUR times. The dough will change from a slimy ropy mass to a billowy dough with many air pockets and definite body as you stretch and fold it. DO NOT PUNCH DOWN THE DOUGH AT ANY TIME. Those air bubbles create the excellent crumb and flavor.
- The dough should become an elastic resilient dough that passes the window pane test. IF your dough is still breaking before it goes transparent when pulled. Do ANOTHER stretch and fold.
BULK RISE:
- Allow the dough to bulk rise IN THE BOWL at room temperature an hour or SO until it rises by 30 percent or so. If you're unsure how much rise to look for, see How to Proof Sourdough Bread.
- Cover the bowl of dough with a plastic bag and set it in the fridge for 12 to 15 hours (Or overnight). It should continue to rise slowly so give it room in the bowl.
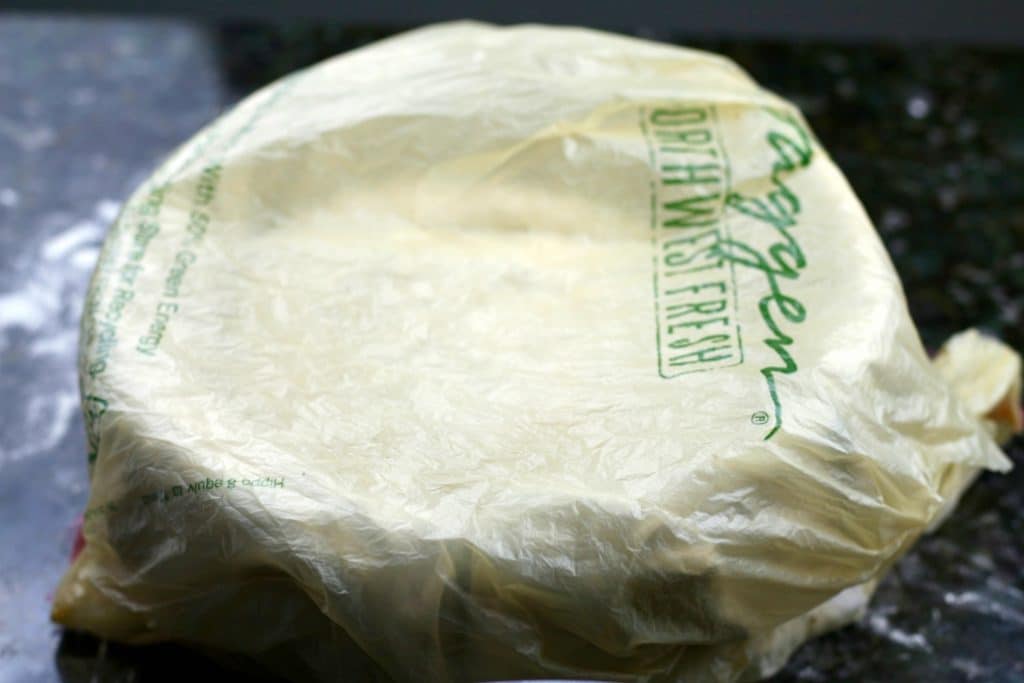
- Remove the dough from the fridge and let it sit on the counter in the bowl for two hours or until the dough reaches room temperature (or pretty close). The dough will soften and gently rise (a tiny bit) as it warms.
DIVIDE AND BENCH REST THE DOUGH:
- On a clean unfloured counter pour out the dough into a large mass. Flour the top of the dough lightly but evenly.
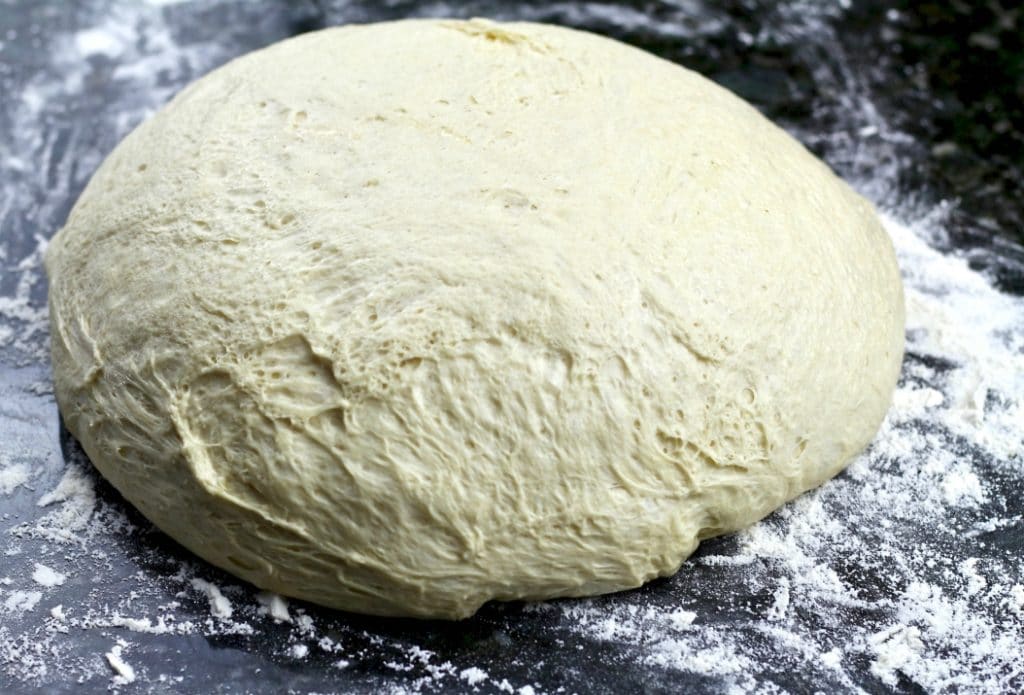
- BEING CAREFUL NOT TO OVERWORK THE DOUGH-Form each half into a dough ball. The most efficient way to do this is to use the counter as your pivot point. Scrape in a circle around the dough (leave it unturned, flour side up). The unfloured counter will hold the dough center and create tension as you circle the dough with the scraper forming a ball. Repeat to form two dough balls. The DOUGH edge should be round and the dough ball should have some form and resilience to it.
- Let the dough balls rest for 20 to 30 minutes. They will spread out but should not fall off at the edge of the pancake. If they do, reform the loaves and bench rest them again to build the structure of the dough better.
FINAL SHAPE AND RISE:
Gentle handling at this stage helps preserve gas for a lighter crumb. Learn more in How to Shape Sourdough Bread.
- Gently slide the dough scraper under one of your dough balls and flip it over so it rests on the floured side. Gently form into a flat square like this.
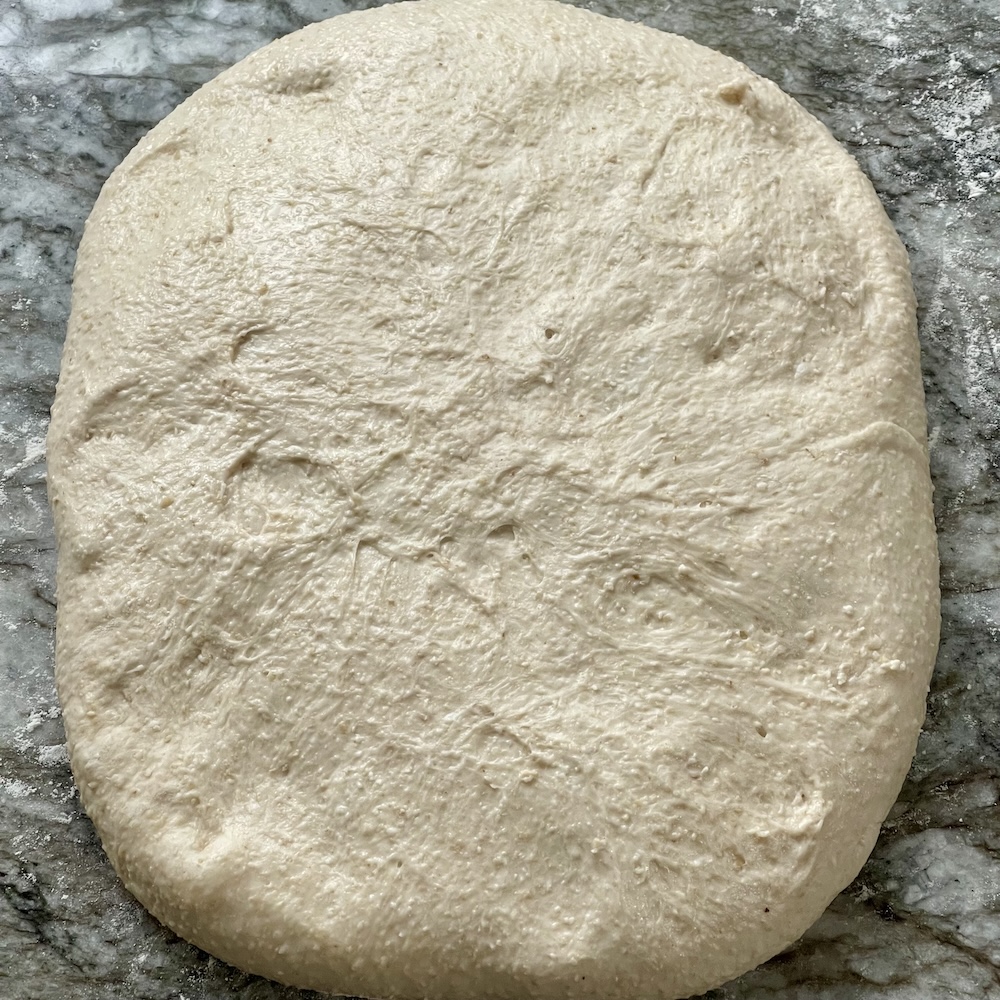 Now gently stretch and pull the dough over from the bottom to 1/3 up the loaf. Stretch and pull the dough from the sides to the dough middle. Bring one end up to middle like this.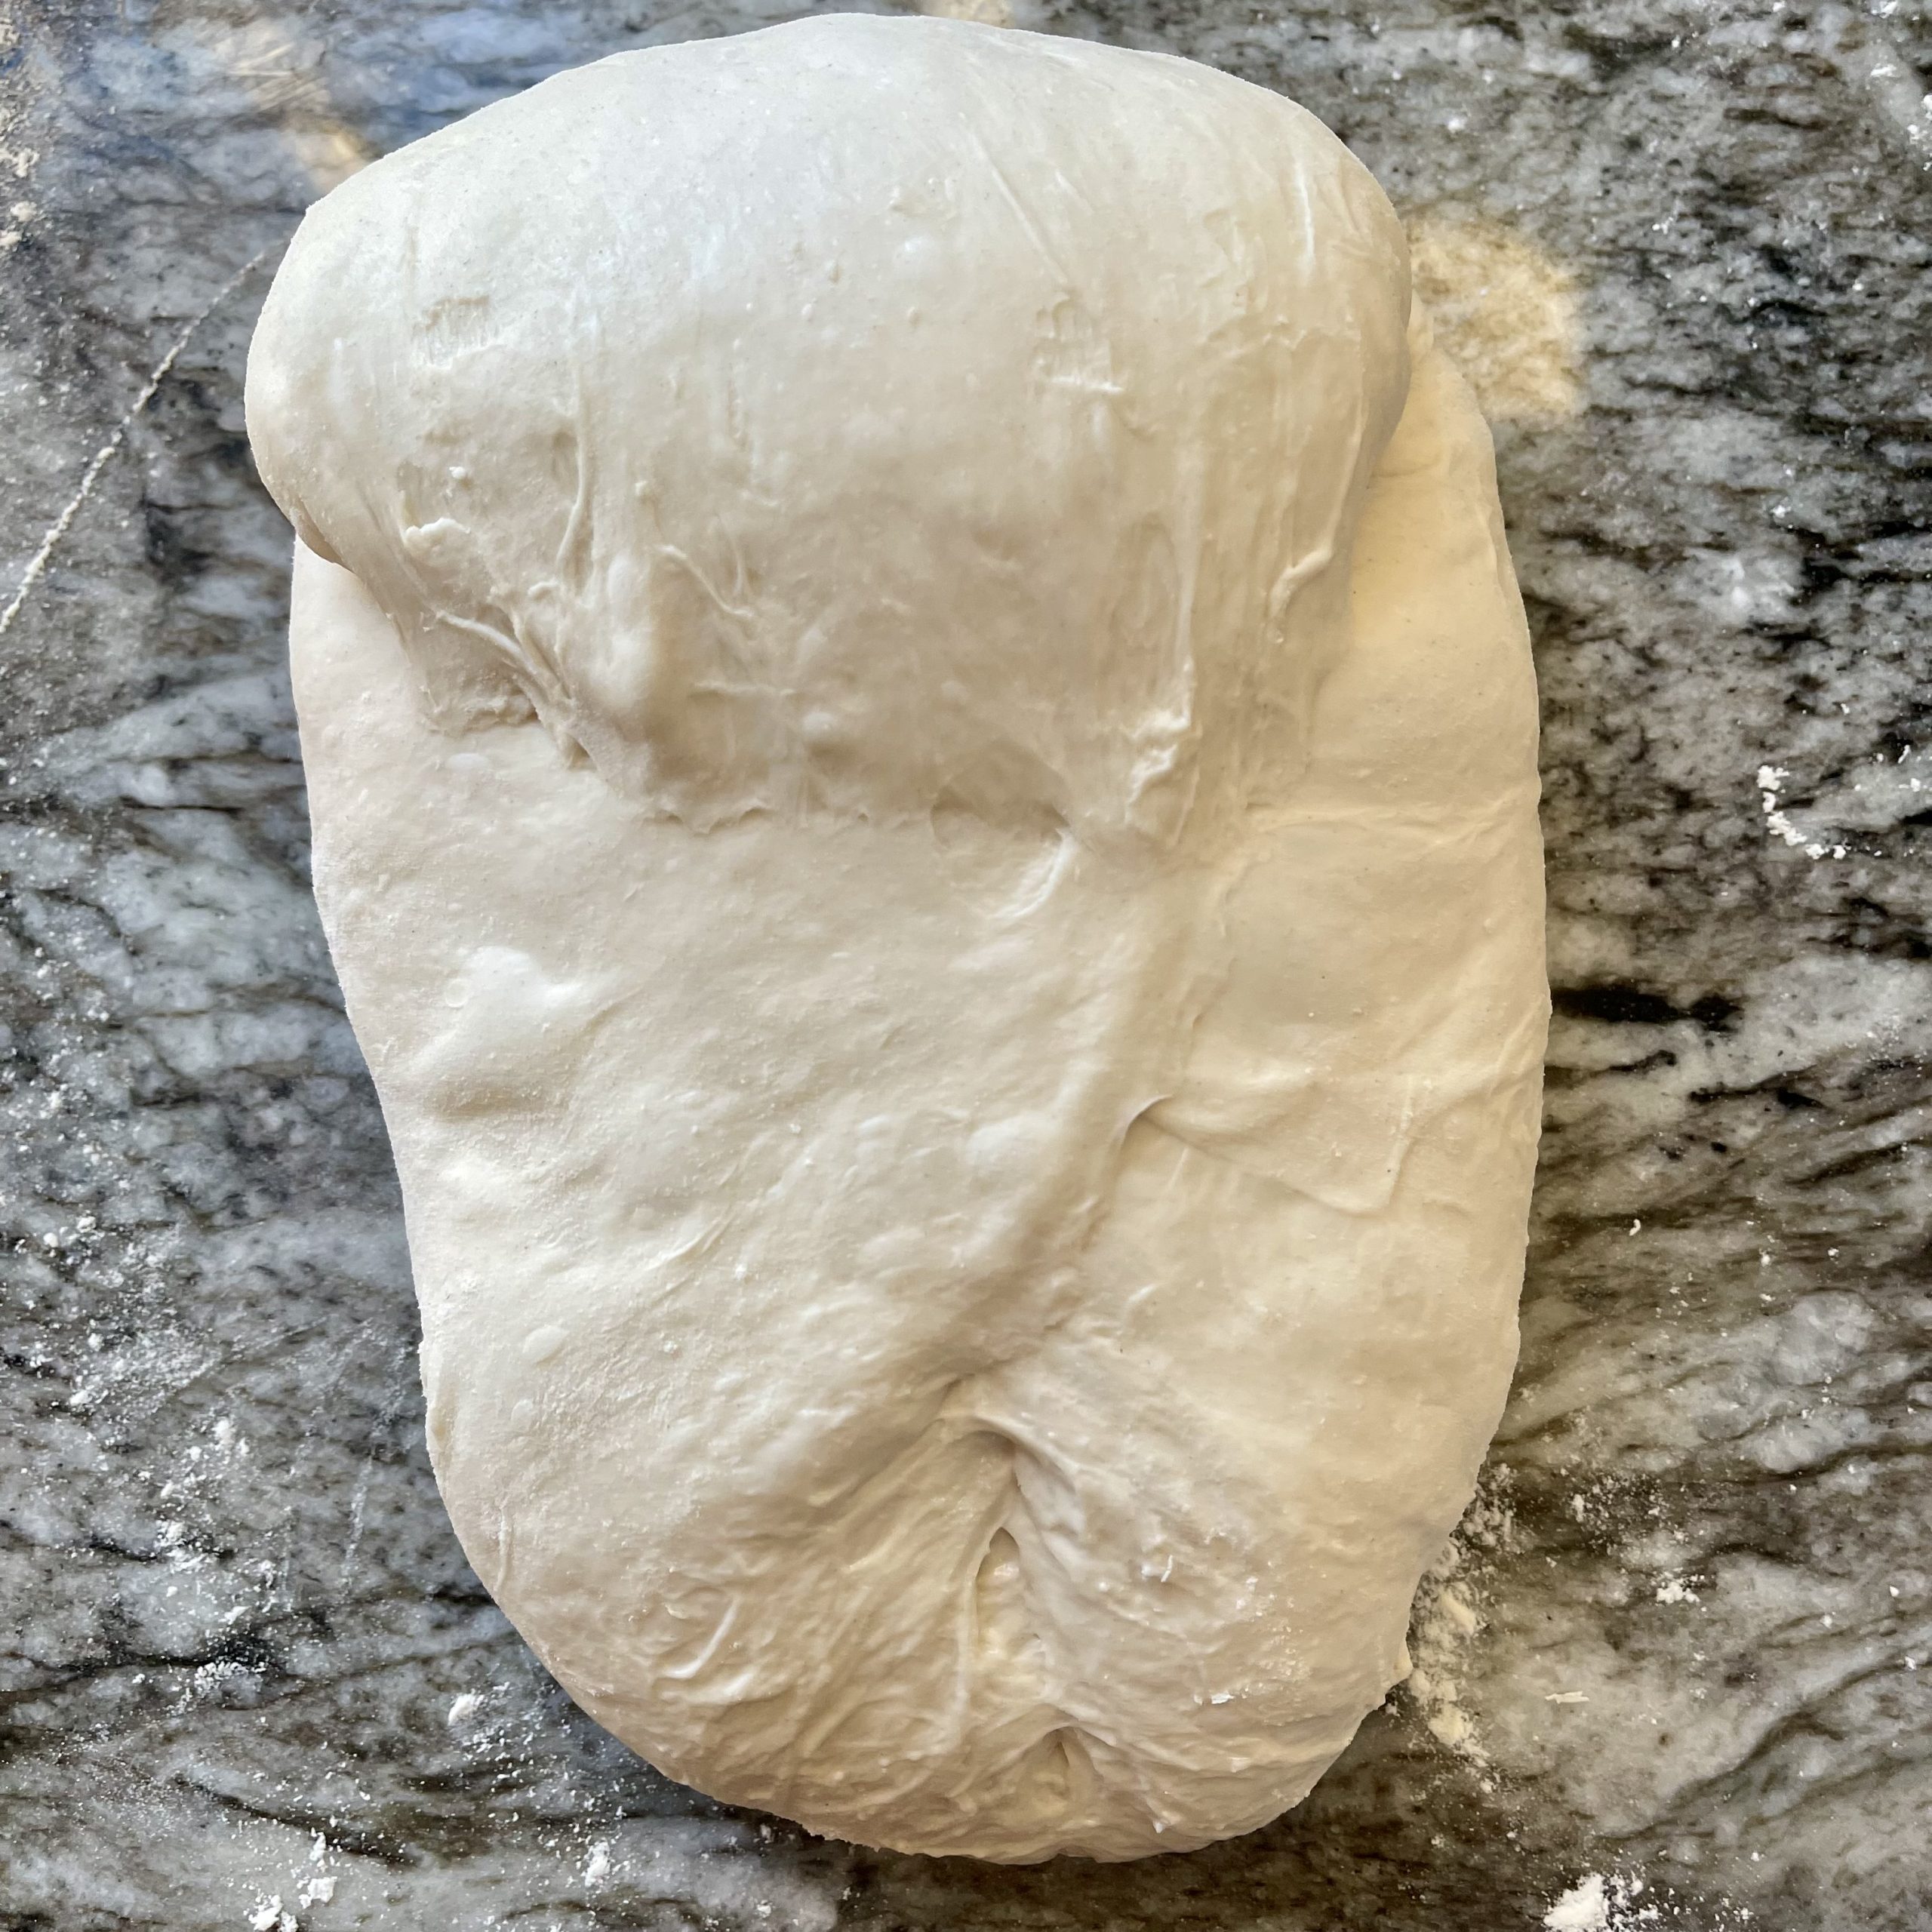
- For the final stretch take the dough from the top of the ball and pull it all the way down to the bottom. Clinch the dough into a ball and set into your floured banneton. Form a seam on the dough to create more tension as the dough allows. Pinching the seam as necessary. (view the video for help here)
- Place the dough seam side up in your rice floured, cloth lined banneton or bowl.
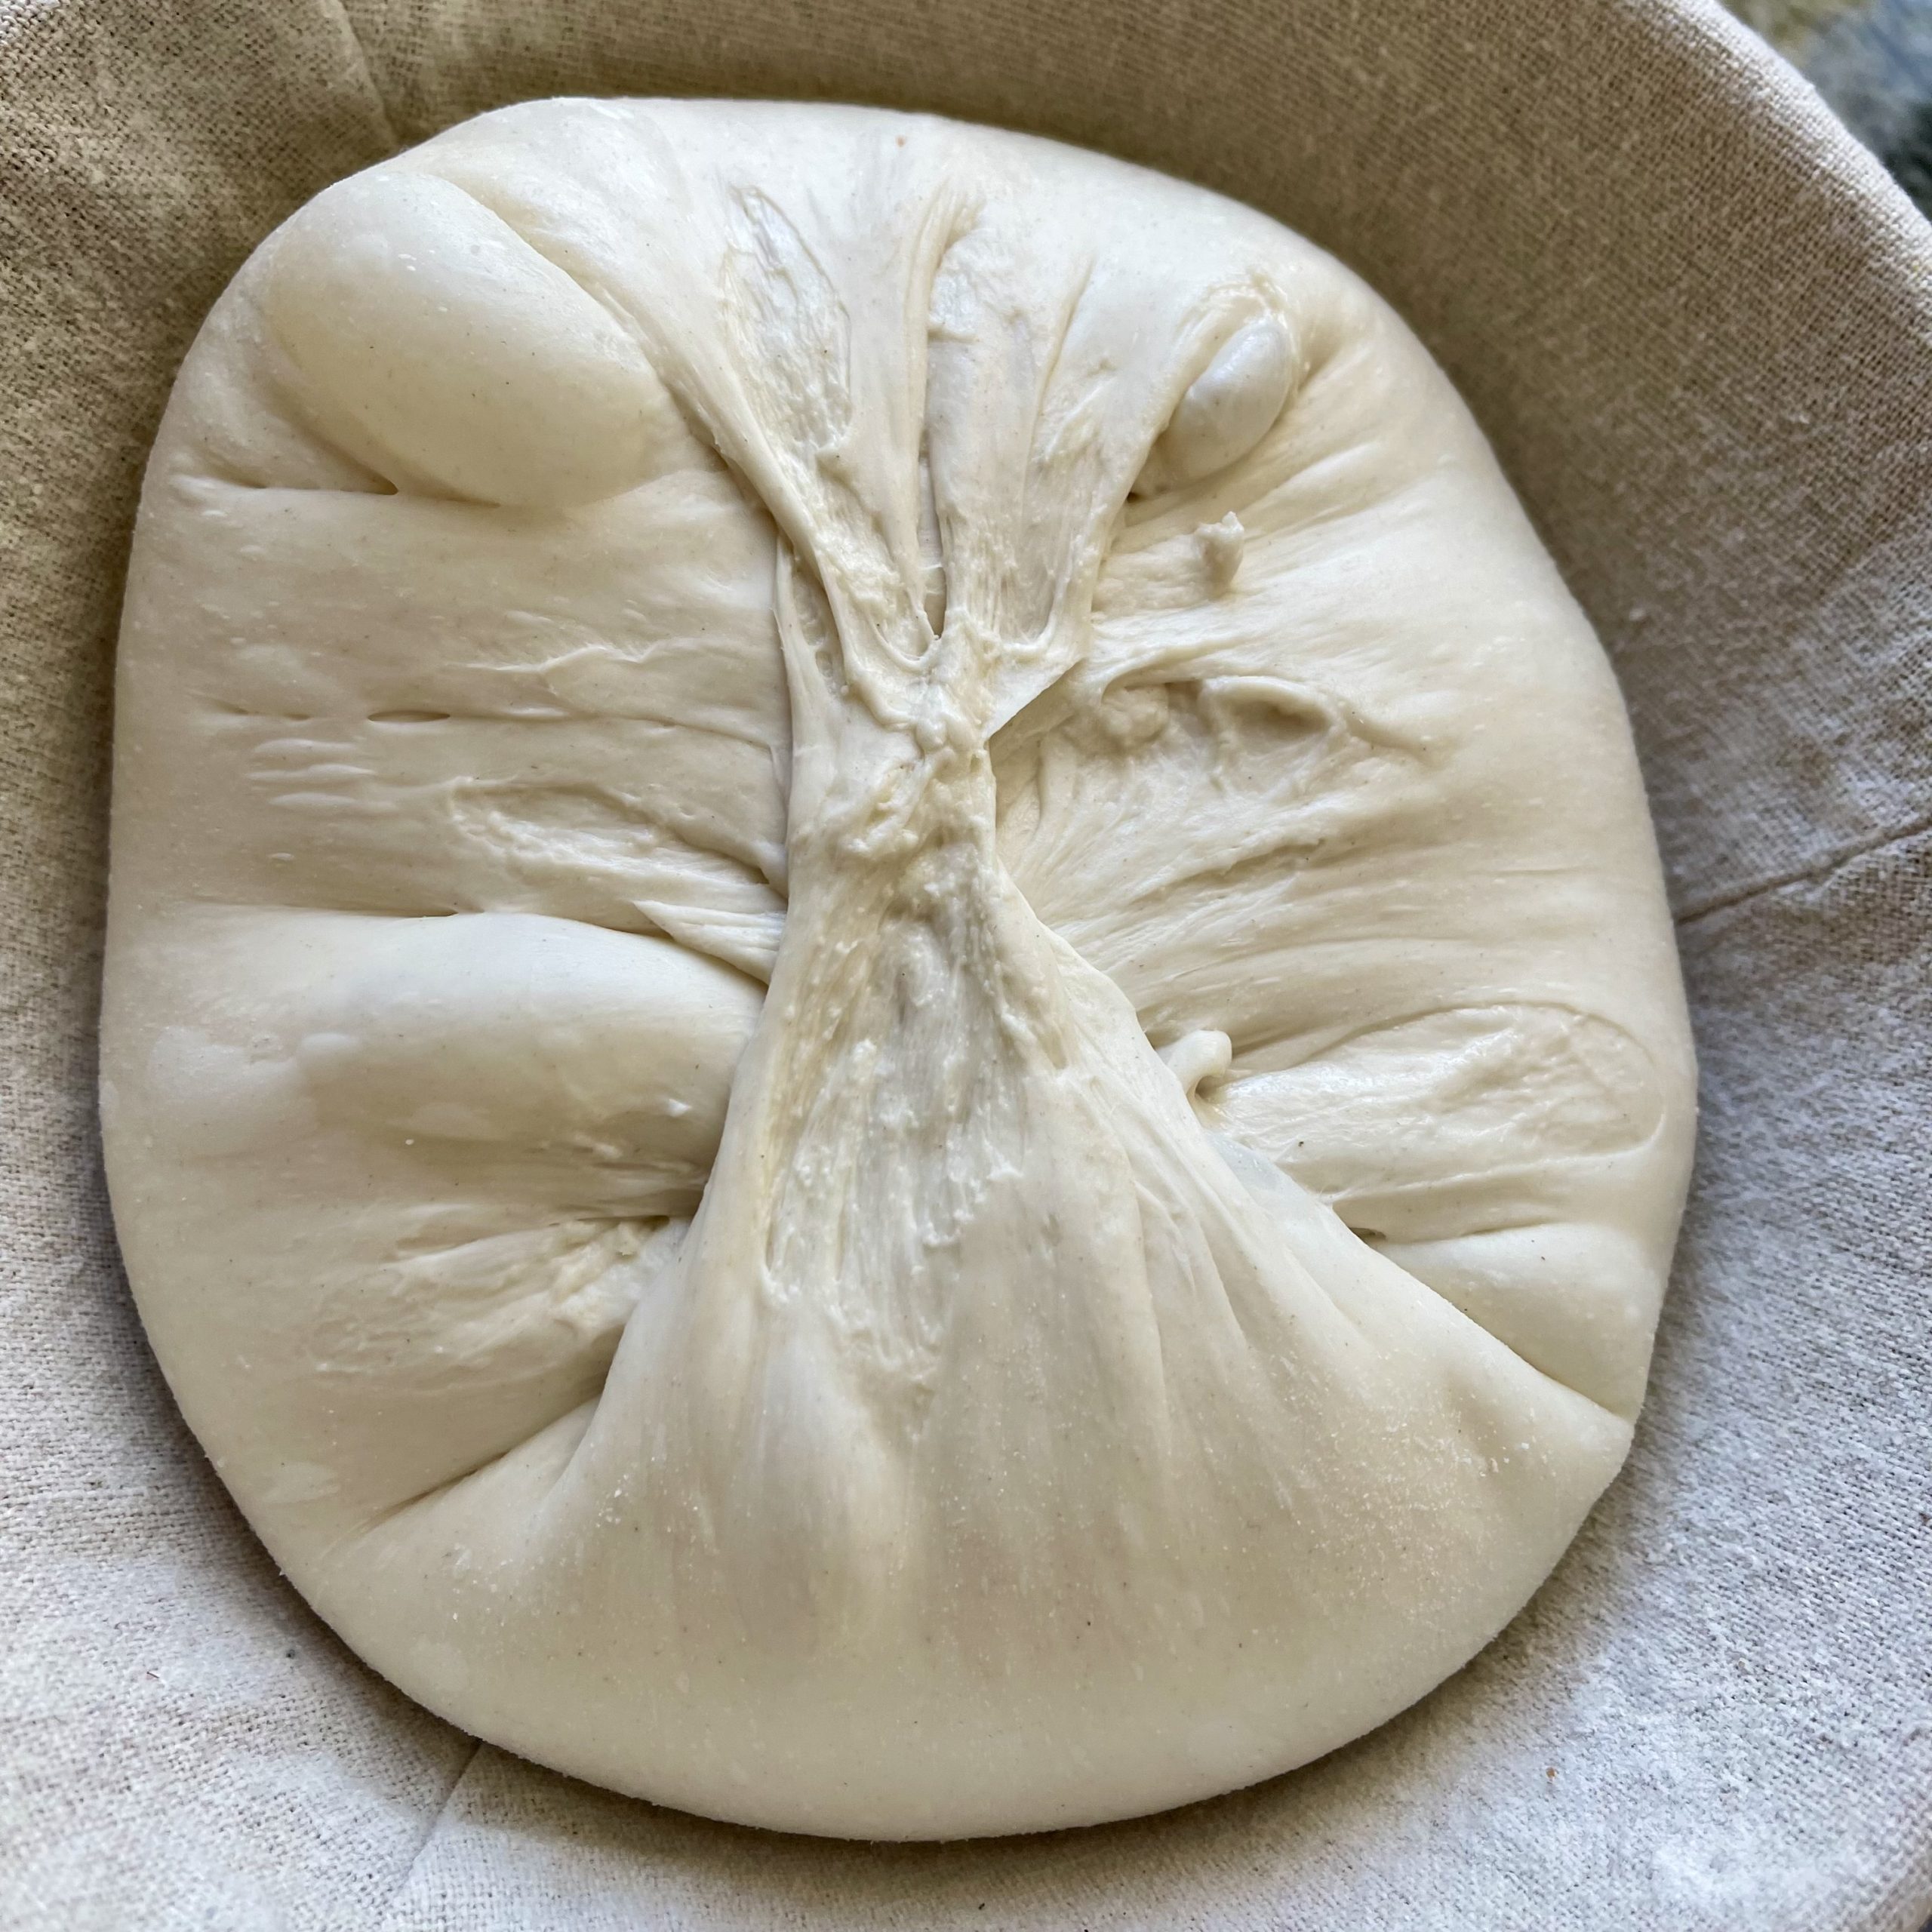
- Rise in the fridge 2 to four hours.
Baking Instructions:
- Set a baking stone (if you have one) on your oven bottom rack. Set your dutch oven with it's lid on next rack up (lower third of oven). PREHEAT oven to 500 degrees F. for at least 30 minutes.
- Keep the formed loaf in your banneton in the fridge until you actually need to place it in your preheated dutch oven. Cold dough will aide the oven spring.
- Remove one banneton from the fridge. Place the dough in your preheated dutch oven. I do this by flipping it into the dutch oven as gently as possible seam side down.
- Alternate method: Place high heat safe parchment paper over the banneton. Turn the banneton upside down so the dough falls gently onto the parchment paper.
- Score the loaf (For better oven spring and cleaner expansion, see How to Score Sourdough Bread. ) with your lame knife or a razor blade or sharp scissors. Scoring helps the dough rise better.
- Now pick up the scored loaf with the edges of the parchment paper, if using, and gently and carefully place it into your VERY hot dutch oven.
- Put the lid on the dutch oven and return it covered to your preheated oven.
- Bake 30 minutes at 500 degrees with lid on..
- Now REMOVE the lid (and parchment paper if using). Steam should come out. Hopefully the bread is a light golden color with a nice rise and set crust. Reduce heat to 450 degrees F. Bake an additional 20 minutes UNCOVERED or until the loaf thumps hollowly and the surface gets dark (Caramelized darker than you are used to maybe) and the scored areas look shiny. (To prevent over browning turn the parchment paper (or foil) upside down over the loaf as it finishes in the oven.) Loaf internl temp is around 208 to 211 degrees F. when completely baked through.
- Remove the dutch oven. Place the finished loaf on a cooling rack. Do NOT cut it for at least an hour to set the crumb.
- Return the dutch oven (with lid on) to the oven at 450 degrees F and preheat for 15 minutes. Repeat the process with the remaining loaf.
- TELLS: Look at the crust and LISTEN to it cool. The crust should be 'shattery' which means as it cools it will crack. You can see it and hear it. This is bread music 🙂 also a dull sounding bread is probably not completely baked. When you cut the loaf is should have a creamy but springy crumb with lots of aration.
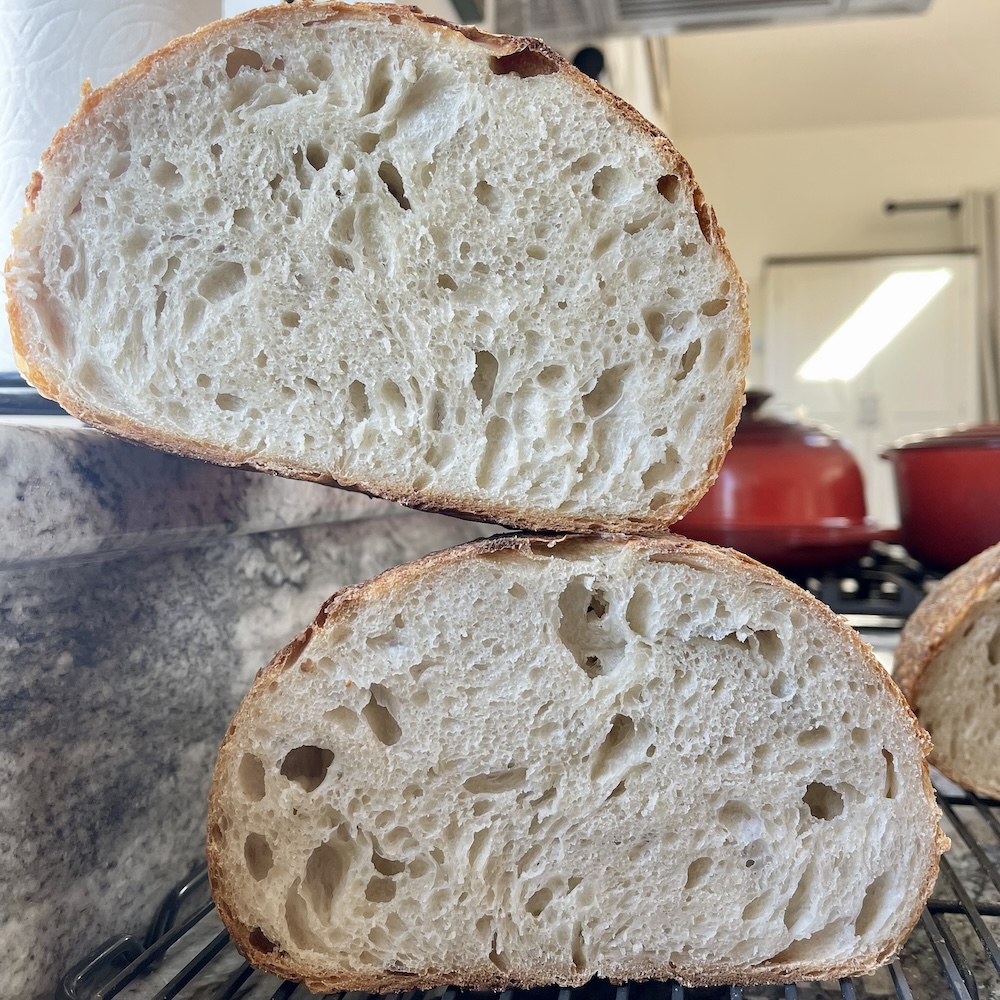 Not sure if your loaf turned out correctly? Learn how to evaluate it in How to Read Sourdough Crumb Structure.
Notes
TIPS:
- WATCH your dough as it goes through the stages of fermentation. This dough can easily over ferment at high room (Or oven proofing) temperatures. If your dough gets slack, unworkable and won't form or rise it is probably over fermented. At this point I suggest you Make pizza with it instead of loaf bread 🙂
- To avoid over fermentation keep the room temperature (or oven) at 80 degrees or less. Whatever flour you are using will influence this process. Learn to work with the dough you are creating.
Freezing:
- This bread freezes VERY well. After it is completely cooled double wrap it tightly with plastic wrap and set in the freezer. I have done this several times. Defrost at room temperature wrapped or unwrapped. Slice and eat.
Storing the loaves:
- For best results store your sourdough bread loaves in a bread box (I use my dutch oven with the lid slightly cocked). That beautiful crunchy Sourdough crust gets soft in an airtight container or plastic sack. Once cut just set the bread cut side down to protect the crumb. These loaves hold very well for at least three days. Freeze the other finished loaf if you can't eat it right away.
Banneton Tips:
I am using my ceramic round bowls lined with linen dish cloths for my bannetons. The high hydration doughs like these tend TO STICK to those cloths. To help with I scrub rice flour into the cloth. And leave an extra bit of it in the banneton bottom. Once the dough is in the banneton I add a bit more rice around the side of the loaf to keep it from sticking during the rise.
IF your dough sticks a bit to the banneton cloth, use a sharp knife to pull it away and add some rice flour to the sticking spot. Now it should invert without too much trouble. For really tough sticks, cut the dough away and repair it carefully by pressing it to reshape it before baking. Careful of burns if you are doing this in a hot pot.
Baking sourdough hearth breads in bread pans:
- If you have a large dutch oven bake one loaf at a time in it. Follow the directions in the recipe card.
- If you cannot fit the bread pans into your dutch oven place them on a cookie sheet.
- You will also need a lower heat. Preheat to 400 degrees F. for 15 minutes. Reduce heat to 375 and bake another 30 to 40 minutes.
- On the shelf below the pans fill a pan with water (like a roasting pan) for steam.
- Spray your unbaked loaves liberally with water before setting them in your hot oven.
- follow the recipe instructions. Do the thump test to make sure they are done.
Recommended Products
As an Amazon Associate and member of other affiliate programs, I earn from qualifying purchases.
-
 Chef Rimer Meat Thermometer Long Very Fast Accurate Instant Read Temperature Digital Food Probe For Cooking Grill Camping BBQ Candy Yogurt Dairy Beer Bread Milk Liquid With Battery
 -
 Lodge LCC3 Cast Iron Combo Cooker, Pre-Seasoned, 3.2-Quart
 -
 Spring Chef Stainless Steel Pastry Scraper/Bench Scraper Chopper, Best as Pizza and Dough Cutter
 -
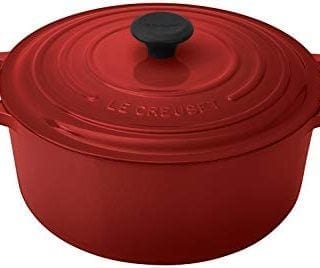 Le Creuset Signature Enameled Cast-Iron 7-1/4-Quart Round French (Dutch) Oven, Cerise (Cherry Red)
Nutrition Information
Yield
24Serving Size
1 sliceAmount Per Serving Calories 104Total Fat 0gSaturated Fat 0gTrans Fat 0gUnsaturated Fat 0gCholesterol 0mgSodium 324mgCarbohydrates 22gFiber 1gSugar 0gProtein 3g
Common Beginner Sourdough Problems
This post has over 600 comments and questions asking about all things related to baking sourdough. We answered! To help our bakers, we have created, (and will continue to create) an entire sourdough guidance section on this blog to help bakers bake better. We hope these posts help.
- Bread turns out dense: Why Is My Sourdough Bread Dense?
- Dough spreads after shaping: How to Shape Sourdough Bread
- Score won’t open: How to Score Sourdough Bread
- Crust is soft or pale: How Steam Baking Sourdough Affects Oven Spring and Crust
- Not sure what your crumb means: How to Read Sourdough Crumb Structure
- No ear on your loaf: Do You Need an Ear on Sourdough Bread?
In addition to this list, if you read the post in. its entirety it has even more helpful post links answering questions about measuring, flour and salt. Find our complete Sourdough Guides Hub here and remember, we are always here to answer your questions and help you be a sourdough baking success!
More Sourdough Artisan Bread Recipes:
These breads all turn out perfectly when you follow the instructions. If you need more help with getting sourdough bread you want read our sourdough guides.
After you gain experience, feel free to go your own way with techniques and recipes. Please share with us your successes!
- Milk and Honey Sourdough Sandwich Bread
- Rosemary Garlic Sourdough
- Whole Wheat Sourdough
- Walnut Cranberry Sour-dough Bread
- Oatmeal Sour-dough Bread
- MultiGrain Sour-dough Bread
- Sourdough Banana Bread with Blueberries
These gorgeous dutch oven breads are so flavorful and crusty.
Follow Us:
We enjoy meeting you on our social networks. Follow us on Facebook, Pinterest, Instagram . Tag us with your pictures of our recipes and comment on how it went for you. We would love to see what you do with them.
We often like, comment and share your posts of our recipes on our daily Instagram stories.
Ask questions and rate the recipe in the comments section below. Please share what you did with this recipe. We are always looking for more and better ways to make homemade food. Other cooks love your ideas!
Recent Posts:
We love to see our baker’s results with this recipe. Be sure to share pics on Instagram and tag me in them. We like comment and occasionally share your pics of our recipes on our stories.
Resources:
These books all were very helpful to me. They are probably available in your local library but make valuable resources to keep on hand. Make your best sourdough bread recipe by getting information and experience.
Books:
- Tartine By Chad Robertson
- Tartine 3 By Chad Robertson
- The Bread Baker’s Apprentice by Peter Reinhart
My dough still looks like the first stretch and fold. I’ve been stretching and folding for five hours, but the dough isn’t changing. Help!
Hi Angie, Well this is unique. If you have an active starter and a good bread flour they should develop fine. SO…Let’s start with the windowpane test. Without seeing your dough I’m not sure what’s going on. Can you stretch it thin enough to see light through like I demonstrate in the video? It’s also pictures in this post. If it does stretch to transparency you are there. Bulk rise is next.
IF you stretch the dough and it breaks into short clumps as you stretch it after five hours of stretching…something is not right. If you are sure your starter is active look to your flour. And did you remember to add the salt? That is not such a big deal but the salt does help develop the dough.
If you need further help please feel free to email me at homemadefoodjunkie@outlook.com and send me pics so I can see the dough. I’d like to help you with this so let me know how it goes. Best of luck.
Hi, I just realized I forgot to add the salt and now I have already done the overnight refrigerated slow rise… is it too late to add salt?
Hi Anastasia!
It’s too late for the salt unfortunately. The bread will still bake just fine, it might taste a little flat without the added salt. I would just serve it with salted butter on top to combat the lack of salt in the bread. Hope that helps!
Kayti
I made my first ever sourdough bread today thanks to you! I read the entire post, watched the video more than once, pausing when necessary, and followed your recipe instructions. The reward is a delicious bread on the counter and another in the freezer. I am so very grateful! These loaves are the first of many. My starter is healthy and I have lots of time on my hands.
Wish I could post a pic, I am very proud of my first attempt. 🙂
Be well and thank you for sharing your expertise.
Hi Eileen, Thank you so much for taking the time to come back and tell us your story with this recipe. I’m so happy you had success. You made my day! May you have MANY more wonderful sourdough recipes in your futures.:)
THANKS SO MUCH for taking all the time required to make this great tutorial!!! During our 2020 lockown I’m blessing our family with “fresh bread” magic.
Hi Dawn, You’re very welcome. I’m so happy it worked well for you. Thank you so much for taking the time to come back and let us know. Happy Baking and stay safe!
This is the best sourdough I’ve EVER made. It turned out so well and looks professional. I don’t see a need to ever change it up. Why mess with perfection? The video was the clincher. After seeing it in6 minutes, I felt I could do this.
Hi Karen, I’m so pleased the recipe and video worked for you. Thanks you so much for sharing your success with us. You made my day. Happy Baking!
I am really new a making sour douh bread. I mean total novice.
I have my starter made and was planning on makin my first loaf tomorrow. However, i noticed it has separated toward the bottom to a liquid .
Wanted to knowif it is still ok to use.
My email is hmary821@gmail.com.
someone please answer.
03/22/20.
Hi Mary, Welcome to Homemade Food Junkie and sourdough baking. We are here for you! Ask any questions you have and I will lead you through the process as best I can.
Here’s how to feed your starter for tomorrow’s bake:
In a separate medium bowl Feed your starter BY WEIGHT this way.
100 grams of warm water
100 grams of your starter (just mix it up to get the liquid dispersed)
100 grams of flour
Mix this all together and let it sit out on your counter tonight covered with a towel or loose lid.
In the morning put I TEASPOON of starter into a glass of water. It should float. If it does not float cut the starter you have in have and feed it again and wait an hour or so. Don’t start your bread with a weak starter or you will have disappointing results.
I hope this helps. Just follow the recipe EXACTLY and it should turn out great. If you have more questions please feel free to ask anytime.
I made your sourdough bread today. It was perfect. My first time making a yeast bread from scratch. I followed your instructions carefully. A couple of changes though. I divided the dough into three loaves instead of two because my Dutch oven is much smaller than yours. I sprinkled the top of the dough with cornmeal before inverting it onto parchment paper. I don’t have bannetons, but glass bowls lined with towels, then sprinkled with rice flour worked like a charm. I hope I can replicate it next time. Wouldn’t change a thing. Hopefully as my starter ages and evolves it will work just as well. Thank you so much!
Hi Marlene, I’m so happy to hear this recipe worked well for you. I made this recipe for beginners. It always makes me happy to hear it works for first time sourdough bakers. As your sourdough starter ages and gets stronger your results should just get better and better without adjusting the recipe.
Thanks so much for taking the time to come back and share your experience with other and share your tips on this recipe. Happy Baking!
Hi Marlene
Did you bake them for the same amount of time Diane baked the bigger loafs? Trying to make 3 loafs but afraid to over cook. Thanks!
Hello, I got a starter from my niece and the link to your website. Two questions. First, can you have halve the recipe to bake just one loaf of bread? Secon, or can you freeze the dough once it gets to the point of baking to bake at another time?
Hi Kathleen, Welcome. I hope you enjoy your time with us. 🙂
For your questions:
I do freeze one of the baked loaves every time I bake this recipe. I double wrap the cooled baked loaf and it will freeze well up to two months.
I hope this helps. Welcome to our Homemade Food Junkie community. Happy Baking!
After working through several sourdough recipes trying to find a 100% WW recipe/technique that works I found this one. SUCCESS! I grind my hard red wheat just before using. I’ve recalculated the measurements for a single loaf using 455 grams of ww flour. I add 45 g. of gluten flour to compensate for the tendency of ww to cut the gluten strands. I find that 4 1/2″ slices make the loaf expand dramatically over just one or two. I calculated the measurements to achieve 100% hydration of the final loaf. I find this gets me a better crumb that a 75%-80% hydration.
The number of hours for the “overnight” retardation affects the “sourness”. More hours – more distinctive flavor. That’s because fermentation under cooler conditions results in more alchol & less CO2 than in a room temp fermentation.
I find my dough is much stiffer that what I see in videos. I have to pull it and shake it to get a decent stretch and fold.
Your instructions for the number and times of the stretch and fold sequence are curious:
1. Using your wet hands pull the dough from under the dough ball up and stretch it …
2. Over the next 2 1/2 hours repeat the stretch and fold (S&F) every 30 minutes for a total of FOUR times…
If we count Step 1 s&f as stretch #0 and Step 2 is comprised of a Total of FOUR times, we get actually 5 S&Fs and just 2 hours: Can you clarify?
SF0 – 4:00 pm
SF1 – 4:30
SF2: – 5:00
SF3 – 5:30
SF 4 – 6:00
I use a starter obtained from a friend in San Francisco, I use hard red winter wheat from PalouseBrand https://www.palousebrand.com
My measurements using 100% hydration starter and resulting final dough: (I don’t know the “cups tbsp” equivalents)
341.25 grams water-80 degree F. -NO chlorine,
13 grams salt,
130 grams Very active starter – make sure it floats ,
455 grams hard red winter wheat flour,
45 grams gluten Flour
Hi Fred, THANK YOU! You are a fount of information our readers will find so helpful in adjusting this recipe to suit themselves.I also have a whole wheat version of this recipe here if it helps.Thanks so much for sharing your work on this recipe.
The stretch and folds I use are just as described in the video. The main thing is stretch and fold until the dough passes the window pane test. That is usually 4 or 5 times. Gluten development is most important and more may b needed with whole wheat. I use the slap and fold method for 100% whole wheat since the dough is very tight. I explain that method in the whole wheat sourdough post linked above. I hope this helps. Happy Baking!
Look yummy! One of my favorite Sourdough bread, nice to see your guide, easy to follow, will cook this for family this weekend. Thanks you!
Hi Thomas, You’re welcome. Enjoy and please let us know how it turns out for you. Happy Baking!
I am in MN, so it’s winter here. I was making this all summer and it always turned out really well! As soon as it got cold my bread was just so flat! I wasn’t getting the rise anymore. My starter is very active and has been fed well. I don’t think the starter is the issue. It sounds like it’s an over-ferment issue, based on what you were describing. But that doesn’t make sense to me because it’s colder here and that’s when my issue seemed to start. I’m so annoyed and confused. Do you have any ideas for me? I’m using the safe flour, water and salt, same equipment. If it would be over fermenting, at what stage do you think it would be doing this? Between the folding I keep it in the warm (not hot!!) oven.. any advice would be very welcome. I’ve loved this recipe and am so sad it’s not working. My family misses this amazing bread!!
Hi Tessa, Lol. Yes the seasons change and so we have to adjust. You have way more extreme temperature changes than I do over here on the west coast. We are a mild climate here but our room temperatures change a lot throughout the year. And it does affect our bread.
If you are sure you are not over proofing and everything else is EXACTLY the same you may be under proofing. The result is the same. The test here is the windowpane test. When the dough stretches to transparent without breaking it is ready for the bulk rise. If you think it’s over proofing eliminate the bulk rise and go straight to the long slow rise step.
AND..I have no idea how much heat you have in winter in your house. But if your temps inside are actually cooler than summer…
I believe you are probably not getting high enough temps at room temperature to do the recipe as you are used to. Try the bulk rise in a oven that you preheat to lowest temps and then shut it off and leave the door open until it feel barely warm. Then bulk rise.
I hope this helps. It’s really no fun to bake when the results are disappointing. Remember baking is a science. Everything affects the outcome. Best of luck. Please let us know how it goes. Also join the Perfect sourdough FB group for LOTS of great help from expert bakers around the world. you may run into more bakers in your climate that can help.
I have been trying to make a starter several times now with no success. Would you care to hate how you make yours, please? I’m about to give up, and I want one more shot at it.
Thank you!
Hi Alexandra, I have a post on making a wild starter. The process is deceptively easy. However, there are several factors that play in. It takes patience and can be frustrating. DON’T GIVE UP!
If all else fails you can buy a seed starter from King Arthur Flour or several other sources and use that to get your own going.
There is a wonderful community of sourdough bakers on fb. Join the Perfect Sourdough FB group.The lady that runs it has online classes on youtube. She does an entire walkthrough on building your own starter and so much more. Youtube has many videos to help you. I can’t wait to see your breads in the future.
I noticed that you changed bowls in the video. First bowl was blue & white. Second bowl was silver. Why?
Hi Carolyn, I used the smaller blue and white bowl so you can see what I’m doing better in the video. (Its shallow so the light is better for you to watch the processes). For the long cold rise I used my larger deeper metal bowl so the dough would have room to grow. Thanks for the question. Let us know how your bread turns out. Happy Baking!
New sourdough baker here! I noticed that you split your dough into 2 parts at the end. I only have one dutch oven. Would it be okay to roll it all into one loaf? If so, how long would you recommend I bake it for? Thank you!
Hi Connie, you only bake one of the loaves at a time so no worries. Just keep the other formed dough in the banneton (Or whatever bowl you are using) in the fridge until the first is out.
However, if you prefer to do one large loaf you can. Bake at 450 for 30 minutes. Remove the lid and bake another 15 minutes or so. You may have to put a piece of tinfoil over the loaf to keep it from over browning.
Take out the loaf when your digital thermometer read 205 degrees F. Cool it at least an hour to set the crumb. I hope this helps. Best of luck. if you have further questions I’m happy to help. Happy Baking!
Hi and thank you sooo much for this awesome recipe. I have a question about the refrigerated time. Because of my work schedule I’m in a time crunch. Can I cut short on the fridge rise?
Hi Christy, I’m delighted this recipe is working well for you. The long cold rise time can be changed. I often make the bread with longer or shorter rise times if my schedule demands it.
Caution though. If you don’t get your preferred results from your loaf you may have cut the time too much. The long cold rise is a slow fermentation stage so cutting that development time can have an impact on the finished bake.
Go ahead and do what you need to do and proceed with the bake as directed. It may be a bit denser but it will still taste delish! Hope this helps. Happy Baking
Hi Diane, should you cover the dough in between turns and for the first rise before it goes into the fridge?
Hi Joe, It’s not necessary. However, the dough may skin a bit if left uncovered for long time periods. This can happen in certain temperature and low humidity environments. So it wouldn’t hurt to cover the bowl. Just don’t let the dough attach to the cover. You don’t want to lose the progress the dough is making with creating internal structure. Hope this helps. Thanks for asking and Let us know how this recipe works out for you. Happy Baking!
Hi Diane thanks for your help and this amazing recipe..its turned out perfect every time!
Hi Joe, Thanks for stopping by and sharing your experience with this recipe. I’m so happy you enjoy it.Happy Baking!
I’ve been baking sour dough for about 3 years and this will always be my go to recipe. The flow of the steps is the best I’ve seen and it makes a supreme loaf or two of sourdough bread. Don’t you just love it the next day as toast with butter? Yum! Thank you so much for this recipe.
Hi CC, Yes we do love this recipe. It’s always best fresh but it does make a wonderful toast. It also freezes really well. Thanks so much for your wonderful feedback on our recipe. I hope you try our other sourdough recipes and let us now how they compare in your opinion. Have a wonderful day!
Hi there! I might be just straight up missing it but there is a video referenced a couple times in all the instructions but I don’t see a video link anywhere on the page…..is it there??
Thank you!!
Hi Jesse,
YES! It’s the second ‘Picture’ from the top. Just hover a minute and it will play. it also auto plays in the sidebar for you. Here is the link for the video on youTube. Others have had this problem and I’m not sure why. It always plays for me. But the YouTube channel has a sourdough playlist. You can watch all of them there. Have a great weekend!
I have been making your sourdough bread recipie the past 3+ years. It is now a loved tradition in my home and my friends and family all agree….it is BETTER than San Francisco sourdough!!!! And we were pretty much raised on that!! I have sent my starter with your recipie to countless friends who have visited me over the years and they all get the same results!!! THE BEST BREAD EVER!!! Well, I like to think my gift of a Dutch oven or a scoring knife helps, lol…but this recipie is by far, the best out there!!! Its worth the time!!! Thank you, thank you, thank you!!!! Ps….my first Grandbaby is due any day and guess what I’m preparing for Parents to be??!! Yep!!! Your sourdough bread recipe!!! And I’ll be making it this way for my Grandbaby as he grows!!!
Hi Rebecca, I am so blessed by your story. it’s wonderful to hear our recipe is now a part of your sourdough legacy to your family and friends. Congratulations on your first grandson! What a wonderful grandma you will be. All our grandkids LOVE this sourdough. 🙂 Happy Baking!
I made this bread today and it was incredibly delicious. Crunchy crust and inside was dreamy,… soft, moist and a little shiny with a lovely balance of smaller holes and some larger holes. I used my all rye starter. I had a lot of difficulty scoring my loaf..it just didn’t want to cut the way i have scored other loaves and the cuts seemed to seal instantly . So although delish..the end result wasn’t as pretty as I would have liked. I ended up snipping it using scissors but the scissor marks didn’t last long and it split randomly during baking. The rise from the tin was lovely but I’m wondering if the trouble with scoring indicates an error in preparation?
This website is a treasure chest…thank you!
Lisa
Hi Lisa, Thank you for the wonderful comment. We really appreciate you sharing your experience with this recipe and our website. I’m delighted to hear your finding our site helpful.:)
This is a high hydration dough which can be a challenge to work with. Next time try wetting your razor and using a brand new blade for the scoring. I don’t usually have to wet my blade to get the dough scored but I have once or twice when the dough really stuck to the blade.
Best of luck! Have a great day.