
Delicious Soft Sourdough Cinnamon Bread
As an Amazon Associate and member of other affiliate programs we earn a small commission from qualifying purchases through our affiliate link. For more information read our Entire Affiliate Disclosure.
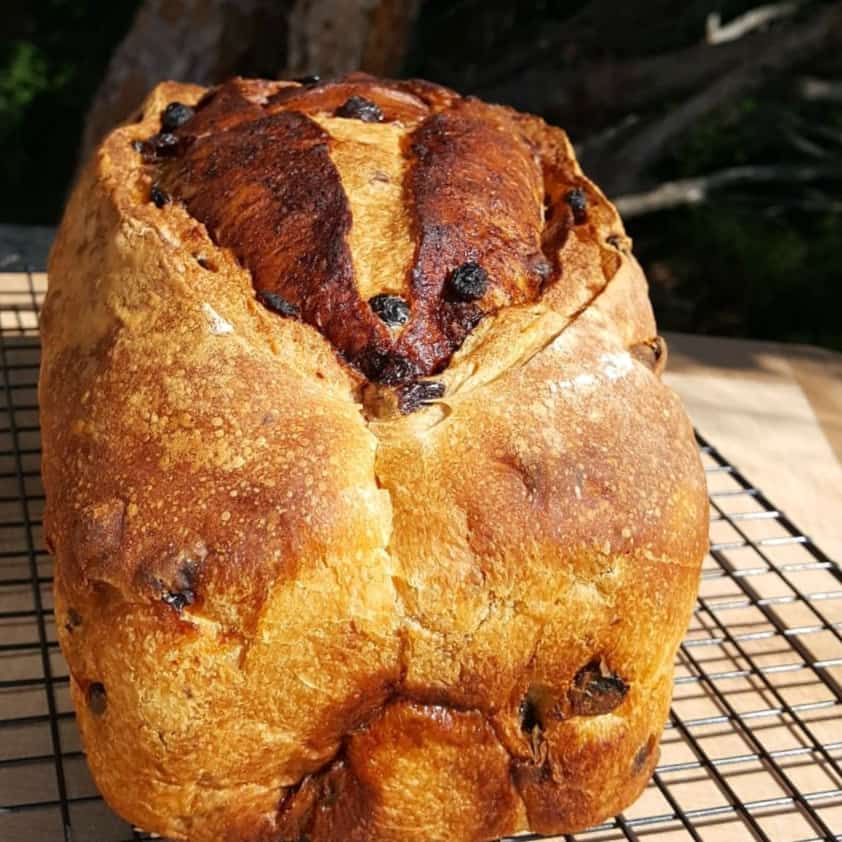
Soft Sourdough Cinnamon Bread with or without raisins, is a beautifully flavored and sliceable loaf. Your family will love this delicious breakfast bread. This loaf can stand alone as a moist, scrumptious slice or enjoy it toasted with butter or even peanut butter. It can also make an amazing French toast.
By incorporating honey and avocado oil into this traditional sourdough recipe, you will be able easily fold in your sugar cinnamon filling and prevent the crumb from falling apart. The honey and oil work together to build a soft, dense texture more like a sandwich bread.
We walk your through all of the steps needed to help you bake the best Sourdough Cinnamon Loaf in this post.
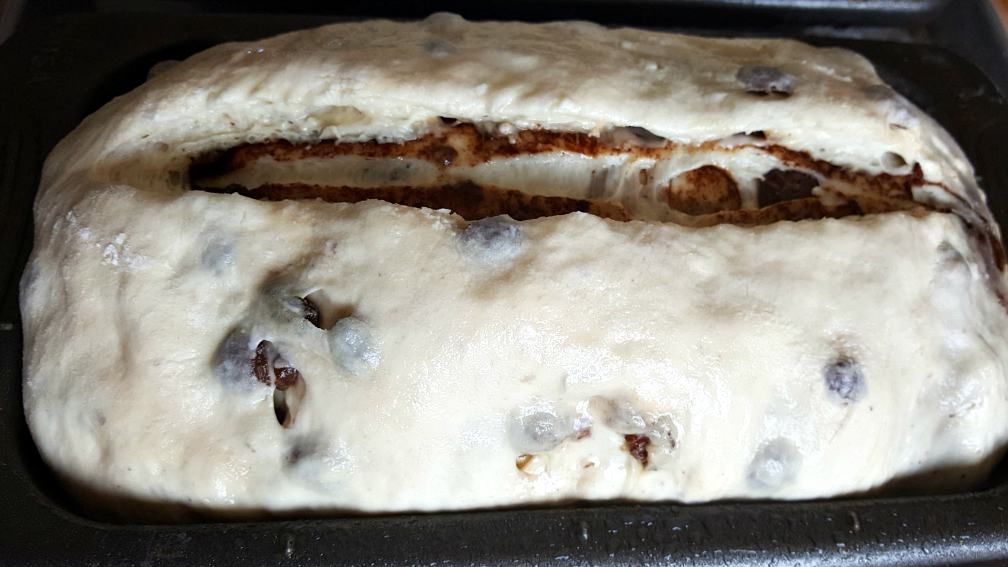
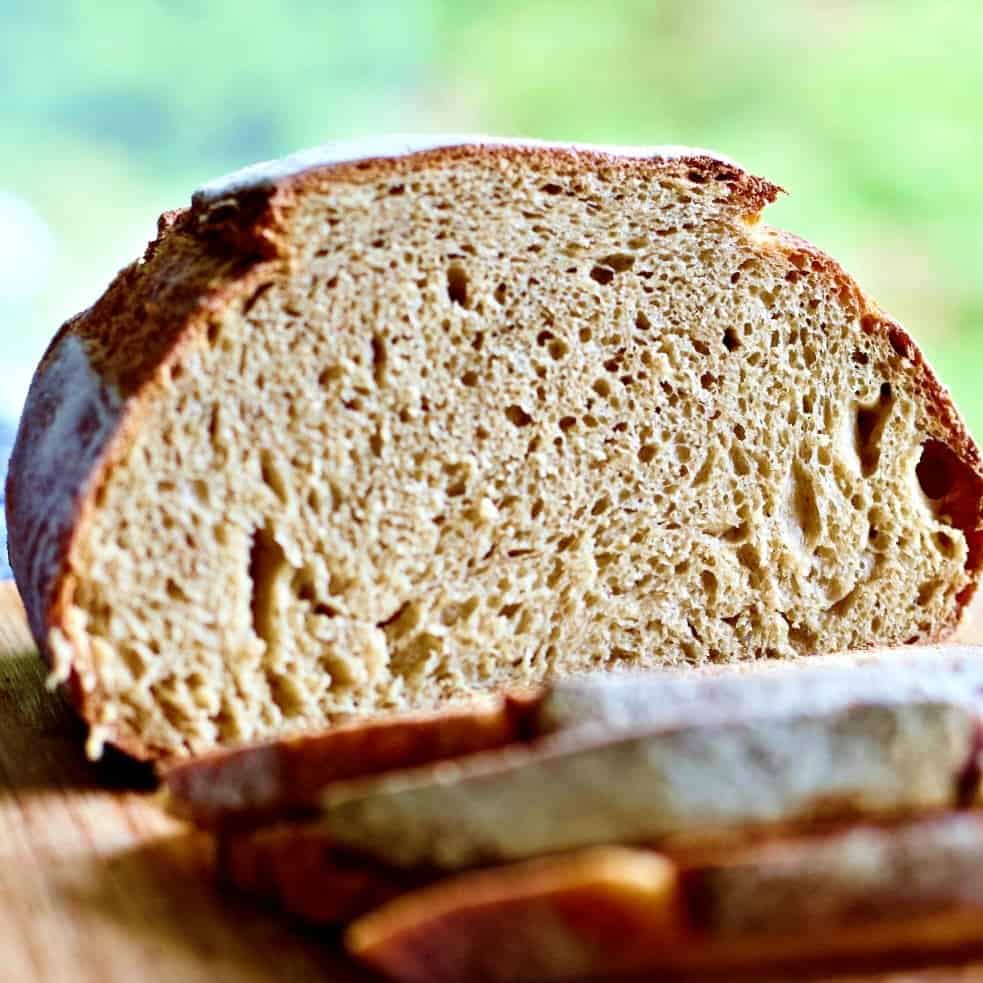
Originally, we made this no-knead sourdough cinnamon bread by dispersing the raisins throughout the dough during the stretch and fold stage as you see pictured above. This is a great method and we still highly recommend it and the post is built on these instructions.
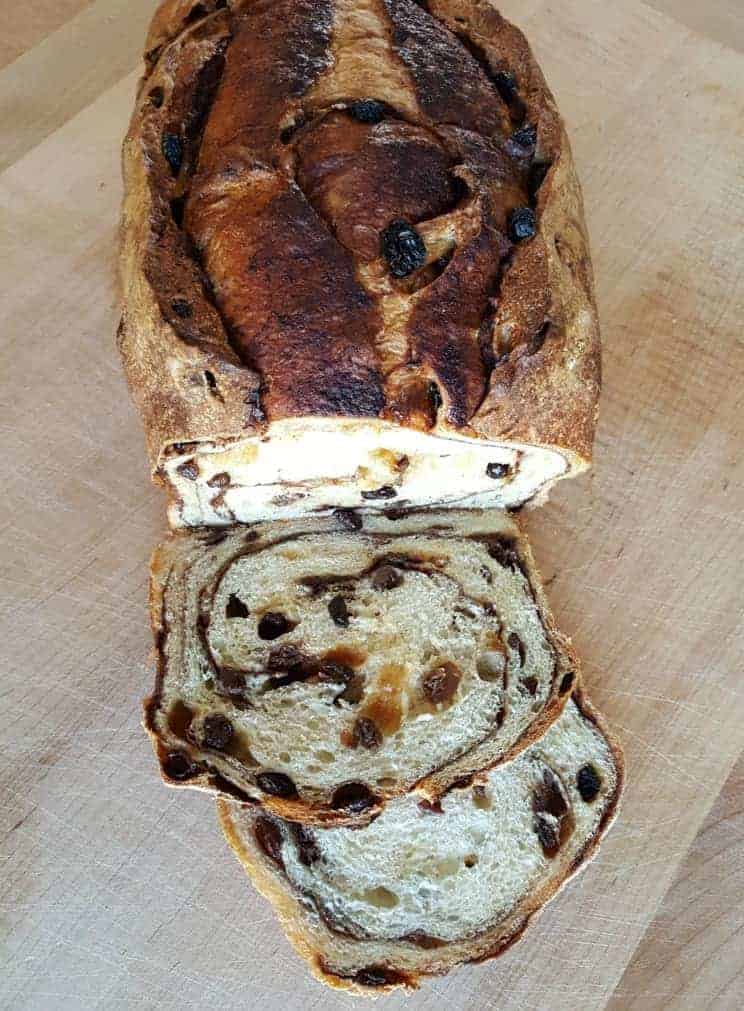
Over the years, we found this recipe also works well when the raisins are layered into the dough at the final shape of the dough into loaves. Our video uses that method. So please read the post and watch the video so you can see the two processes and decide how you want to make this sourdough cinnamon swirl bread recipe.
Putting the raisins into the rolled layers rather than dispersing them through the dough give you a sourdough cinnamon roll twist bread. It’s all good.
Our video tutorial guides you through the process with a clear visual that is easy to follow
This delicious bread recipe is another winner from our Master Baker Contributor Sasha Hunter. I asked Sasha if she had a good sourdough bread recipe for homemade cinnamon bread.
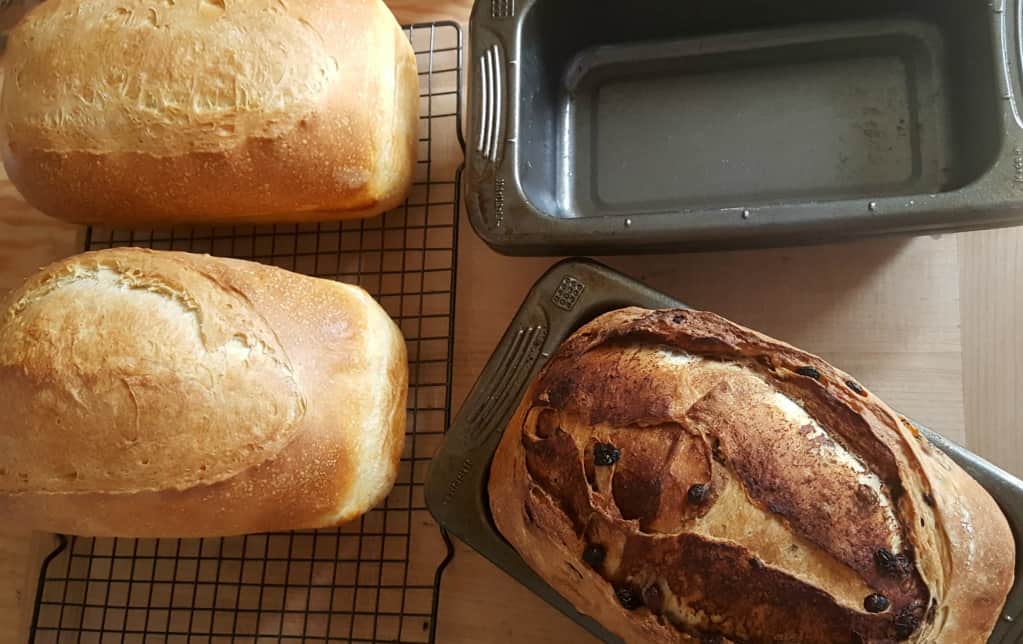
Sasha takes us through her entire baking process step by step. She shares her sure fire method of making homemade cinnamon bread with raisins. Tips and photos of every step are included, and the pictures you see are Sasha’s pictures while making this bread.
Soft Cinnamon Bread Recipe with raisins
If you need more help making the recipe jump over to the Soft Sourdough Recipe post. It has a lot of information in it for you.
We begin this cinnamon raisin version of the recipe at the second stretch and fold of the process.
If you want a single Cinnamon Raisin Loaf, divide the dough at this point. Continue the recipe for the Cinnamon Raisin Loaf with one half.
Or make the whole recipe and use half for this raisin bread. The other leave plain for a delicious soft Sourdough Sandwich Bread or Sourdough Cinnamon Rolls.
Watch Our video (on the sidebar and at the bottom of the printable recipe card). It shows you a different method for incorporating the raisins. It’s the easiest method if doing two different types of bread from a single batch.
Whole Wheat Cinnamon Bread Recipe
Use this recipe and replace the white flour up to 50% with a good white whole wheat bread flour. This will give you a slightly denser loaf than our sourdough white bread recipe.
If you want to make a 100 % whole wheat cinnamon bread use our Whole Wheat Sourdough Bread recipe with white whole wheat. You may want to add a bit of honey to the dough to make it sweeter for this recipe.
At the second stretch and fold start checking back to this recipe for the cinnamon raisin instructions.
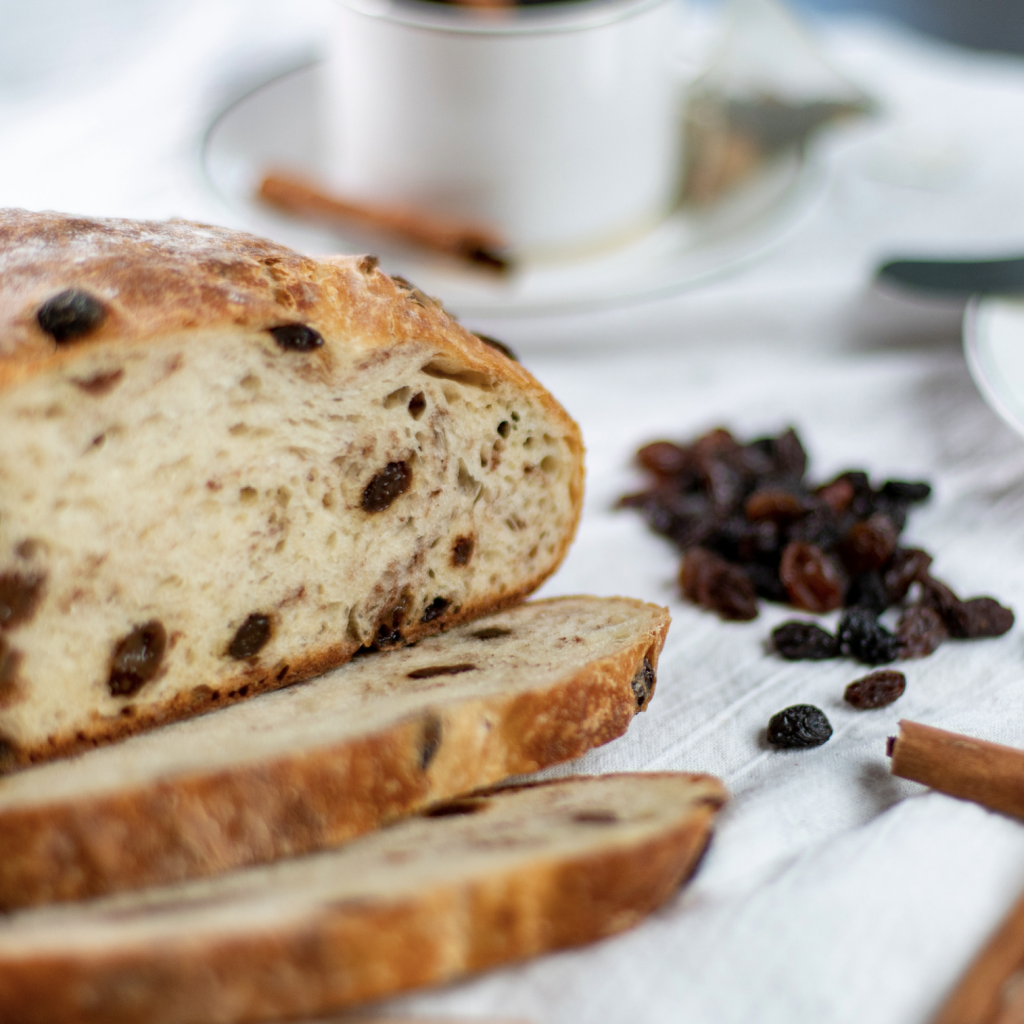
How to Make Cinnamon Raisin Sourdough Bread:
Here is the detail on how to make this no knead sourdough cinnamon bread with the raisins dispersed through the dough. To place the raisins into the rolled layers only use the method in the video.
Plump the raisins before the first stretch and fold. Mix 150 grams dry weight raisins to an equal weight of water. Allow them to soak until the raisin are completely plumped. Drain and set raisins aside until needed at the second stretch and fold.
Add the raisins into the dough at the second and third stretch and folds. Half of them in the second stretch and fold and the rest in the third.
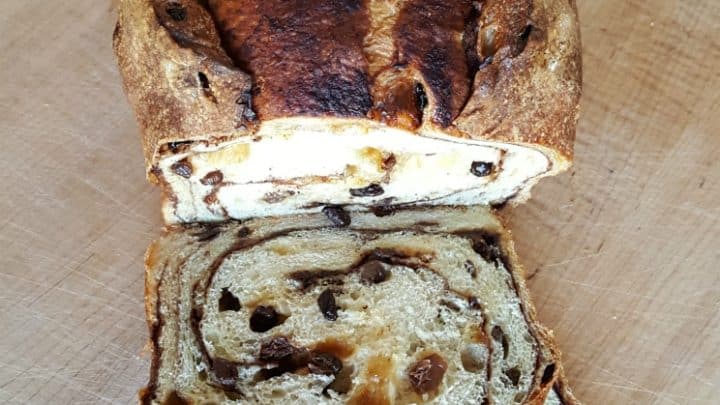
The plumped raisins are swirled with cinnamon sugar layer. The even distribution of raisins is preferable for little pops of raisin flavor while you eat this delicious bread.
You can also…Take your dough and dump the cinnamon / sugar mix and raisins on top; or chop and fold it all into your dough with your bench scraper.
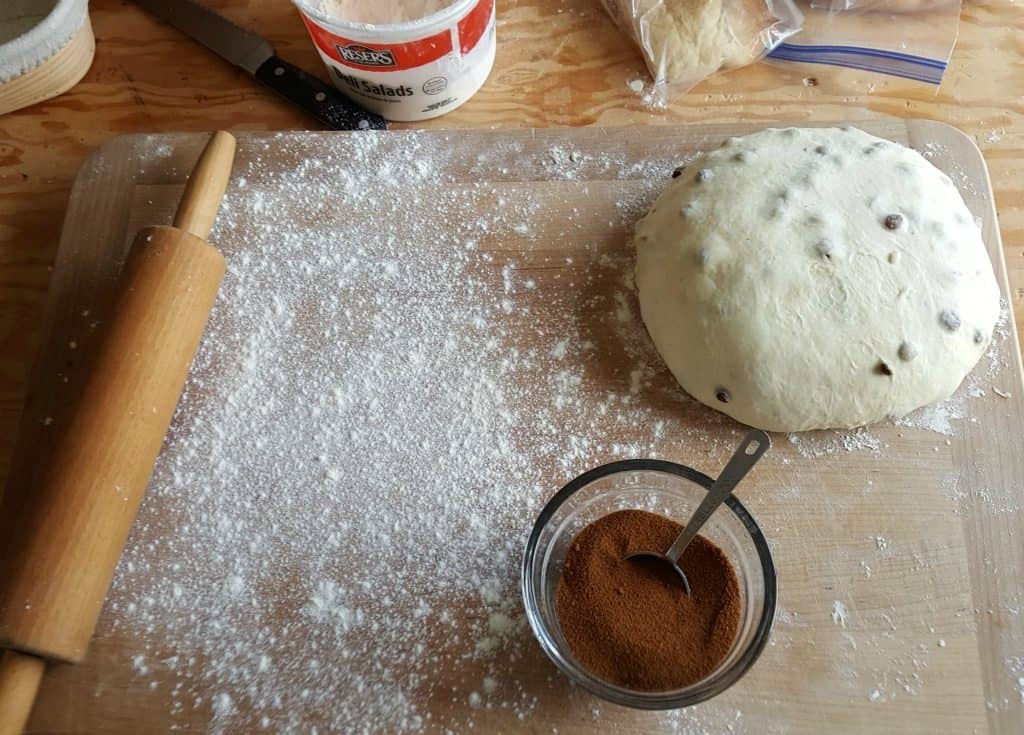
The Cinnamon Sugar Filling
Measurements for each loaf that you want to make into sourdough cinnamon bread are
- 1/2 cup light brown sugar or cane sugar as you prefer.
- 2 Tablespoons ground cinnamon.
This blend can be used as much or as little as your desire. Feel free to double the cinnamon layer or cut it down as your family prefers.
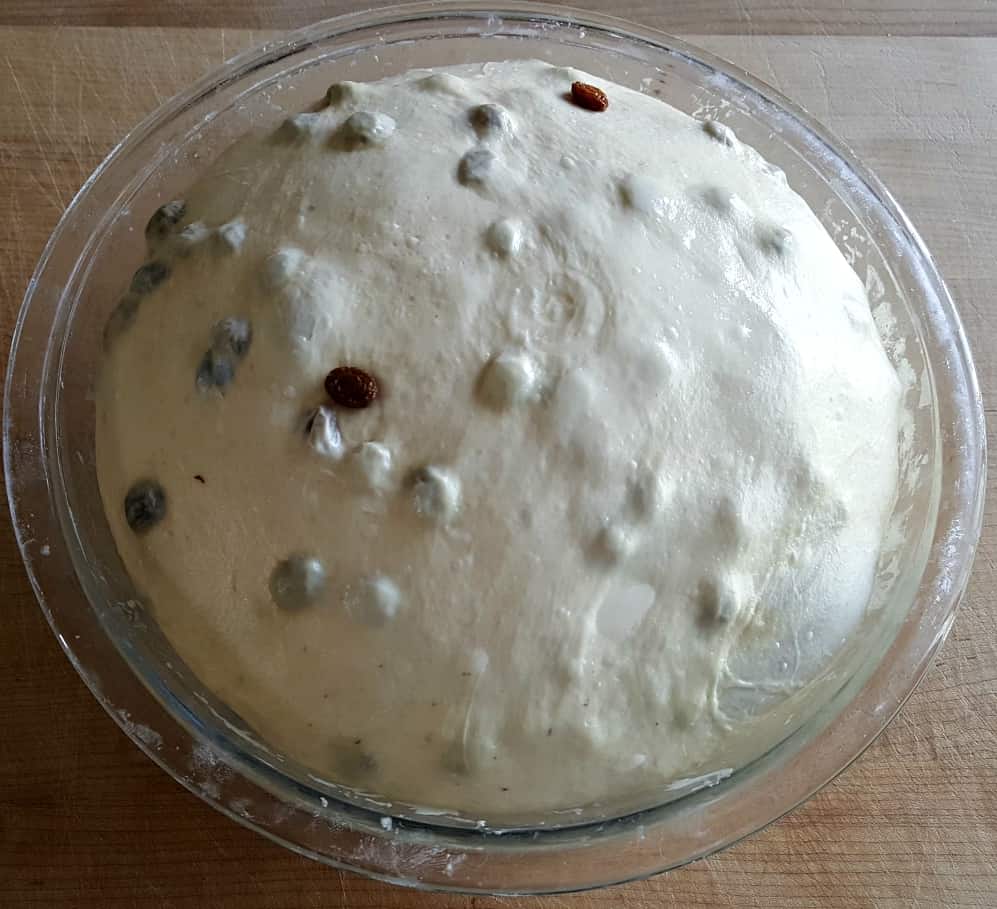
Preparing to form Sourdough Cinnamon Bread loaves
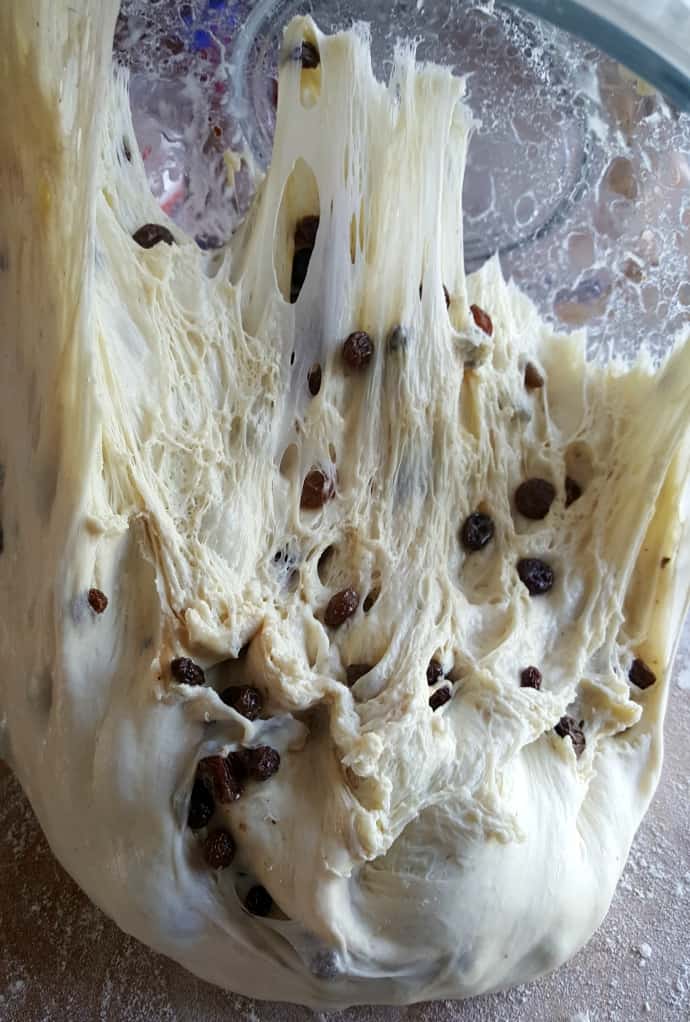
Look at the structure of this dough as it falls out of the bowl. This is what you are shooting for. The gluten is well developed.
Forming the loaves
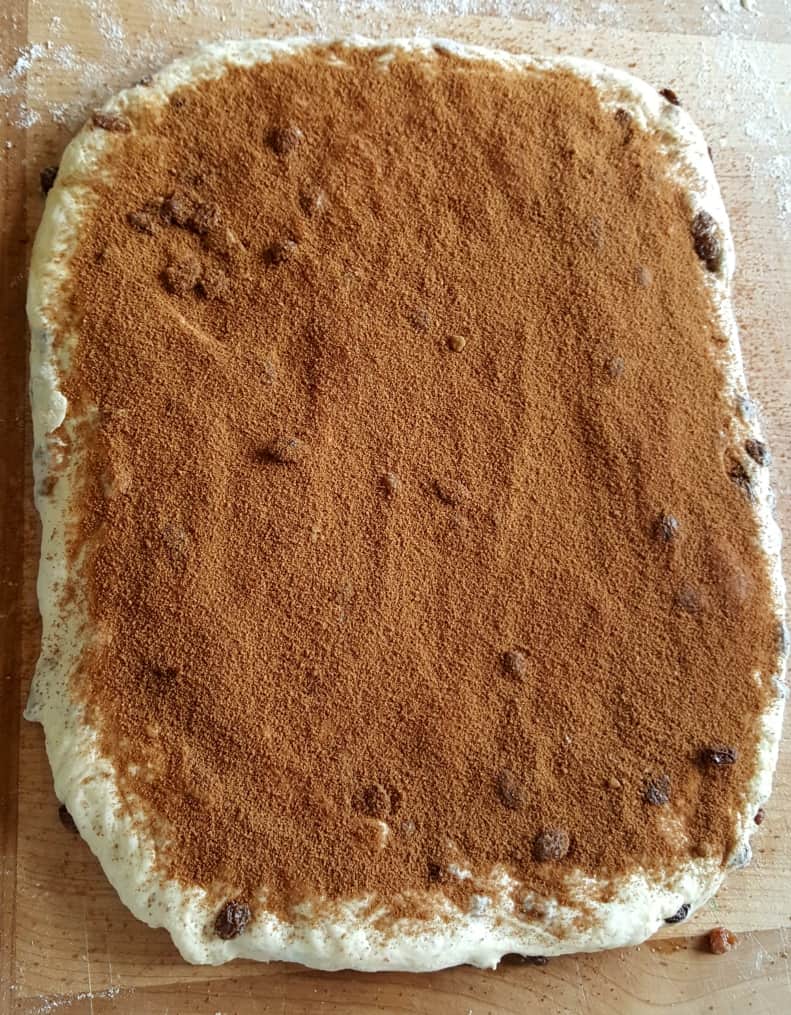
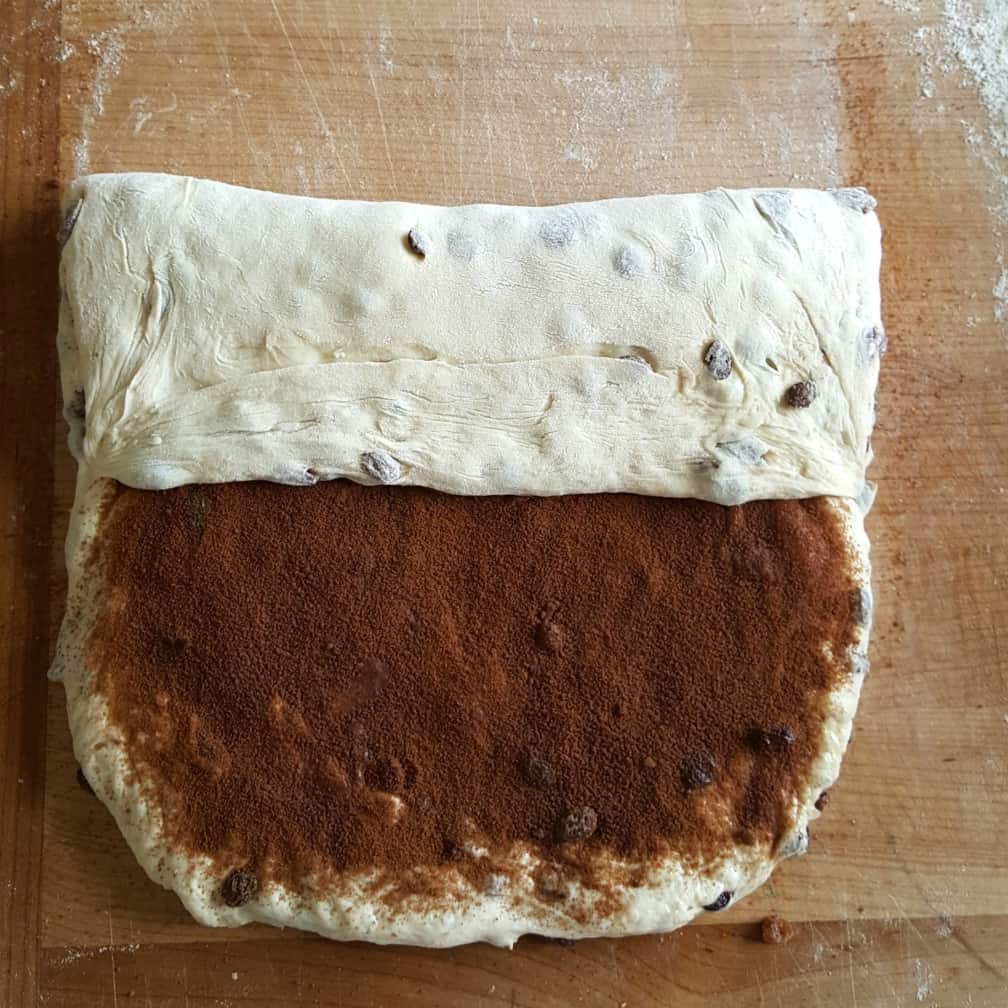
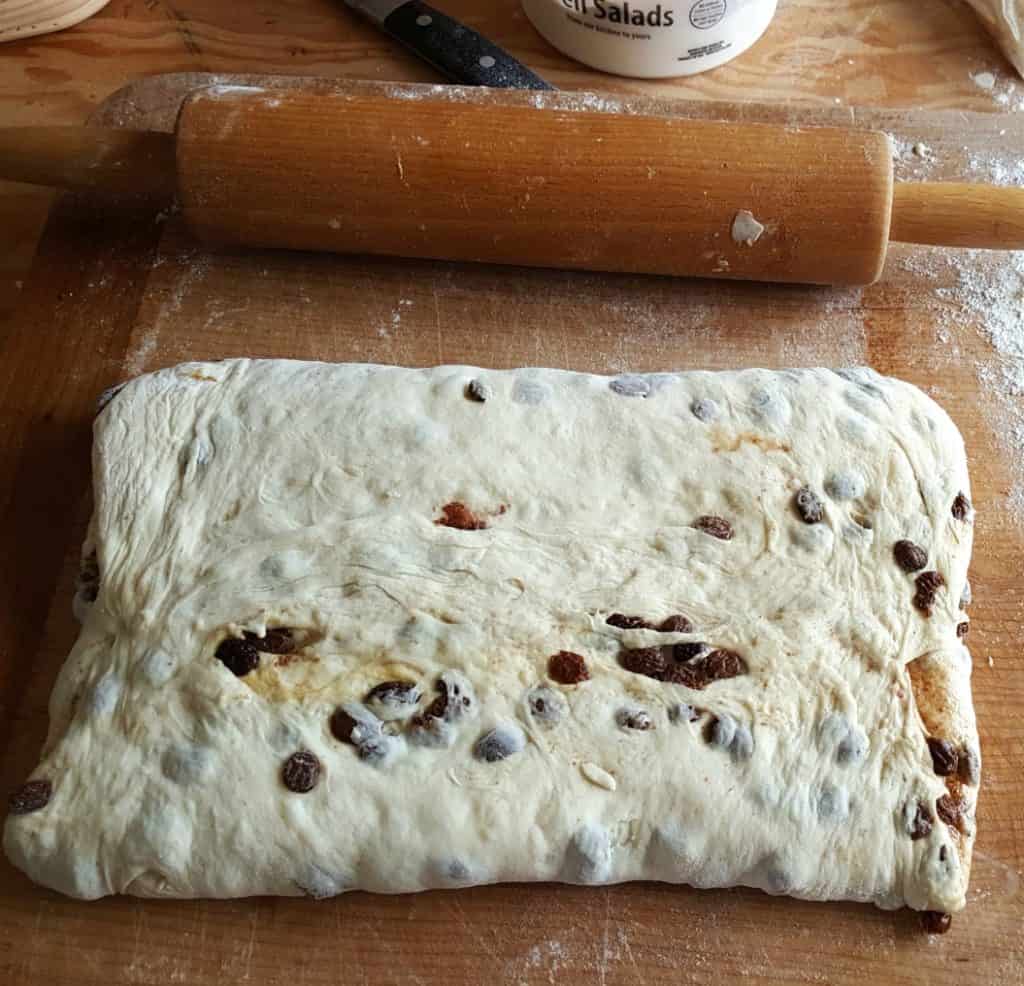
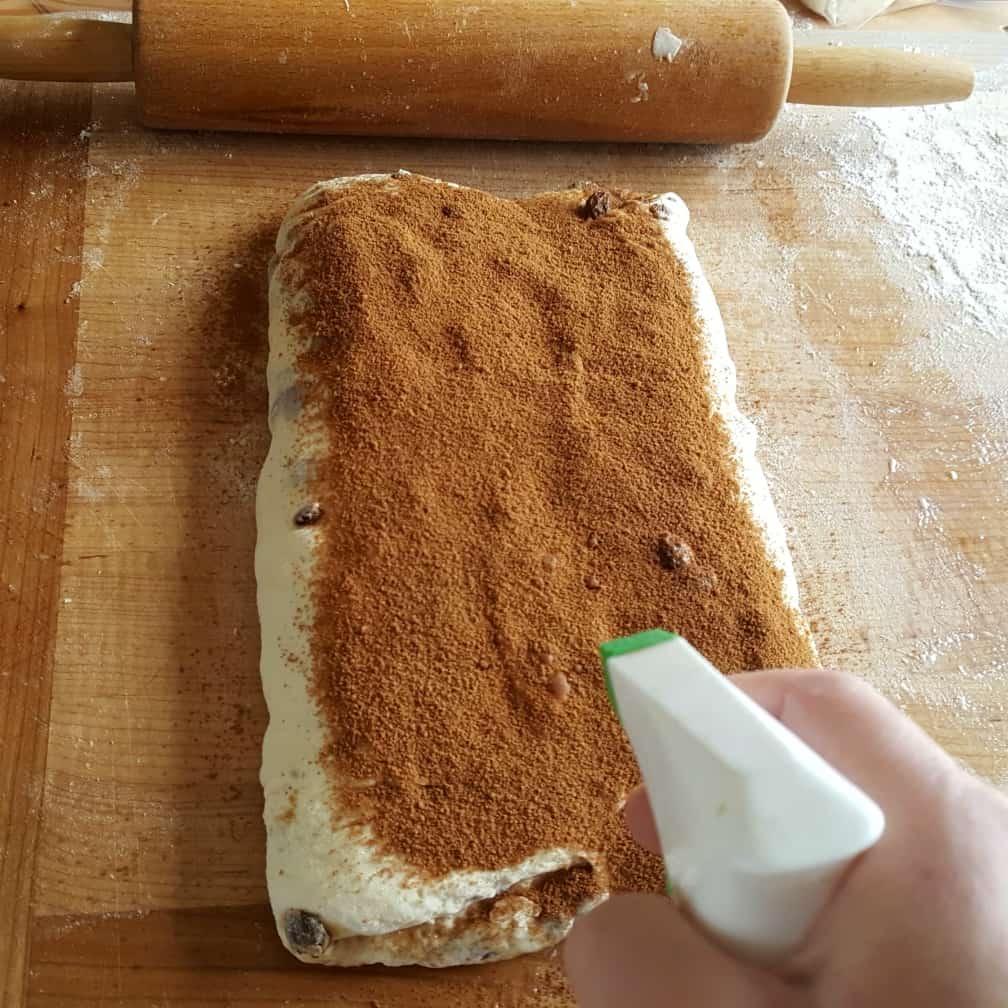
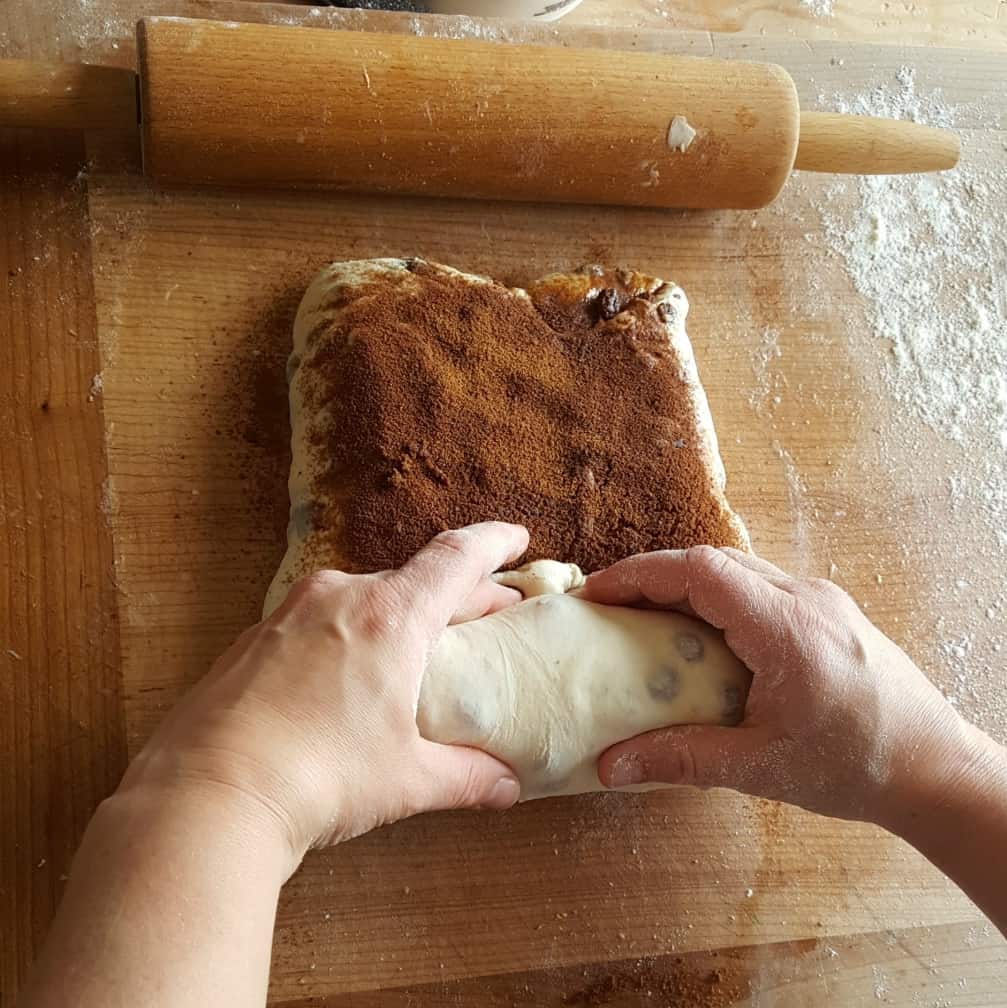
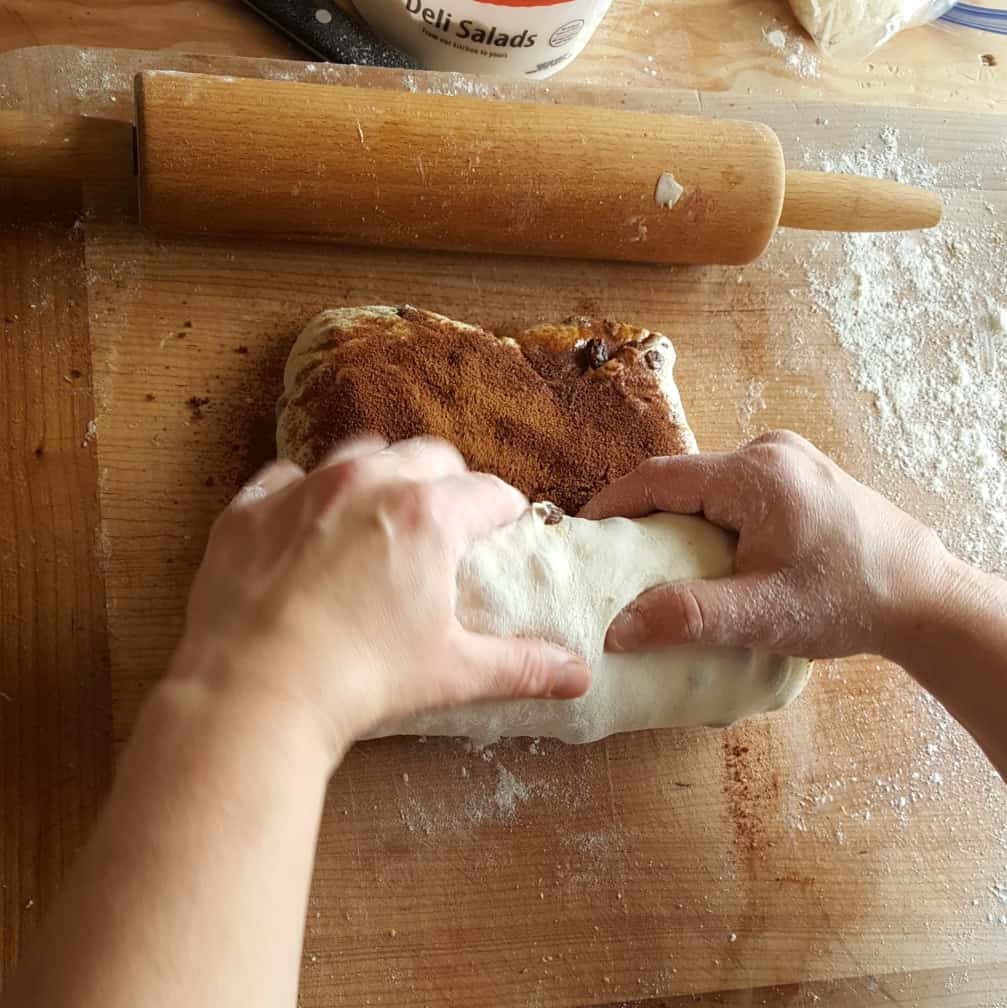
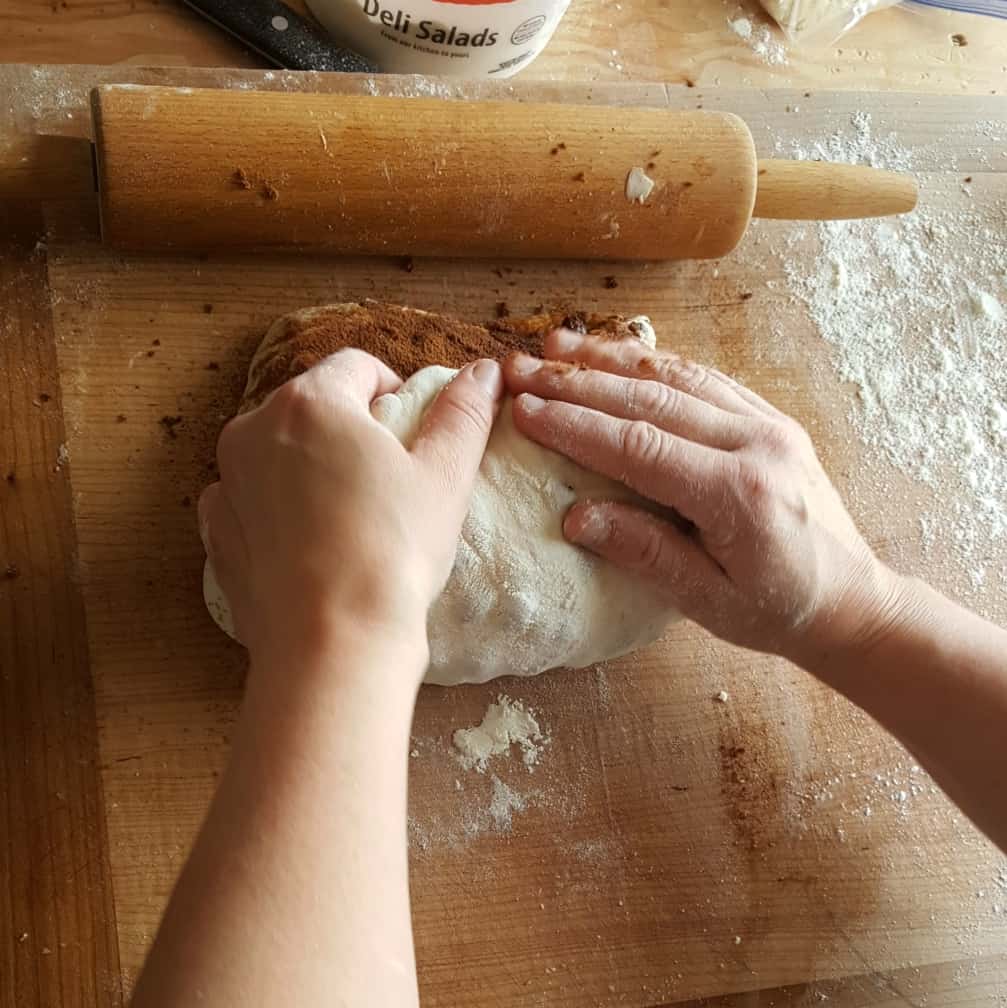
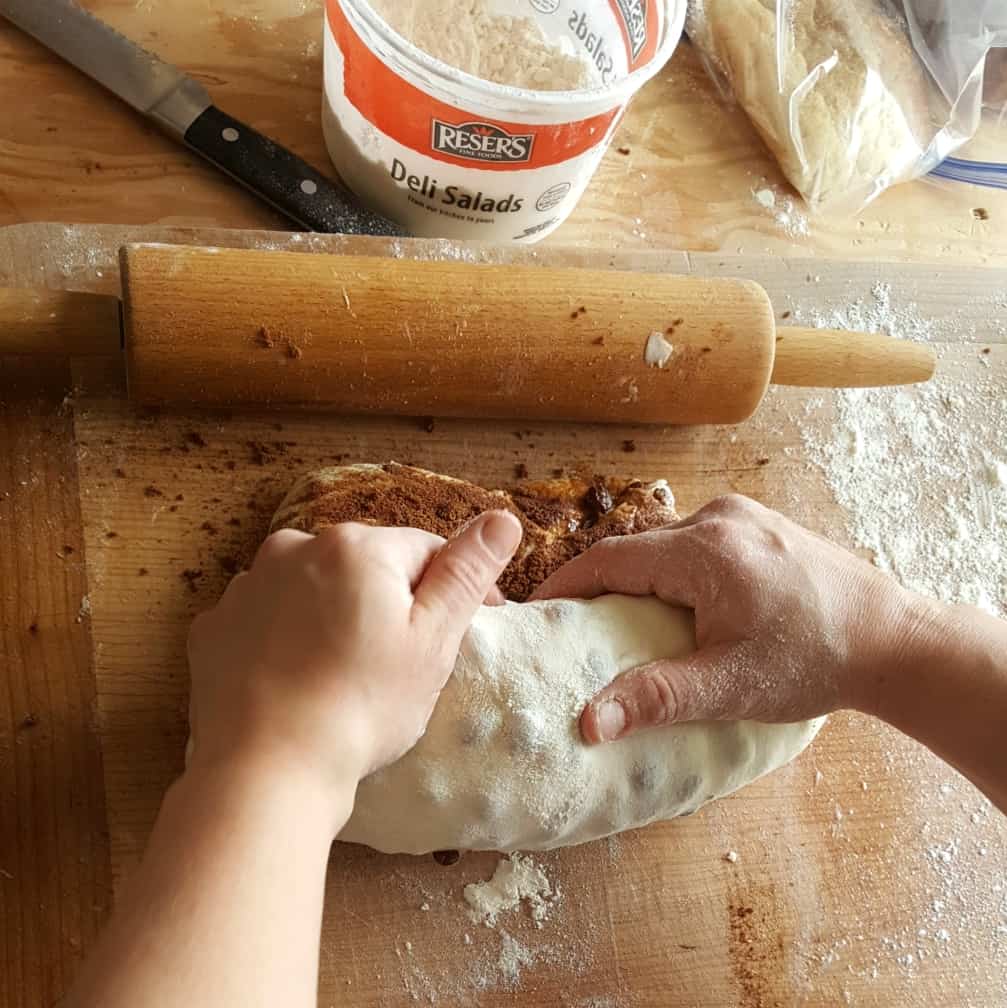
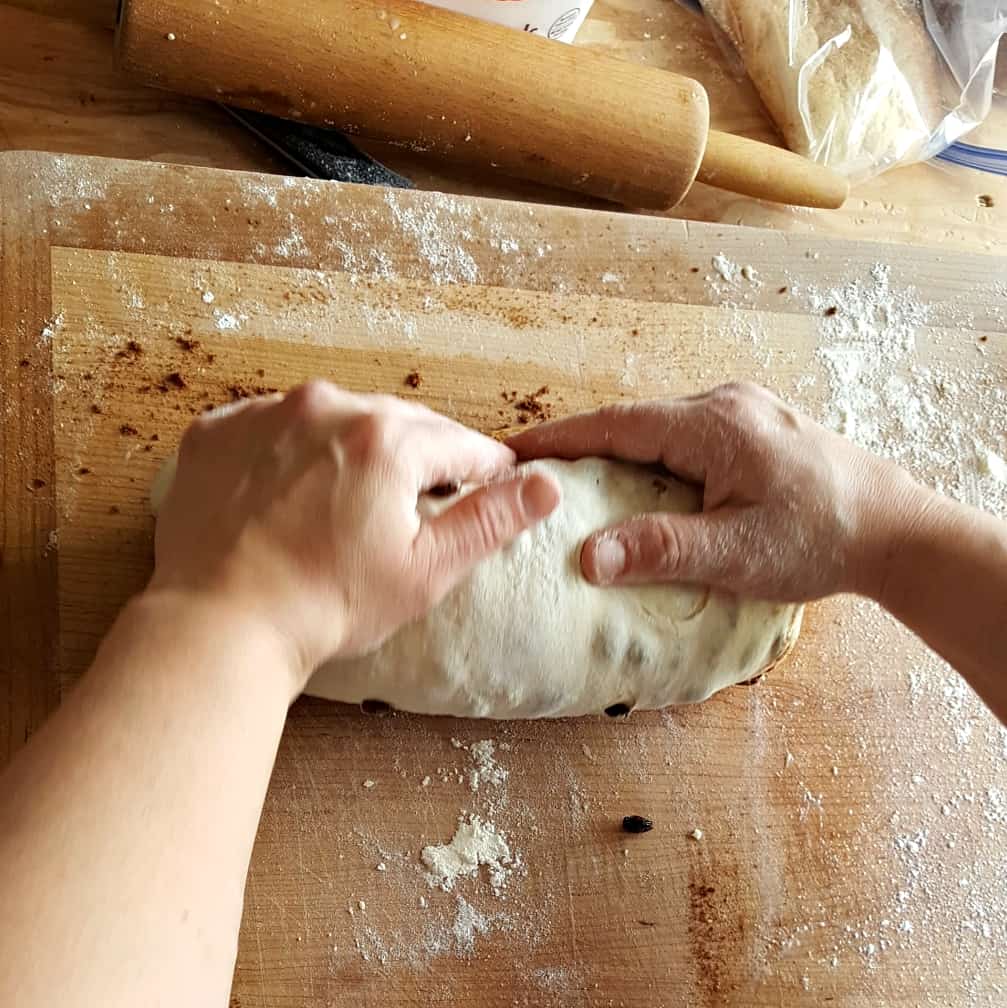
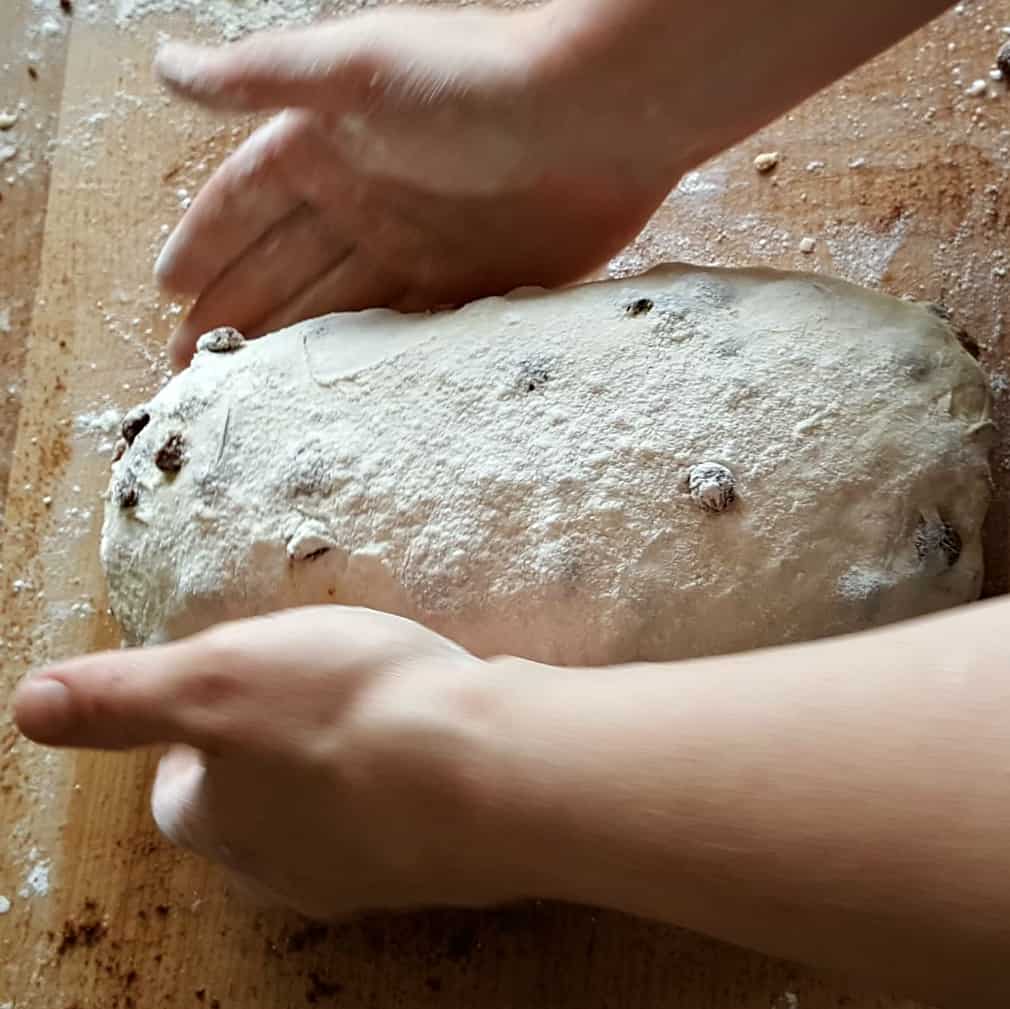
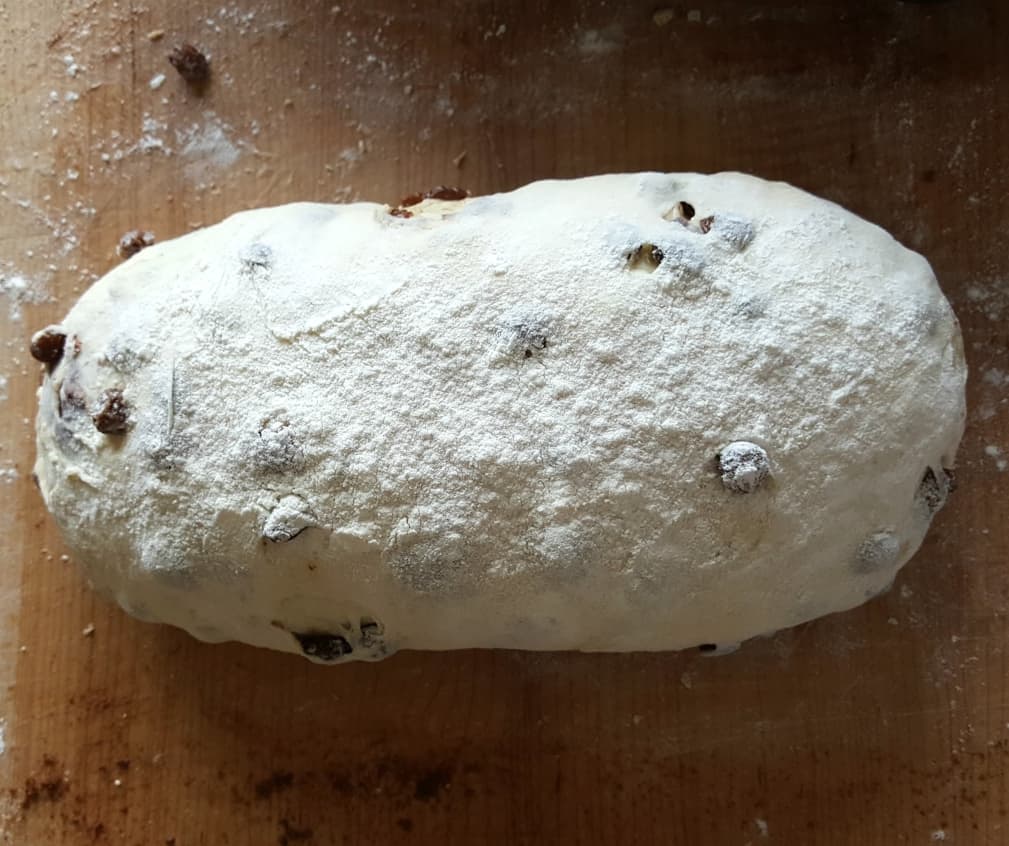
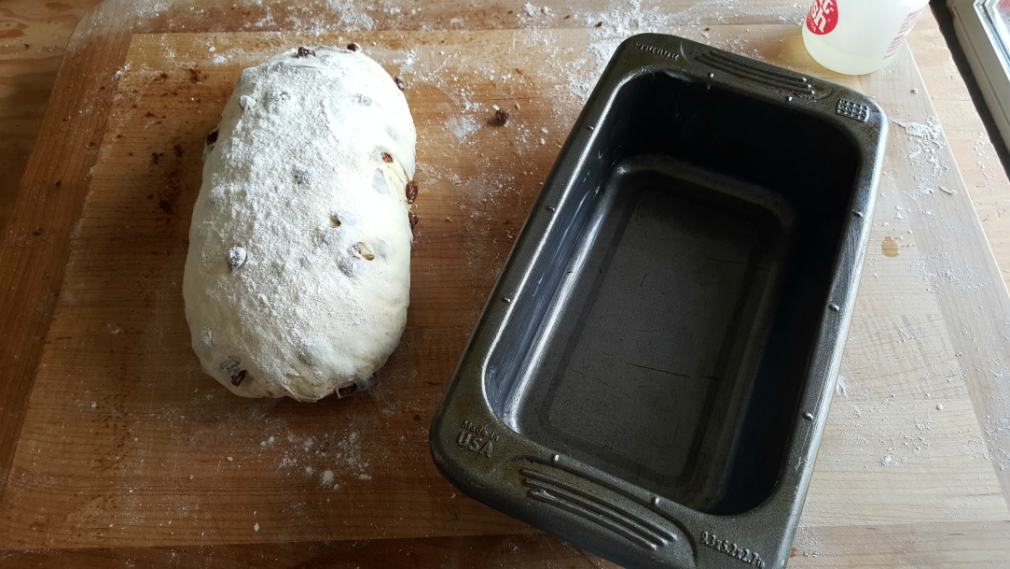
Here is a visual guide to show you how Sasha forms her loaves and adds in the cinnamon swirl layers.
NOTE: There are two layers of the cinnamon swirl. Sasha is using brown sugar in the process pictures below. You can also choose granulated cane sugar as you prefer.
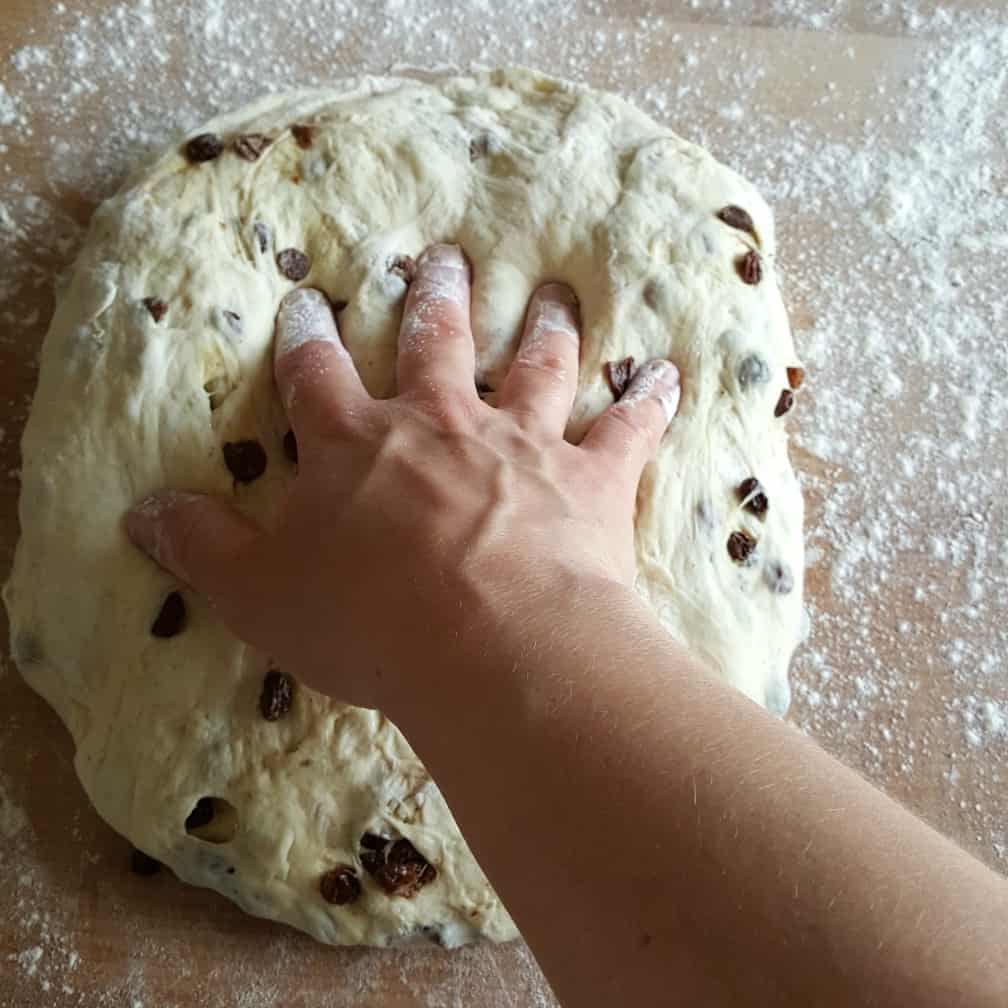
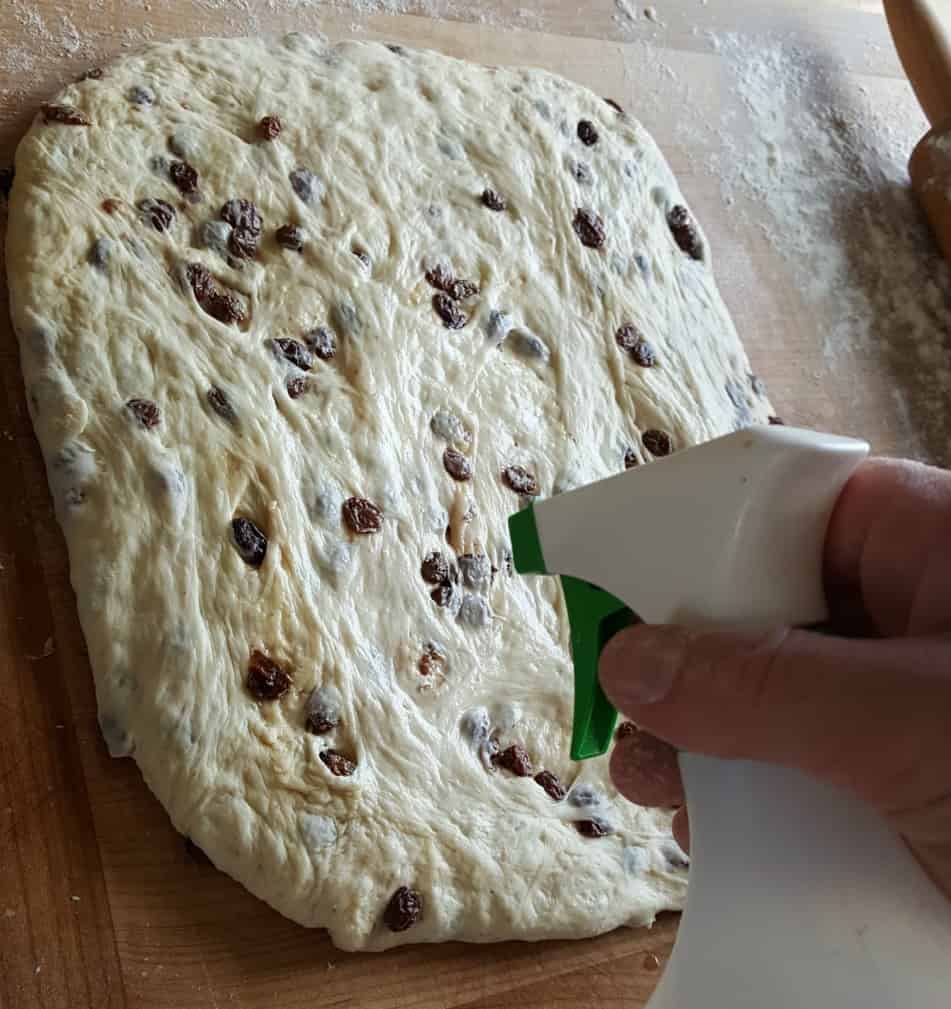
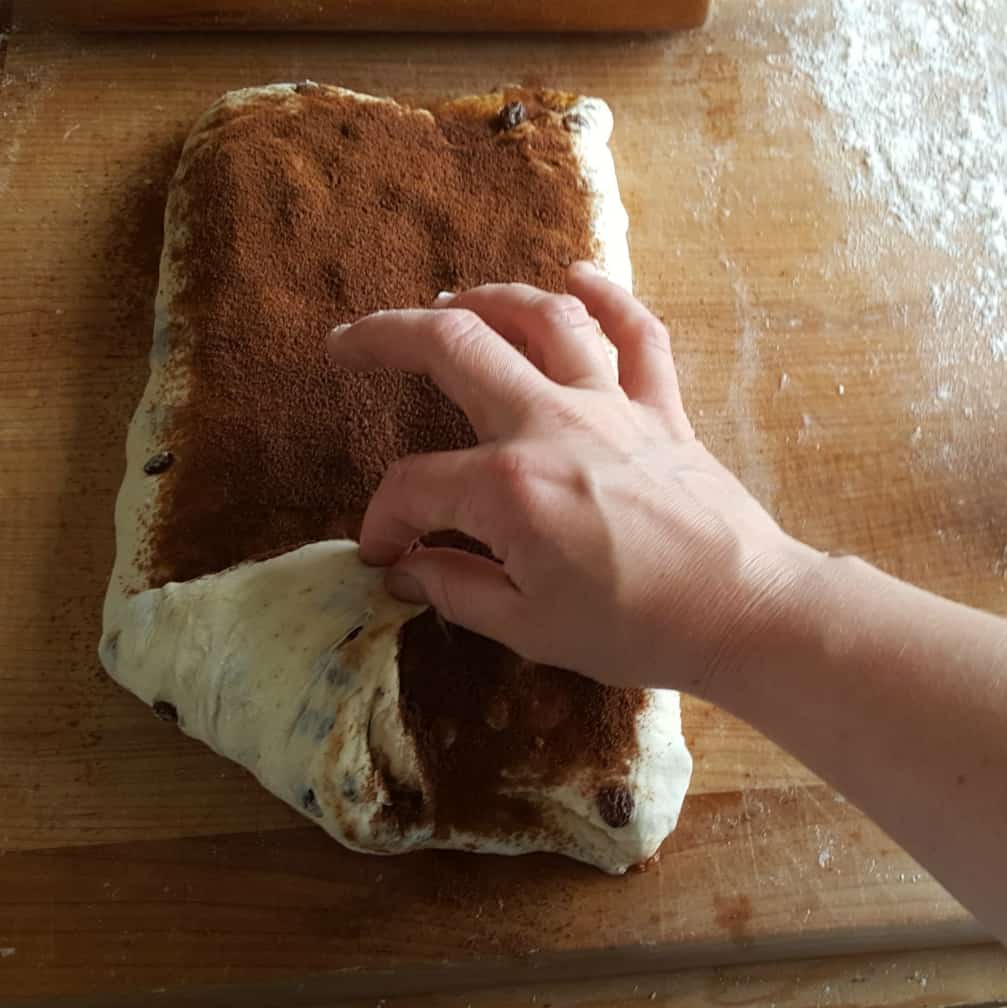
Rolling it up
The printable recipe card has all the instructions step by step. But the techniques Sasha uses is easiest to understand when you can see the process too. Watch our video for a complete recipe demonstration as well.
Your Printable Recipe Card:
Sourdough Cinnamon Bread with raisins
Beautifully swirled cinnamon bread with raisins begins with your bread recipe of choice. Her are the instructions for turning your bread recipe into a yummy cinnamon raisin bread.
Ingredients
Soft sourdough Sandwich bread dough (This makes two loaves of bread)
- 300 grams starter-freshly fed and active
- 650 grams warm water
- 50 grams honey
- 40 grams avocado oil
- 1000 grams White bread flour (high protein)
- 20 grams Salt
FOR EACH LOAF with Cinnamon and Raisin filling You will need:
- 2 Tablespoons cinnamon
- 1/2 Cup sugar- (either brown sugar or cane sugar works)
- 150 grams dried raisins
- 150 grams water
Instructions
MIXING:
- Begin with a very active recently fed starter. It should pass the float test.
- Set a large bowl on a digital food scale set to grams and press the tare button. The scale should read zero.
- Pour in the water to weight of 650 g. Press tare.
- Pour in 300 grams of starter. Press tare. The starter should form a floating mass on the water.
- Add the oil. Press tare
- Add the honey. Press tare.
- Whisk together the starter, oil, honey and water until they are mixed.
- Add the 1000 grams of flour.
- Mix the flour into the water/starter with a dough hook, spatula and your wet hands until you have a shaggy ball of dough.
AUTOLYSE: This step is often called an autolyse. However, Since the starter is included at this stage, it is technically a fermentolyse, where hydration and fermentation begin together.
- autolyse 1 hour.
- Sprinkle salt across dough.
- spritz with water bottle and work in the salt with wet hands.
- Rest 30 mins
STRETCH AND FOLDS:
- PREPARE RAISINS: Put the raisins in water and set aside for two hours. They will plump as they absorb water for a better finished baking result.
- NOTE: See video for an alternate method of adding raisins by layering them in at the final rise rather than dispersing them through the dough in the stretch and fold stage.
- Begin Stretch and Folds. You need 4 rounds of stretch and folds 30 mins apart. See video for technique.
- Do the first stretch and fold and set timer for 30 minutes.
- BEFORE the second stretch and fold cut the dough in half if you only want ONE loaf for cinnamon raisin bread. The other make as plain.
- IF DISPERSING THE RAISINS INTO THE DOUGH: Pour half of the plumped raisins into the bowl and stretch the dough over them.
- At the third stretch and fold pour in the remaining raisins and again stretch the dough to bring the raisins into the dough.
- At the Fourth stretch and fold all the raisins will be blended evenly throughout the dough.
- For more help with adding raisins to this bread dough please read the entire post and examine the photo gallery we include.
LONG COLD RISE:
- Refrigerate overnight or up to 36 hours.
BENCH REST DOUGH:
- Remove from fridge and warm to room temperature. (ABOUT TWO HOURS)
- ( If you have not yet divided the dough for loaves) Divide the dough into two equal dough balls by weight.
- Bench rest an hour until dough is elastic.
SHAPE AND FINAL RISE:
Both the video and our photo gallery included in this post will help show you the details of shaping and layering the cinnamon into the dough.
- De-gass dough with rolling pin and shape for pans as shown in post.
- Evenly sprinkle with Half the cinnamon sugar.
- Fold the outside edges of the dough to the center and close the seam.
- Sprinkle remaining cinnamon sugar on the top.
- Fold the FRONT corners of the rectangle to the center seam.
- Roll the dough up tucking it as you roll to keep the roll tight.
- Flatten the seam and pinch the ends.
- Place the formed dough loaf into your oiled bread pans.
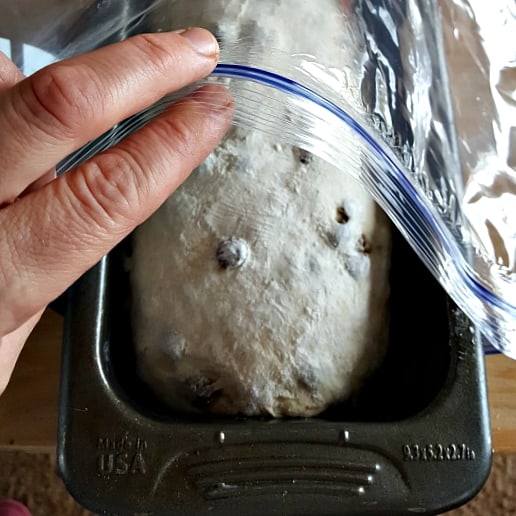
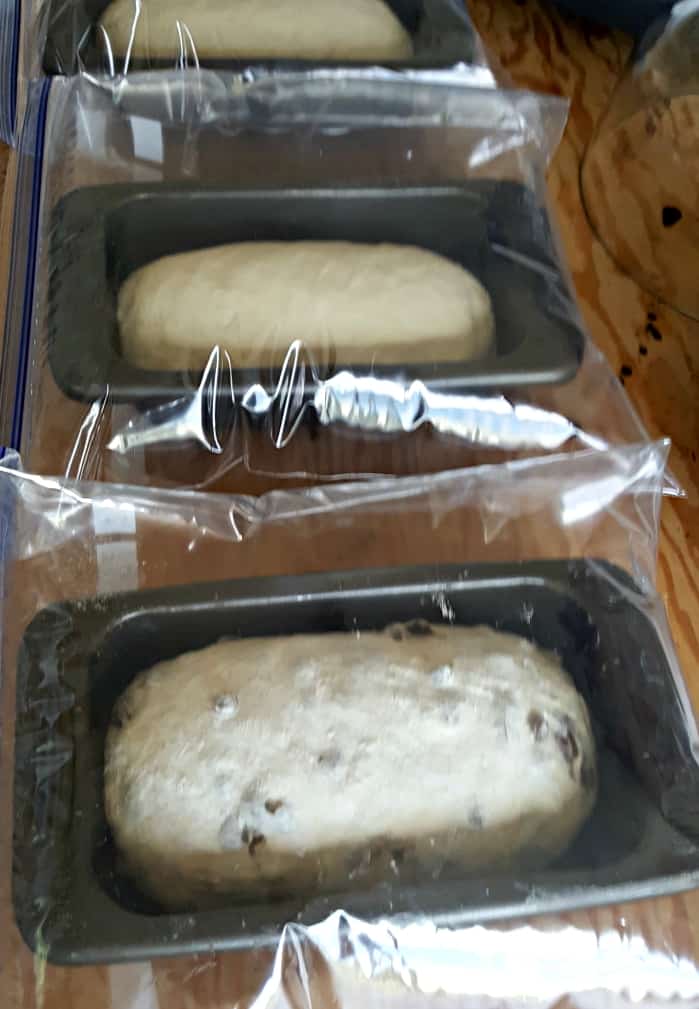
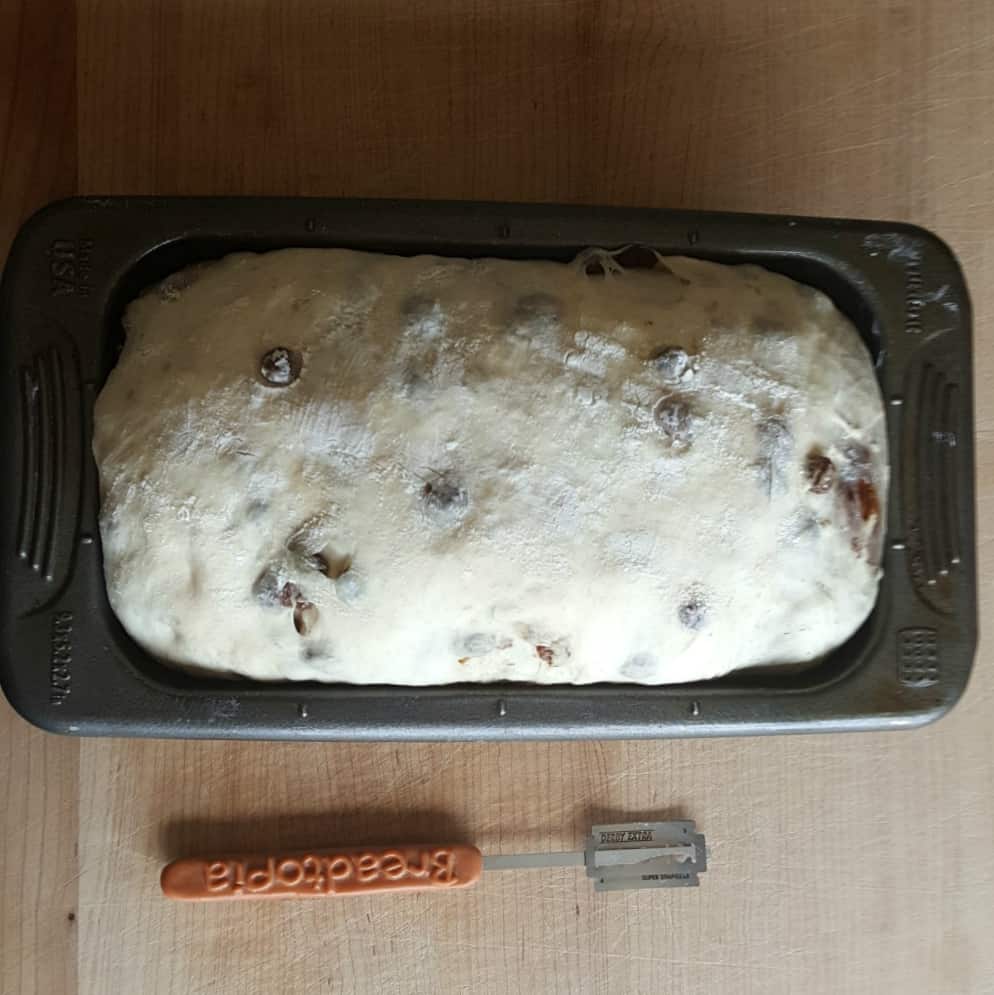
- let dough do a final rise in bread pans covered loosely with plastic until they reach the top of the loaf pans.
- Do an egg wash(optional) on top of the dough before baking.
- Score the dough with a sharp wet blade. Make one deep slash down the length of the loaf for best rise.
BAKING INSTRUCTIONS:
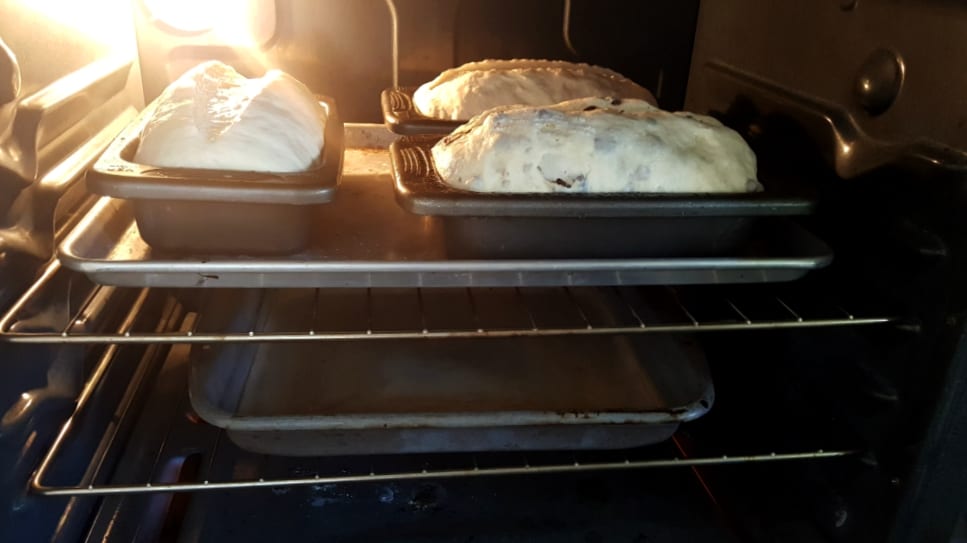
- Preheat oven with a pizza stone (or baking sheet) and broiler pan on oven shelf below at 400°.
- Loaf pans go on top of a sheet pan onto the stone(If you have one).
- Spritz loaves with water just before going into oven.
- Pour water about 1/2 inch deep in the broiler pan. This creates steam.
- Keep steamy for first 15 mins. Spray hot oven with water as you begin baking the loaves.
- After 15 mins turn oven down to 375°.
- Bake an additional 30-35 mins.
- Turn loaves for even browning.
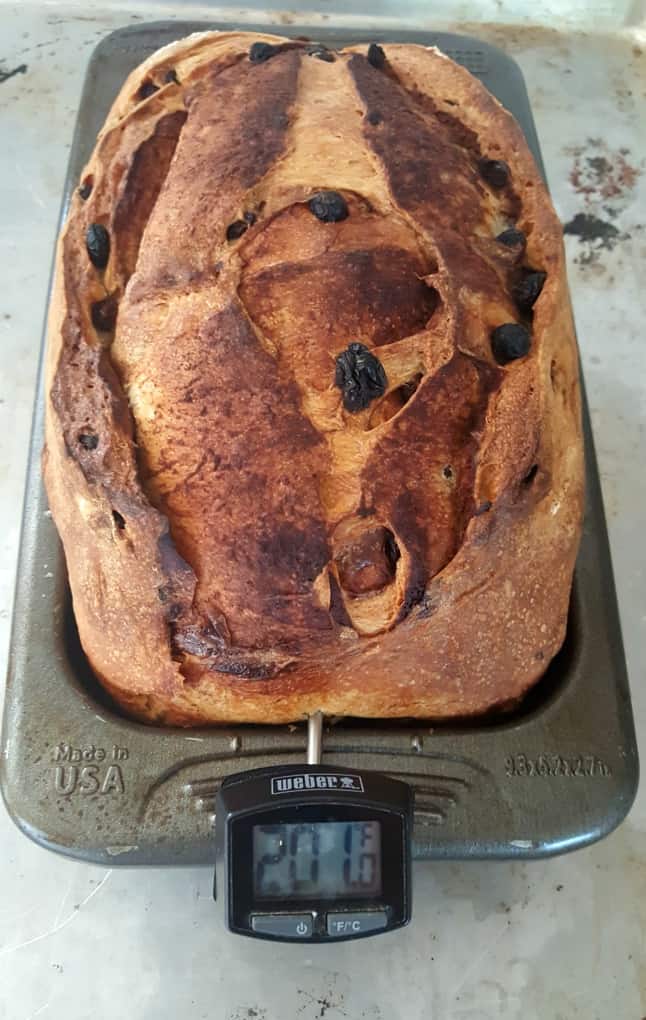
- Using a digital thermometer check internal Temp of loaf. It is done at 200°. If you don't have a thermometer pop loaves out to test for hollow on bottom. Or thump the loaf. Does is have a hollow sound?
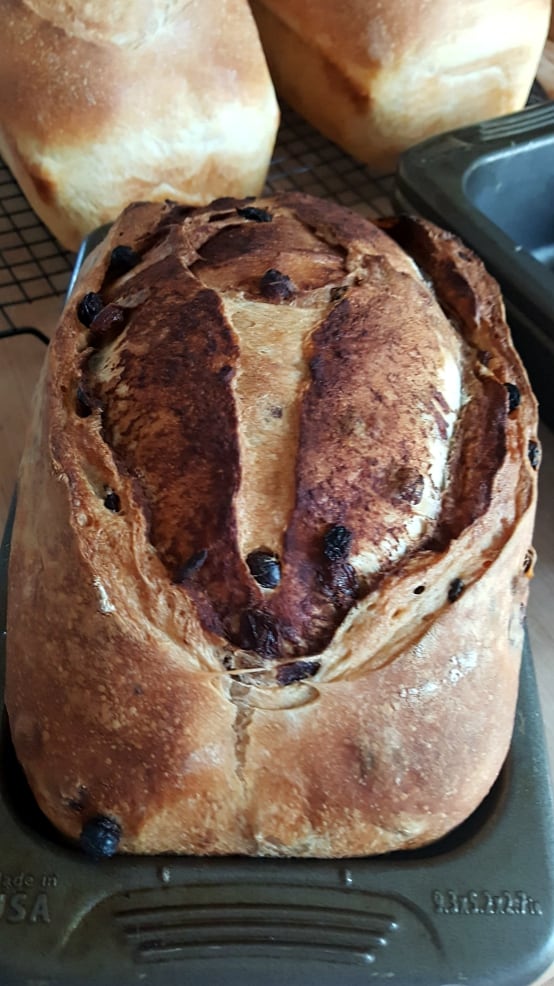
- Remove from oven and cool on racks to room temperature before cutting the bread.
Notes
Alternate Method: To add cinnamon and raisins
If you decide to turn a loaf into a cinnamon swirl bread at the last minute. You can do this just before shaping the loaf. It is NOT ideal. But it will still taste great.
- Take your dough and dump the cinnamon / sugar mix and raisins on top.
- Chop and fold it all into your dough with your bench scraper.
- I do that sometimes when I feel like making a plain loaf into a flavored loaf at the last minute.
Alternate method 2 :
It is easy to add the raisins in when making the cinnamon layers when forming the dough for the bread pans. WATCH the VIDEO below to see me use this method.
More Loaves:
This recipe is for two LARGE loaves. One plain and one cinnamon raisin bread. If you prefer to make three smaller loaves the recipe will divide into three smaller loaves.
You will have to decide at the second stretch and fold how many loaves you wish to make with raisins. Divide the dough into thirds at this point and add the raisins into the loaves as you prefer.
NOTE: If you want two loves of cinnamon raisin bread increase the raisin and cinnamon filling up by a third. The same applies if you want two loaves plain and one with the fillings. But DECREASE by a third.
Recommended Products
As an Amazon Associate and member of other affiliate programs, I earn from qualifying purchases.
-
 Spring Chef Stainless Steel Pastry Scraper/Bench Scraper Chopper, Best as Pizza and Dough Cutter
 -
 Fletchers' Mill Rolling Pin, Maple - 18 inch, Dough Roller, Perfect for Skilled Bakers, Home Chef's, Great for Bread, Pasta, Cookie Dough, Fondant, Pastry, Cookies, Pie, Pizza, MADE IN U.S.A.
 -
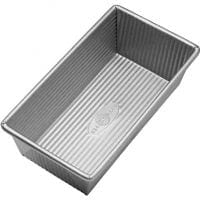 USA Pan Bakeware Aluminized Steel Loaf Pan 1140LF 8.5 x 4.5 x 3 Inch, Small, Silver
Nutrition Information
Yield
24Serving Size
1 slice cinnamon breadAmount Per Serving Calories 217Total Fat 2gSaturated Fat 0gTrans Fat 0gUnsaturated Fat 2gCholesterol 0mgSodium 326mgCarbohydrates 39gFiber 2gSugar 7gProtein 5g
More Sourdough Bread Recipes:
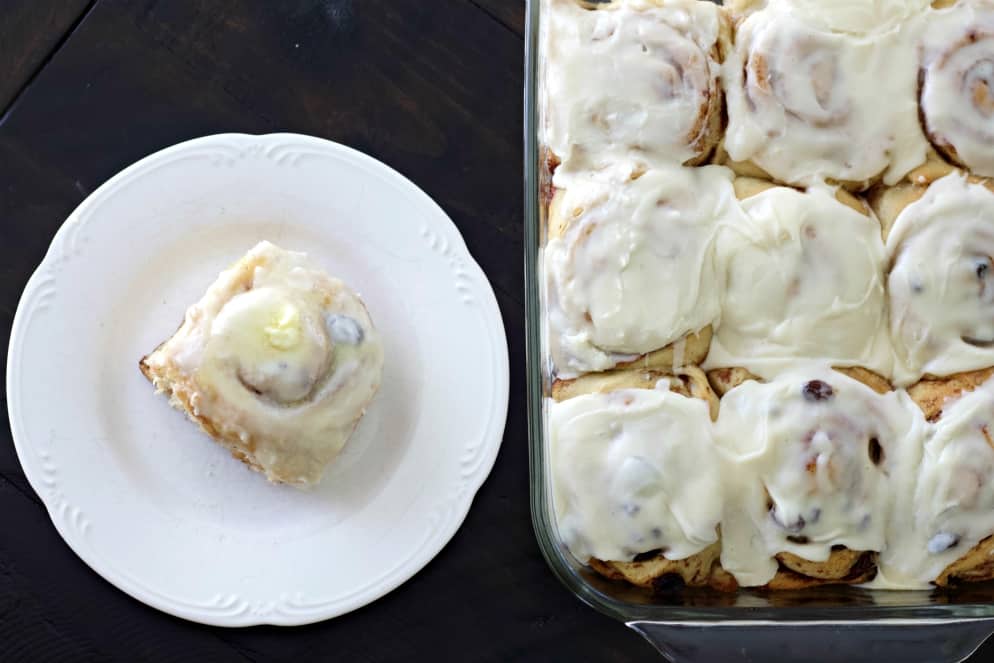
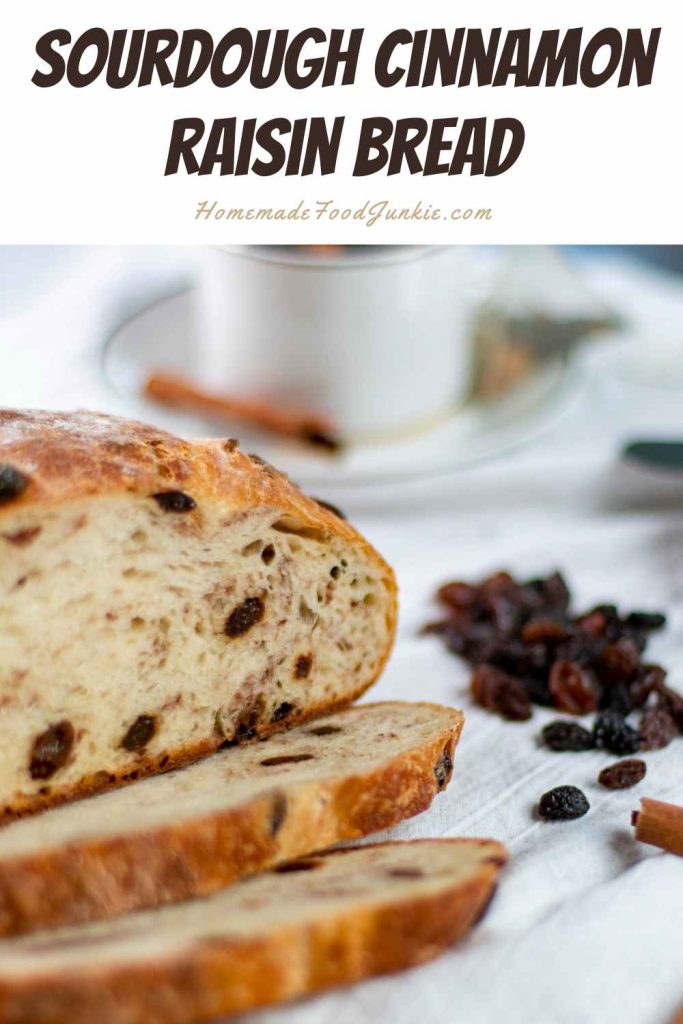
Looking for more sourdough bread? Start with these delicious recipes.
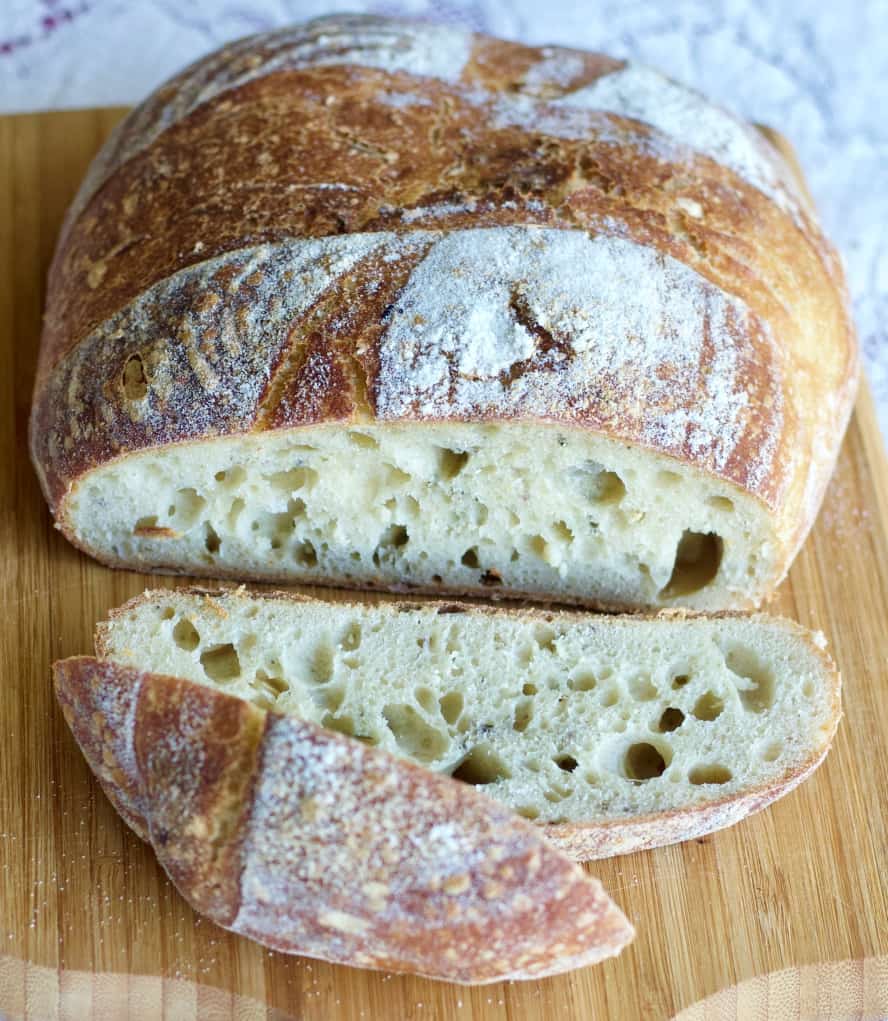
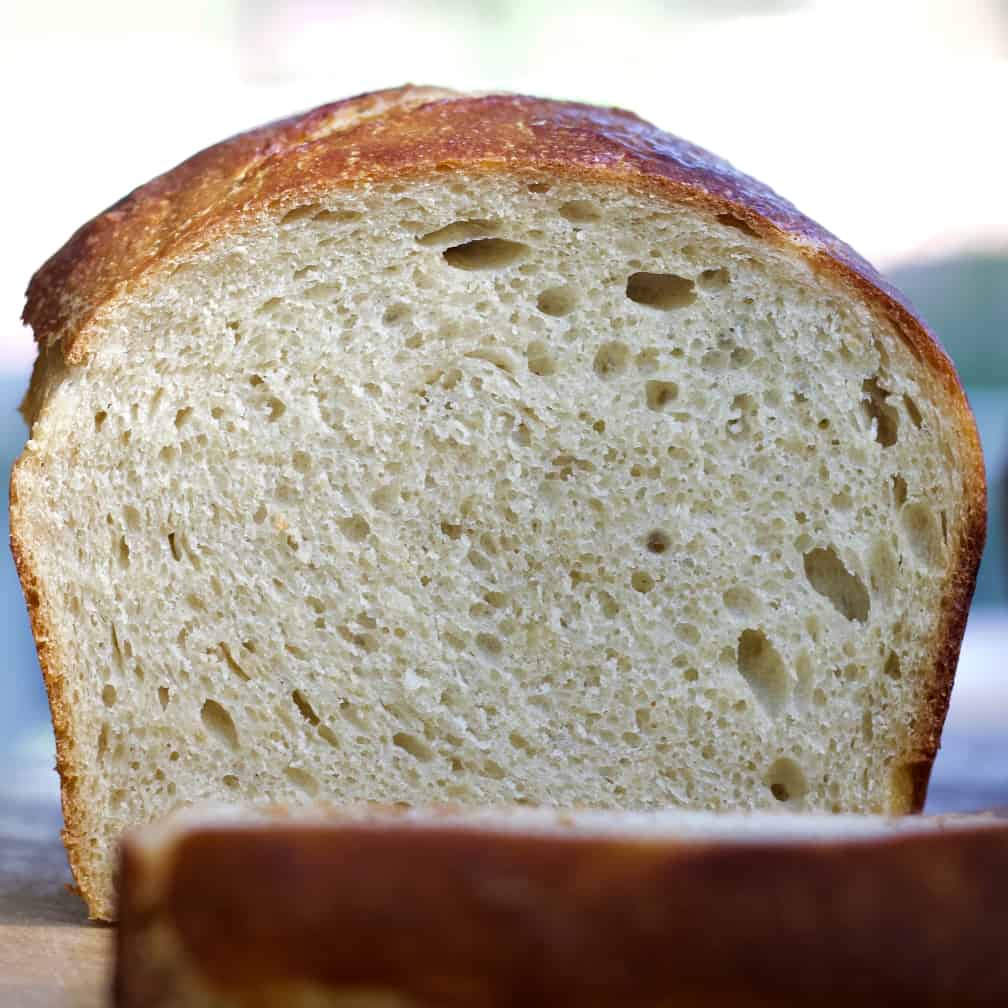
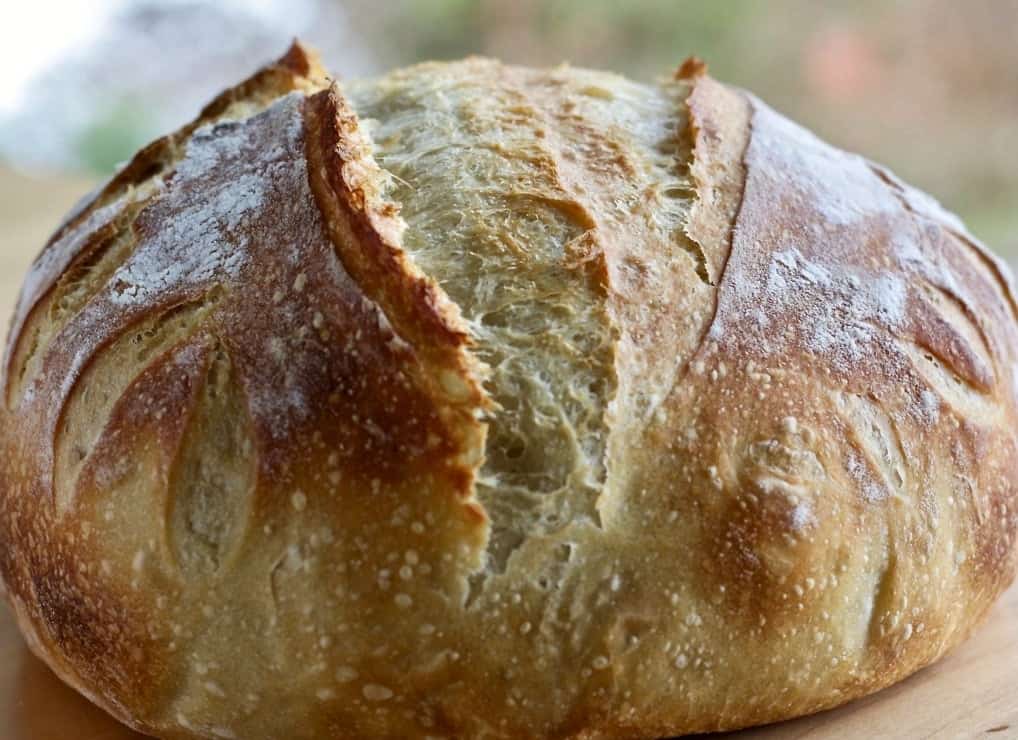
Want even more sourdough recipes? Visit our Sourdough section for sourdough discard recipes, bagels, pretzels and …so much more
Sourcing Sourdough Starter:
All sourdough bread is only as good as the starter you use. Read our posts on how to make your own Sourdough Starter, How to properly feed your sourdough starter, and Drying Sourdough Starter.
If you want to buy sourdough starter that is well established and ready to go CONTACT SASHA. She sells hers all over the US.
Follow Us:
We enjoy meeting you on our social networks. Follow us on Facebook, Pinterest, Instagram . Tag us with your pictures of our recipes and comment on how it went for you. We would love to see what you do with them.
We often like, comment and share your posts of our recipes on our daily Instagram stories.
Ask questions and rate the recipe in the comments section below. Please share what you did with this recipe. We are always looking for more and better ways to make homemade food. Other cooks love your ideas!
Recent Posts:
Absolutely the best sourdough cinnamon raisin bread I’ve come across! This will be in my regular rotation.
I’m very new to sourdough. This recipe along with the video made it very easy to make. I am wondering if the rising before baking portion could take place in the refrigerator? I noticed that the soft sourdough bread that is the basis of this recipe recommended that. If so, would there be any waiting period between removing it from the refrigerator and baking it?
Hi Rachelen, The long cold rise in the fridge is a great way to have an even lighter cinnamon roll. It’s fine to take it from the fridge straight to a preheated oven. I’m so glad your enjoying these cinnamon rolls. Happy baking!
I made the soft sourdough cinnamon raisin bread yesterday for the first time and it was delicious. My only issue was when I sliced the middle it had holes in the dough. I’m thinking I didn’t roll it tight enough. I’ll try again next week. Great recipe, easy to follow.
Hi Debby, We’re so glad you enjoyed this bread. The holes are likely due to it needing more degassing when rolling it out before forming. Tightening the roll will also help. With a little more experience this bread will only improve for you. Happy Baking!
Hi, I’ve made this recipe several times and always turns out great but I was wondering about the amount of sourdough starter used. It just seems like a lot based on other recipes I have made that have a similar amount of flour and water.
Hi Olivia, We enjoy the richness of flavor and lighter texture (without adding commercial yeast as some bakers do) that a good amount of strong healthy starter will add to the bread. Keep in mind this is a long slow rise, no knead recipe. This method works really well with the amount of starter we call for. The amount of starter gives the dough enough time to ferment appropriately and allows the bread to develop. I’m delighted that you’re getting great results from this recipe. Happy Baking!
This is a very delicious bread. I’ve made this recipe several times and it always comes out well. The one thing I struggle with is the size of the rectangle on which the cinnamon sugar mixture is placed. I don’t see it in the recipe, in the blog or in the video. Although I’ve made it several times, I am still interested to know the size that others are using.
Hi Ray, I’m glad you brought this up. I’ll also be interested to hear how others measure the rectangle. We use the pan for the measuring tool. Just make the rectangle short side the width of the pan and roll out the dough to about 1/2 inch deep. The length of the load side should work out just fine. I hope this helps.
This is the most delicious fruit bread I have ever tasted, this will be made often. Make a great gift for friends starting the sourdough journey or not. Thank you for such a great recipe.
Our Pleasure Caroline, Thanks so much for reviewing the recipe and letting us know you enjoyed this bread. Happy Baking
Hi! Loved everything about this recipe except that it had a very strong sour taste. I used my regular starter I use for sourdough and my sourdough never tasted sour. Any thoughts as to why that would’ve happened?? Thank you!
Hi Sarah, Huh. I’m perplexed. I have made this bread along with countless others and never had a comment about the bread being too sour. However, I just wrote a post on how to make your own personal sourdough flavor profile that addresses how to impact the sourness of your sourdough bread.It has lots of ideas and tips on this so I’m going to send you to it and hope something in there helps. Happy Baking!Creating a sourdough Flavor Profile
Love this recipe and have made it many times! It’s VERY forgiving and works around my schedule. Most recently made one loaf cinnamon raisin and the other Kalamata olive, sun dried tomato and herb. We can’t decide which we love more!!
Hi Laura, I’m going to have to try adding in Kalamata olives and dried tomatoes. Sounds divine! Thanks for sharing your experience with this recipe and the great review. We are happy To hear your having fun developing new versions! Happy Baking 🙂
Hi ! I absolutely love this bread and it was the first sourdough bread I ever tried. Now I even substitute rye and spelt flour for some of the bread flour. I really appreciate you sharing the recipe and the helpful video. I do have a question: I would like to make 6 small rounds cinnamon raison instead of loaves; do you think I should use the same oven temperature ? Thank you, Jess
Hi Jess, Its so great to know you love this recipe and have learned how to adjust it for your own personal tweaks. As for the small rounds I would control the bake by changing the method. Bake boules in a dutch oven or otherwise covered for about half the baking time. Then remove cover and continue bake to done.
Reduce the time of the bake rather than lowering the temperature. Otherwise you may sacrifice the best rise. When I bake boules I chill them for 2 to 4 hours and preheat the oven and dutch oven I bake them in at least 30 minutes before baking them.
Score the loaves deep.
TRY THIS: Bake the small boules at 400 degrees F covered with a lid (dutch oven preferred) for 15 minutes. Remove the lid and check internal temp of loaves. They need to get to 200 degrees F to be done. Bake with lid off until they reach 200. Maybe another 10 minutes?
Not sure since I don’t know the boule sizes. NOTE: You can reduce the heat to 375 degrees F. after you take the lid off if they brown really fast and are not baking to done.
I hope this helps. Thanks for the great review. Happy Baking!
@Diane, thank you so much ! I can’t wait to try this new method. Your input is very much appreciated and my family will reap the tasty benefits.
Absolutely. Have a wonderful Thanksgiving!
The video does not show her spraying any water as directed in the recipe. Please explain. Thank you!
Hi Linda,
Spraying water on the dough before baking is not required for success. It is suggested in the recipe because that is what Sasha (the recipe author) does and her loaves turn out great! I have made this recipe both with the spray and without. The waterbath is the most important part of baking this bread. As the bread bakes it needs to be steamed and the waterbath accomplishes that. Some people have had trouble using too much spray on the loaves and discovering soggy baked bread as a result. I believe your local humidity may impact how much spray helps the crust stay soft but keeps the bread well baked. I hope this helps.
@Diane, Thank you! It’s fairly humid in my area, so I will forego spraying the top of the loaf. Appreciate the feedback! My loaves are rising now. =)
Happy Baking!
I’d really appreciate a response to my question below regarding sealing the ends. Thank you.
Hi Lori,
I’m happy to help. As the loaf bakes it will expand and squeeze out some excess filling. This is normal. If you want to reduce leakage I can think of two things you can try.
-Pull the dough from the bottom of the loaf end after forming the loaf and pinch it at the top third of the loaf. This may help contain the filling as the bread bakes.
-Reduce the amount of filling you spread out to the edges of the dough. This should help keep the filling away from the loaf ends and reduce the leakage.
ALSO: if you find the loaf is wet after baking it may not be the filling leaking out but rather too much water sprayed on the loaf before baking. This may be weakening your seals on the dough as the water falls into the pan around the dough as it bakes. Try making a loaf and using the water bath without spraying the dough and seeing if that helps keep the finished bread dryer.
I hope one of these ideas help. I’m so glad your a fan of this recipe. hopefully you can tweak it to make it a pleasure to bake. Have a wonderful day!
This came out perfect and might be the best loaf I’ve ever made! Smells so good while baking and tastes wonderful. I am excited to try it as french toast. Your detailed instructions were perfect, I followed them too a tee.
The sugar/cinnamon mixture did cause the loaf to really stick to the pan, even well greased. I would probably use a sheet of parchment in the pan next time for easier release.
The dough is quite sticky but using a wet hand and bench scraper it’s workable.
After shaping the loaf and putting it into the pan, egg wash, and scoring, I covered it with a plastic bag and into the fridge for 2 hours. It wasn’t really rising much in the pan which I expected in the fridge. I ended up leaving it in the fridge around 6 hours and it still hadn’t risen to the top of the pan, but I baked anyways and got an excellent oven spring using the water spray technique and pan with water. The end loaf looked just like your pictures.
In terms of nutritional info, the entire baked loaf for me was 1210 grams and I got 3179 cals for the entire loaf when I plugged it in so just depends on how thick you slice it.
Thanks for this excellent feedback. I’m so glad the recipe worked well for you. Happy baking!
Hi! I tried the recipe with AP yesterday and my dough was so sticky which I immediately realized could have been the flour change. Do you know the measurement for the recipe using AP? That’s typically what I have on hand more! Thank you!
Hi Elizebeth, The flour will make a difference for sure. You can use AP but you will have a much better result if the PROTEIN of the flour is over 5 grams or 12%. King Arthur and Montana brands are two that have this in AP flour.
The stickiness is a factor with this dough. Wet hands and tools are your best friends when working the dough.
Made one Cinnamon Raison and one plain loaf. The Cinnamon Raison was fantastic and will become my go to recipe for this type of bread.
Time to make this again. My kids love this bread and always ask for it.
For anyone wondering, I let it cool slice and freeze in gallon freezer bags with a piece of parchment between each slice for easy separation.
The recipe works wonderfully as written and so easy to use the scale and Tare button to measure as you add the ingredients. The dough is so nice to handle and work with too! The pictures make it fool proof.
Thanks for sharing!
Hi Cate, We are so glad to hear the recipe works well for you. It’s a favorite for sure. Happy Baking!
Took a chance and made this… and was not disappointed! I’ve made cinnamon bread, cinnamon rolls and plain sandwich bread. I will be very hesitant to buy bread again! This is a super easy and excellent recipe! Thank you so very much for sharing <3
It’s so great to hear your feedback on this recipe. We are delighted you enjoyed it. Happy Baking!
Lost count on how many times I’ve made this bread. It’s an absolute favorite of everyone who has ever tried it. I am looking for any tips as to how to keep the filling from oozing out a bit into the pan creating a sticky end. No matter how many times I pinch and seal and tuck during the shaping I still get leakage. Anyone mastered this part with any advice?
This bread is a favorite! Turns out great everything. Makes amazing French toast too. Wonderful tutorial. Thanks!
@Jane, oooo I’ll have to try for French toasts
Could you convert your measurements to cups & teaspoons please?
Hi Vera, Here is the Conversion to CUPS :
I do NOT recommend volume measurements for best results with sourdough baking. There are differences in the starter and flours that make weighing by Scale a MUCH more reliable method. But if your not using a scale here are the approximate volume measurements of the ingredients. Happy Baking!
2 2/3 Cups -300 grams starter-freshly fed and active
2 3/4 Cups 650 grams warm water
2 3/8 Tablespoons -50 grams honey
3 Tablespoons- 40 grams avocado oil
8 Cups- 1000 grams White bread flour (high protein)
1 Tablespoon-20 grams Salt
1 Cup Raisins
2/3 Cup Water
I made these last week and they were AMAZING. Can I shape them before I go to bed and put them in the fridge? I want them before I go to work at 7:30.
Hi Ryan, Glad you enjoyed this recipe. As you work with it over time you will find it is quite flexible. FYI, there is a separate post on how to make this recipe into cinnamon rolls here. This may be the easiest way to do a quick bake in the morning.
However, you can shape the loaves the night before for a faster bake in the morning. You may find a bit of a difference in the flavor and texture since you are sort of hurrying the dough a bit and it may be stickier to work with, but it will still give you a good loaf of bread. Please let us know how it goes for you and thanks for your question and review! Happy Baking