
Candy Coated Spoons Food Craft
As an Amazon Associate and member of other affiliate programs we earn a small commission from qualifying purchases through our affiliate link. For more information read our Entire Affiliate Disclosure.
Candy Coated Spoons add a touch of fun to a party table, a bit of rich sweetness to your hot drink and they make ideal gifts! Set these by your coffee pot or chocolate fountain display for party favors. Make them any way you like. Create them to fit any theme, flavor or color scheme you require. Have fun playing in the spoons!
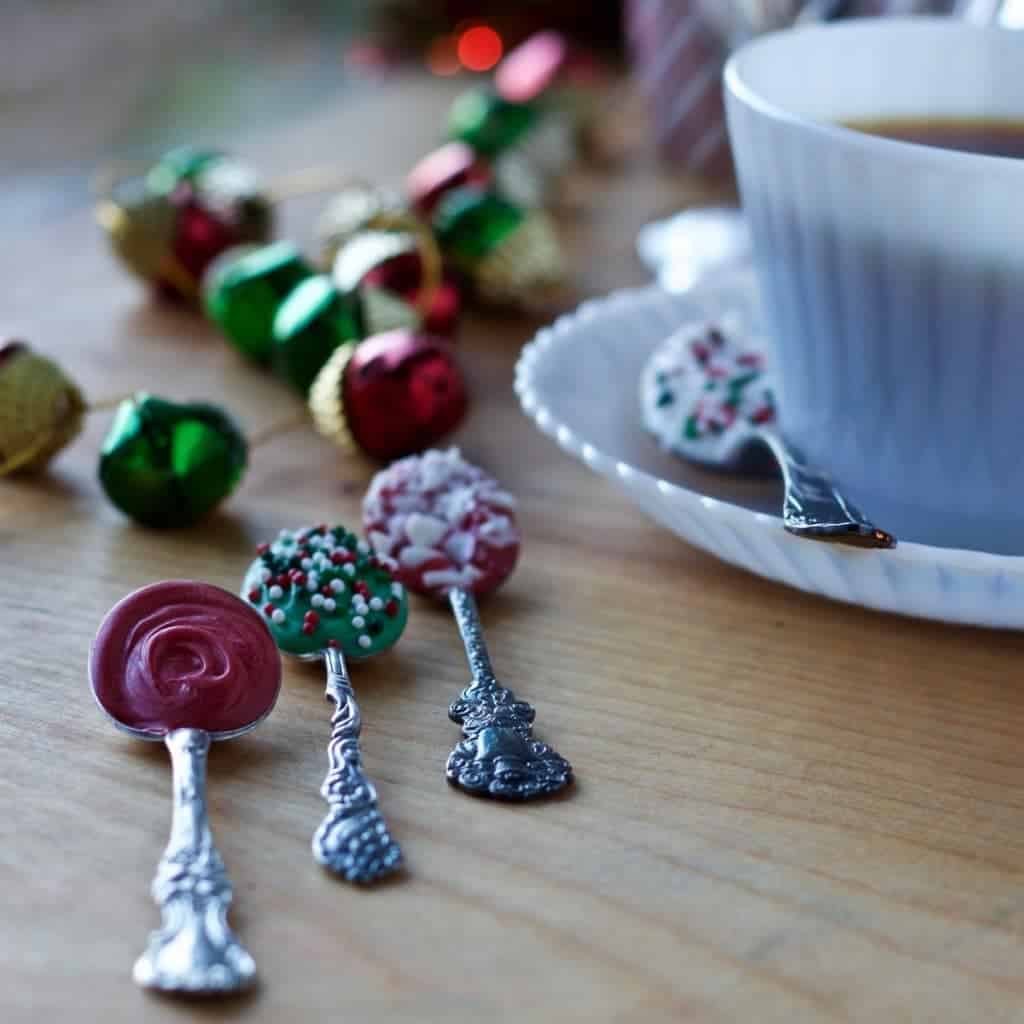
Not too long ago I wrote a post about Homemade Hot Cocoa Mix. In that post, a spoon filled with dark chocolate added an additional note of chocolate-ness to a very chocolatey drink! It got me thinking about chocolate spoons; and what else might be good on them.
I found some cute mini silver plastic spoons at the dollar store. My mom gifted me with some really cool silver plate jam spoons which I needed to use in this post. They have such a sophisticated air about them.
Michaels had a huge sale on candy melts which work very well for this project.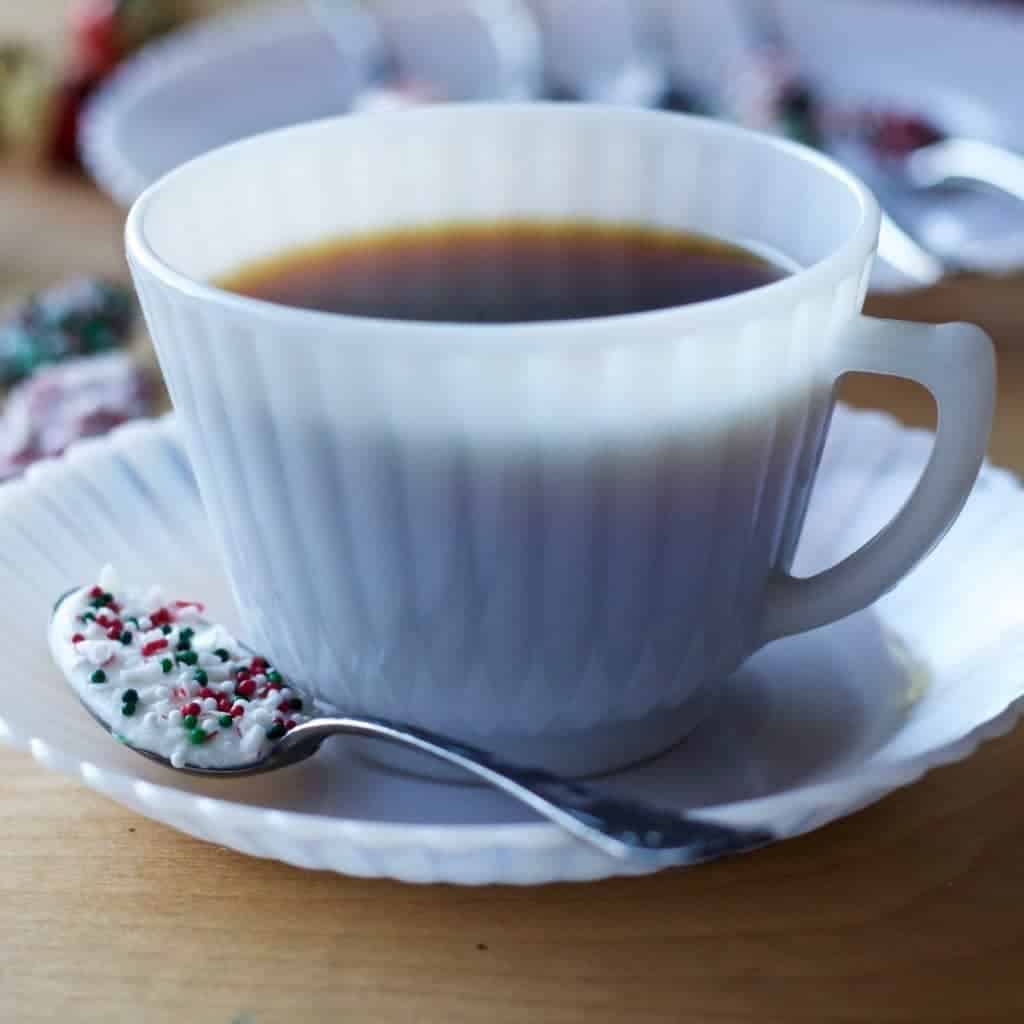
Candy melts were the choice for this project because:
- They melt fast, and set up hard!
- go through a sandwich or decorator bag easily
- and you can swirl them easily with a toothpick to fill out the spoon.
- Candy chunks like crushed peppermint and sprinkles adhere well to melted, unset candy melts too!
My project took shape!
As a Side Note on Candy Coated Spoons:
This is one of the most unhealthy treats on this blog. Unhealthy why? Because these are so full of chemicals they really don’t qualify as food in my opinion. But they are so fun and useful for parties and foodie gifts!
This is a fun treat for a special holiday playtime or an occasional indulgence with your hot drink of choice. I hope you love it.
How to Make Candy Coated Spoons:
You will need:
- Candy melts of whatever colors you want
- Peppermints, crushed; and any candy sprinkles you like
- Sandwich or decorator bags, one for each color candy melt
- 12 mini spoons (1/2 tsp. size) or 6 regular teaspoons
- Toothpicks for smoothing the melted candy into the spoons
The Process:
- Choose your colors and put each into small microwaveable containers, lids off.
- Microwave about 1 minute, depending on your batch size, until a toothpick can swirl smoothy through the candy. Careful not to boil.
- Scrape the melted candy into decorator bags or sandwich bags with a small corner cut off.
- Fill and decorate the spoons:
- Use a toothpick to distribute the candy evenly to the edge of the spoon. Alternately you could dip the spoons into a candy pot (you will use a LOT more candy) and let these set by holding and twirling them until the candy solidifies.
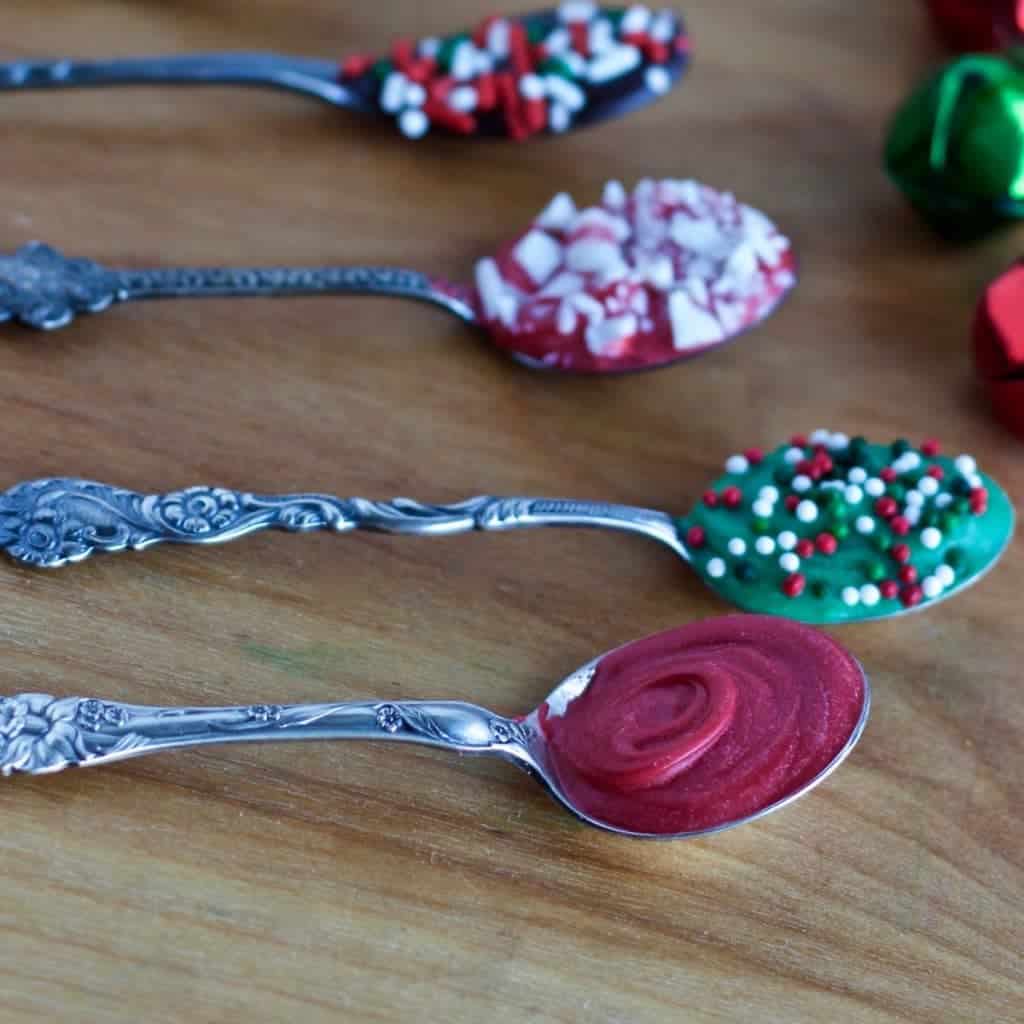
- While the candy is still warm and accepting, sprinkle candy of your choice over the spoon. If you choose to drizzle a different color candy melt over the base color. Allow the spoon to set up firmly so the colors will be distinct.
Not much to this process really. It takes about a half hour to set up and about 10 minutes to do; unless you get really elaborate in your decorating.
The recipe amounts will yield 12, 1/2 teaspoon sized spoons OR 6 full sized teaspoons. You might lose a bit in the bags. Add extra if you plan to coat the entire spoon front and back.
Create it:
Hopefully, some of you will share your ideas on how you do this project. I tried to drizzle white chocolate over other colors and it didn’t look good. So I came up with a basic candy sprinkle idea and we can go from here. I do think these are cute. And they are very tasty too!
INSPIRATIONAL UPDATE:
Here is a brand new idea for this craft from one of our blog readers, Brenda Grindheim, and they are wonderful!
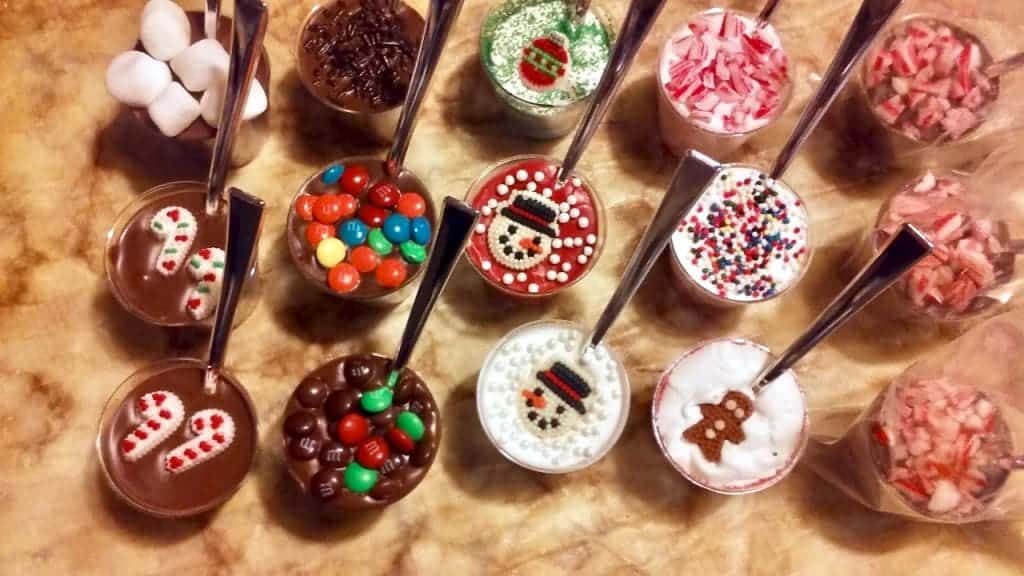
THANK YOU! To Brenda Grindheim from Troutdale Oregon for showing us her version of this candy coated spoon craft. Her craft group took this project on and went wild. She graciously sent me a pic of her incredibly cute spoons. She loved doing this project and her group wants to do it again. The mind boggles with new ways to play with this foodie craft.
Brenda’s remarks on her results
“I tried one my spoons a bit ago. I was adding it to a mug of hot milk. Following you I was eating it more than stirring it in. Very nummy. I also braved the dark cocoa. I don’t like dark chocolates cuz of the bitter taste. Plenty sweet. So I made 6 more spoons. Only cuz I ran out of chocolate. I now see I must make many more as I enjoy hot milk b4 bed. And to gift them I think more than 1 will be appropriate. Either 3 or 5 I’m thinking.”
Here’s where Brenda Found her supplies:
“I got the spoons and plastic cups at $tree. The melts at Wal-Mart. The cake decorations at various stores. the only melts not used much were the dark cocoa. The red and white were most popular.”
Brenda has recipes to share with us to keep your eye peeled for more foodie gifts and Holiday treats coming up. I’m so excited to share her contributions.
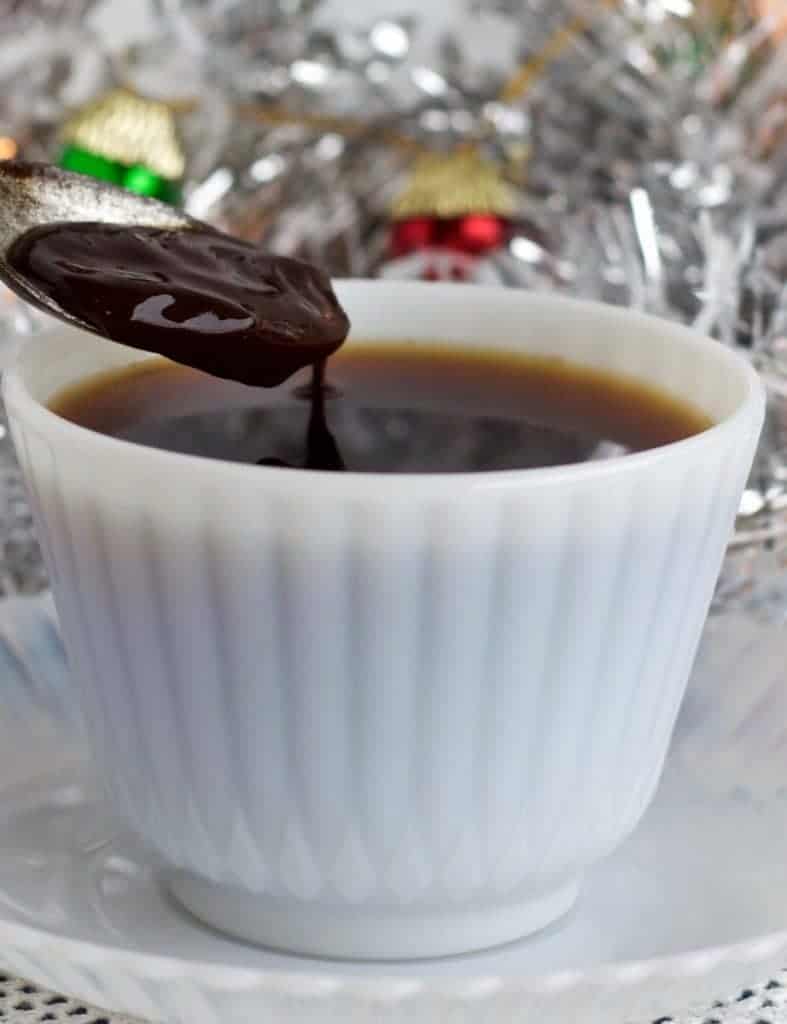
The idea for using these candy coated spoons is to swirl them around in a hot cup of coffee, or cocoa. They add a bit of extra flavor and richness to your drink. I don’t actually do that…Much. I might dip it in the cup a bit, but I’m a chewer. I bite off chunks of the candy and drink my drink so it melts in my mouth. Yum!
Gift it!
Your kids will love making and eating candy coated spoons with a cup of hot cocoa. Your tastebuds will approve as well when you get a bite of sweet candy off the melting spoon end.
Peppermint adds a nice brightness and refreshing zip to your cup along with the rich sweet bits. If you have a theme going for a party, these can be made into whatever color and flavor you desire!
These also make fun personal gifts with my homemade hot cocoa mix recipe. Such an easy way to say “You’re special” to a friend or family member or “I appreciate you” to a coworker, teacher, or whoever!
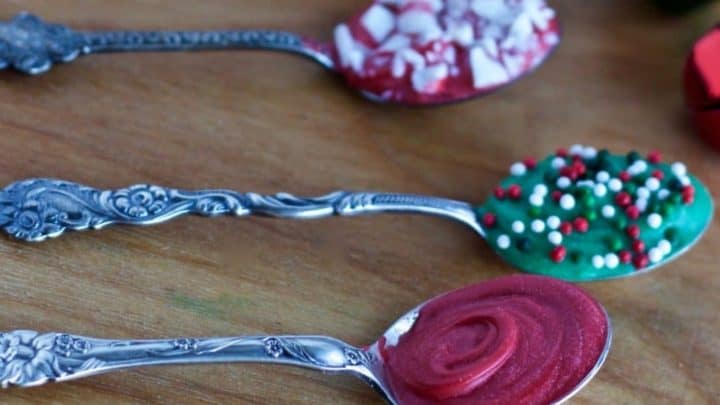
Candy Coated Spoons
Candy Coated Spoons add a touch of fun to a party table, a bit of rich sweetness to your hot drink and they make ideal gifts! Set these by your coffee pot or chocolate fountain display for party favors.
Ingredients
- 4 Tablespoons candy melts -melted (whatever colors you prefer)
- 1 Tablespoon crushed peppermint candy
- 1 Tablespoon sprinkles of your choice
Instructions
- Melt the candies in a microwave safe bowl, in the microwave 30 seconds to 1 minute. Check them every 30 seconds
- When they stir up smoothly with a toothpick they are ready
- Scrape the candy melts into a sandwich or decorator bag and cut a small hole at the bag tip
- Squeeze the candy into the well of a spoon. Use a toothpick to smooth the candy to the spoon edge
- Now decorate and flavor as you wish with the peppermint or sprinkles
- Set the spoon aside to set
- Repeat with about 12 mini spoons (jam size) or 6 regular sized spoons
Nutrition Information
Yield
12Serving Size
1Amount Per Serving Calories 28Total Fat 0gSaturated Fat 0gTrans Fat 0gUnsaturated Fat 0gCholesterol 0mgSodium 2mgCarbohydrates 6gFiber 0gSugar 4gProtein 0g
Link it: this recipe is linked at #TryABiteTues link party
Carol’s church has an annual “Victorian Tea.” These would be a great addition to her table. I might try making them and sending them off with her.
They are VERY easy to make (or I would never try). They make cute spoons. Try to find old vintage spoons to complete the look. They are cute!!
I take Tommy to Oly next week. I get 2 hours to roam wildly about. I will find my way to Michael’s for chocolate rounds and hit a few thrift shops for spoons. This will be fun! I’ll send a picture or two so you can LOL 🙂
I can’t wait to see them 🙂
I host a weekly gathering of friends to do Crafts and we love this idea. We will be making them in a few weeks for our holiday gifting. Thank you
Hi brenda, That sounds like a fun group. I would love to have pictures of what you do with this foodie craft! Please come back and show us. you could also send a post to our Facebook page. I can’t wait to see your spoons! This is a perfect choice for a group craft and gifting too. I know you’ll love it!
These are so festive, Diane. Thanks for sharing them with the Let’s Get Real party.
They are fun, Gaye!
How adorable are these?! Definitely going to try it.
Thank you!!
I hope you have fun with them Nicole!
This would be such a welcome addition to my morning coffee! I bet my daughter would put it in her hot chocolate!