
Sourdough Bagels Recipe and tutorial
As an Amazon Associate and member of other affiliate programs we earn a small commission from qualifying purchases through our affiliate link. For more information read our Entire Affiliate Disclosure.
Sourdough bagels are so easy to make. These delicious soft bakery style bagels have a bit of chewing required just so you know it’s a bagel.
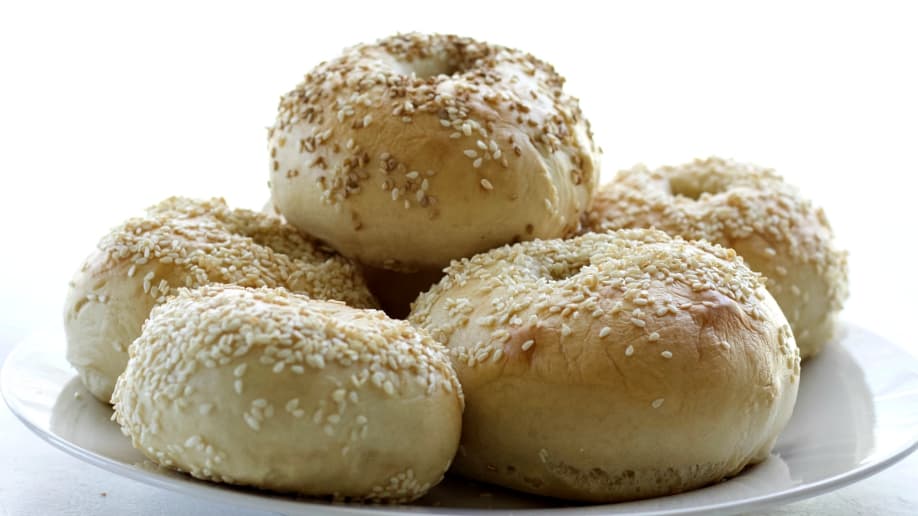
Like most sourdough recipes, this homemade bagel recipe requires a lot of time but not much effort. The flavor is SO good. You’re going to want to make a double batch.
We made a recipe demonstration video for you. It will take you through every step of making this sourdough bagel recipe. You should see it autoplaying in the sidebar next to this tutorial. We also added the video into the bottom of the printable recipe card for you.
It’s very different from our other bread recipes. These bagels are terrifically good.
More Sourdough Recipes:
Looking for more sourdough recipes? Be sure to check out all of the many great recipes in our sourdough Section.
Sourdough Bagel Recipe:
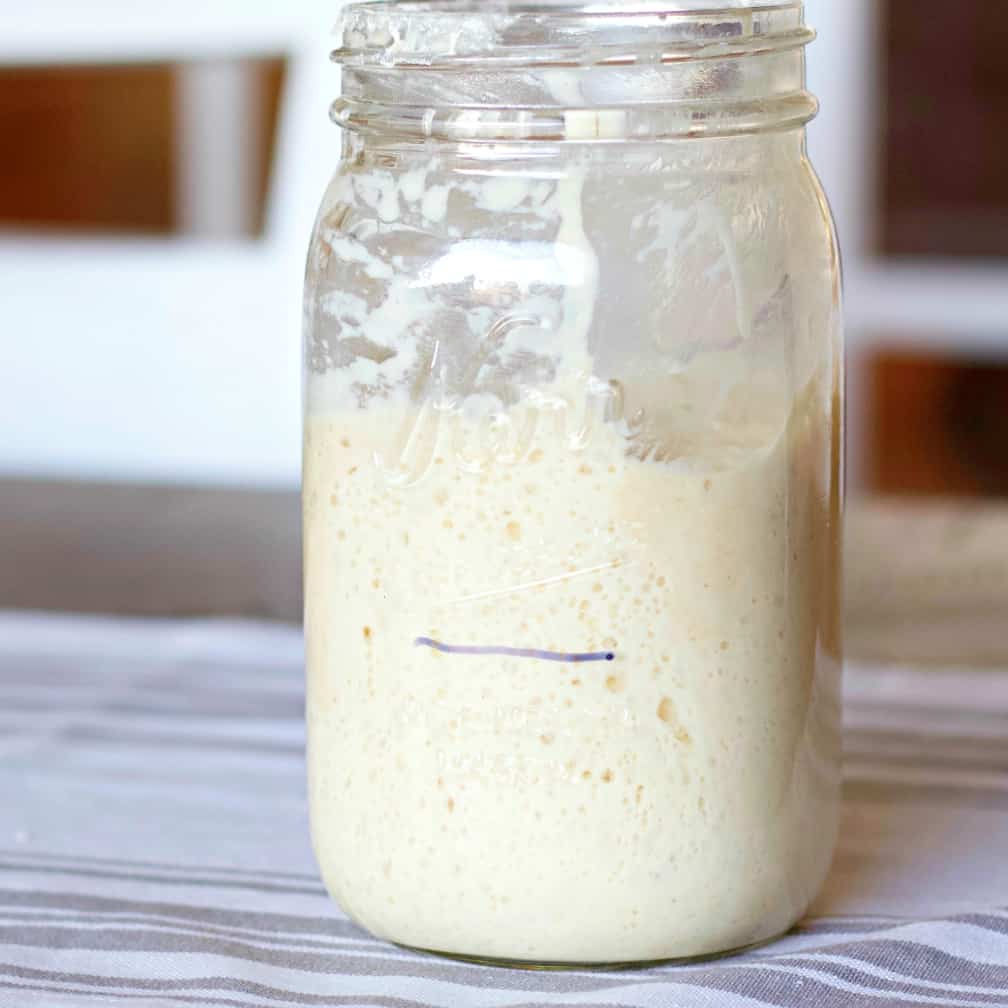
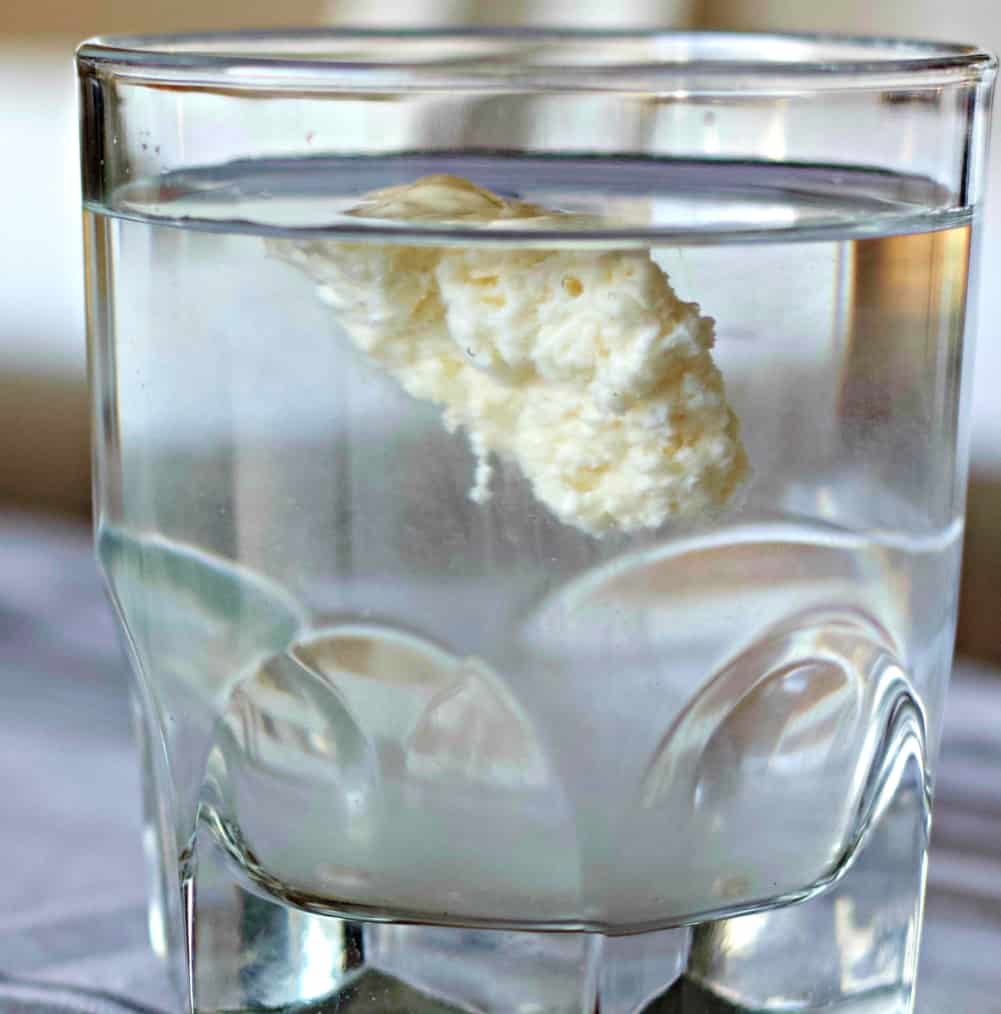
The Starter:
The Flour:
This recipe will work fine with any flour you have on hand so don’t stress if you can’t find bread flour. Use what you have.
You won’t hear me say that with our sourdough bread recipes. Bagels are much more forgiving.
Mixing the Bagel Dough:
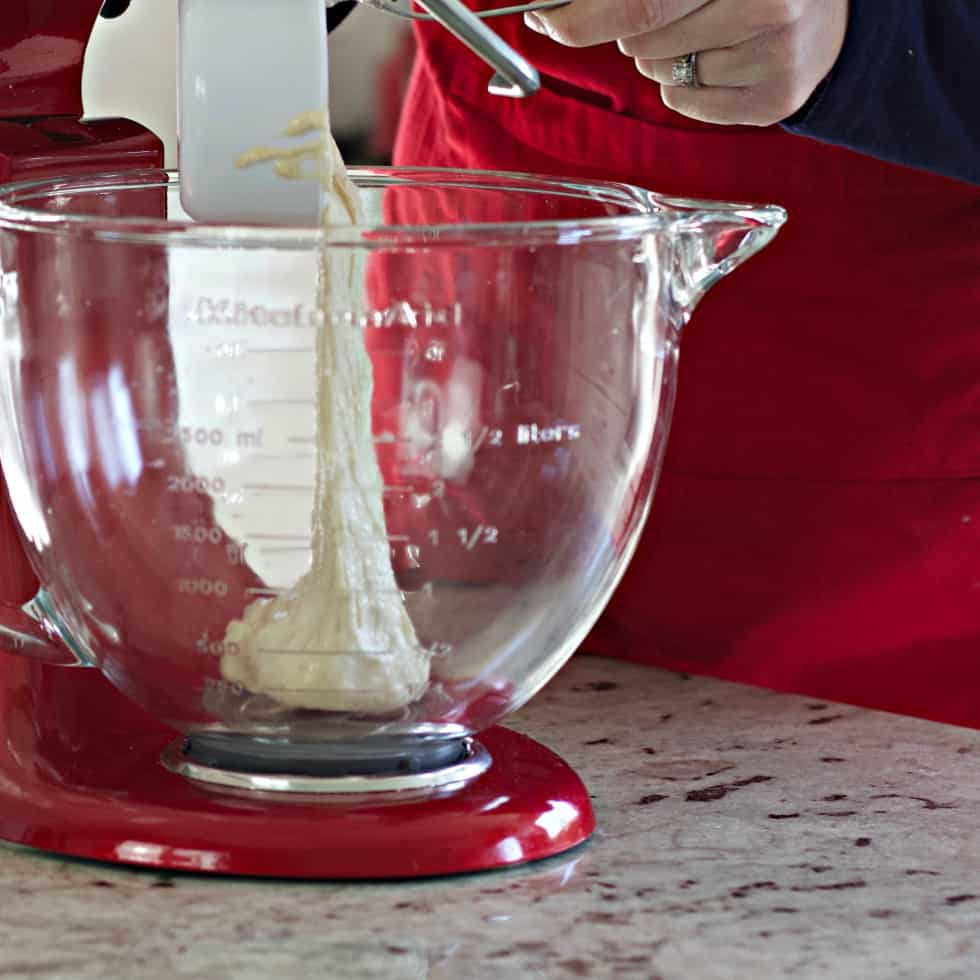
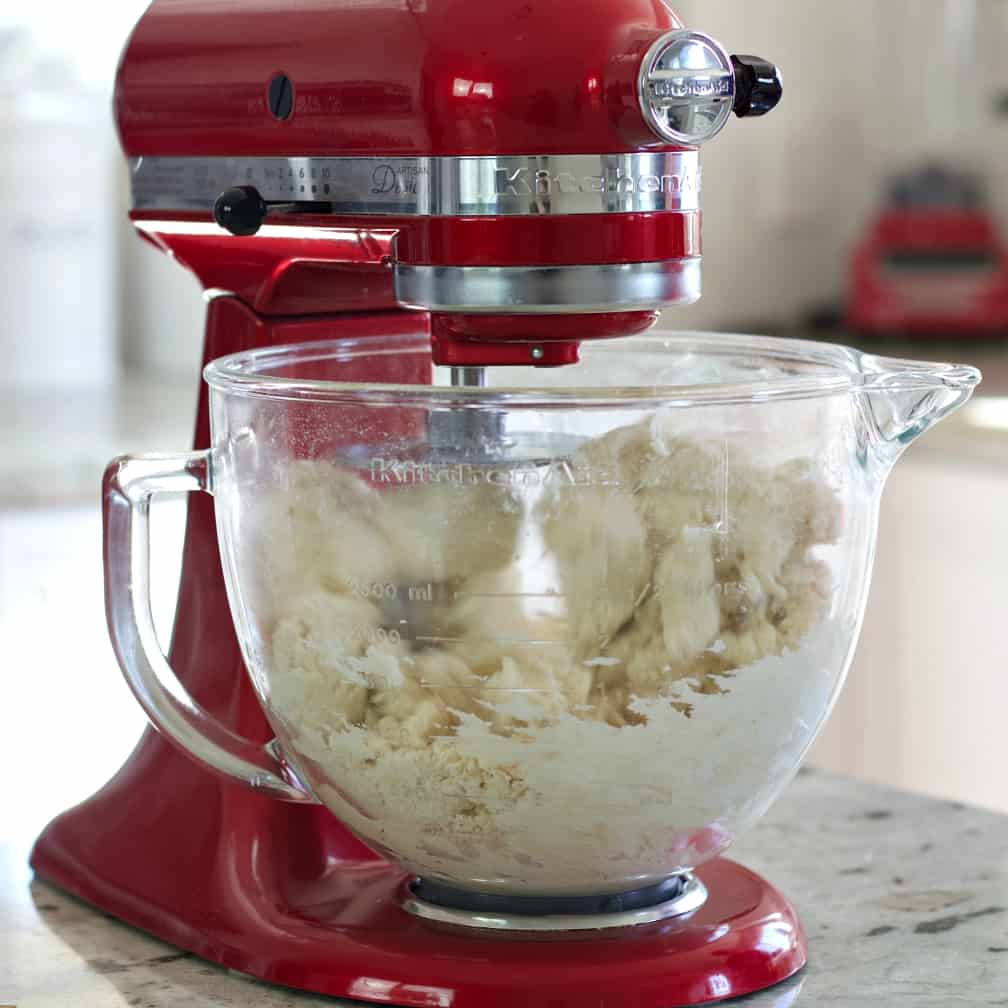
Kaytis Kitchen-Aid Artisan mixer is not strong enough to knead this dense dough without a lot of jumping and bucking.
So we started the dough in the mixer fitted with a dough hook. Then removed the dough to the counter and did the heavy kneading by hand.
It took about 5 to 10 minutes of hand kneading. Knead until the dough gets soft and pliable.
Dough Tips:
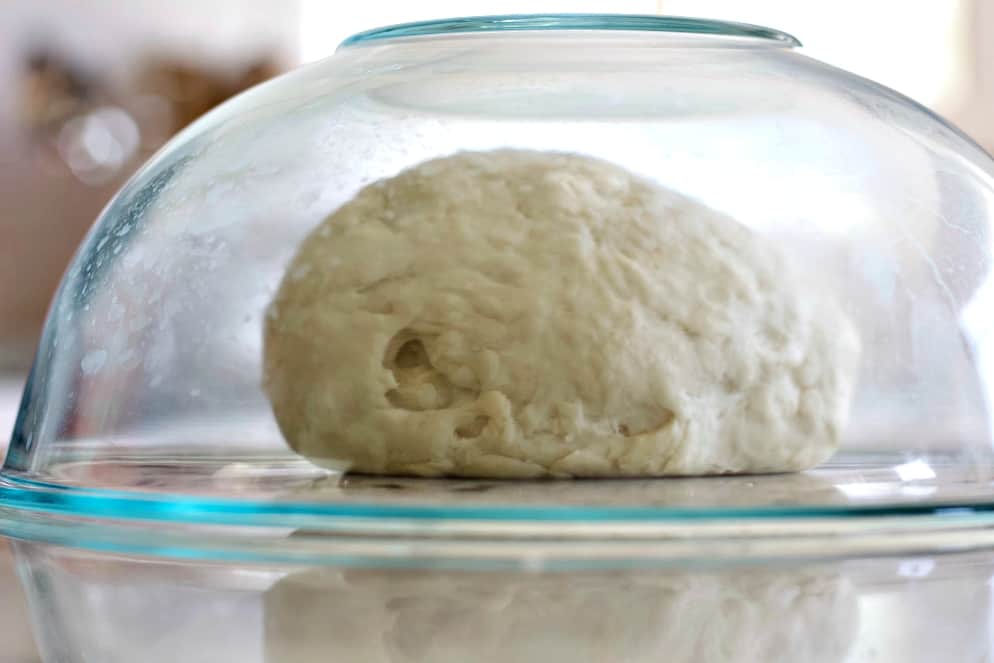
This is a heavy dough. Very unlike our sourdough bread recipes. It’s also somewhat dry.
Feel free to add a tablespoon of water to the dough or just wet your hands when kneading and working with the dough to hydrate it.
You don’t want dry cracks in the dough. But a LITTLE water goes a long ways. Careful there.
You want the dough smooth and somewhat elastic. No need for it to pass the window pane test.
Forming the Bagels:
Your bagel dough should be easy to work with a this point. Still firm but flexible, hydrated and not sticky.
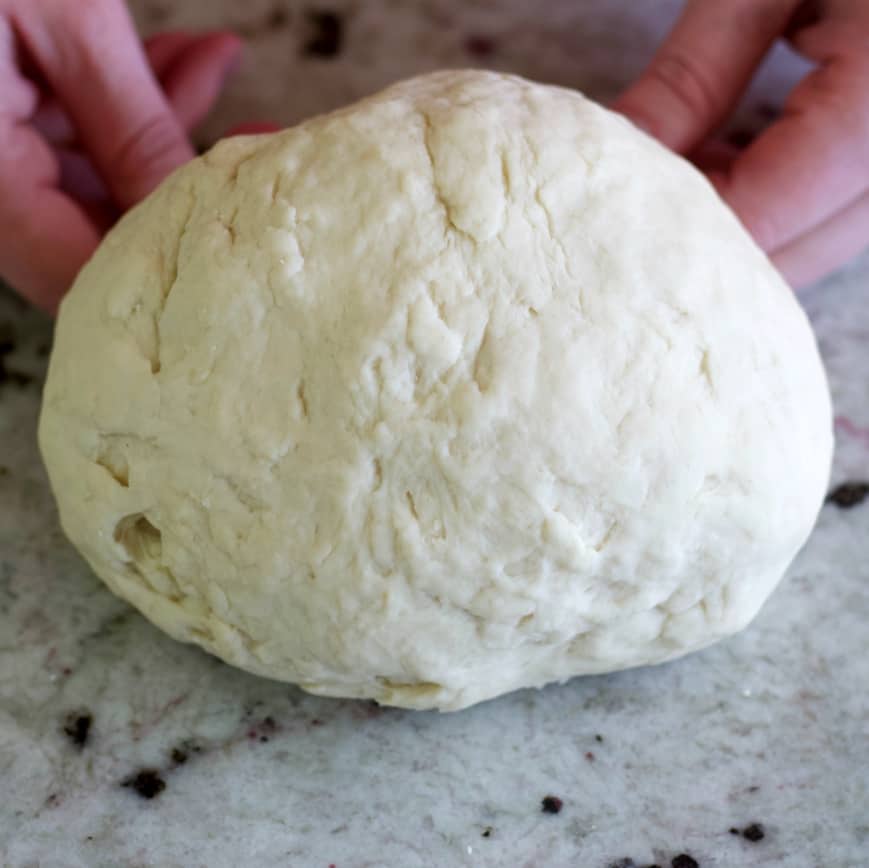
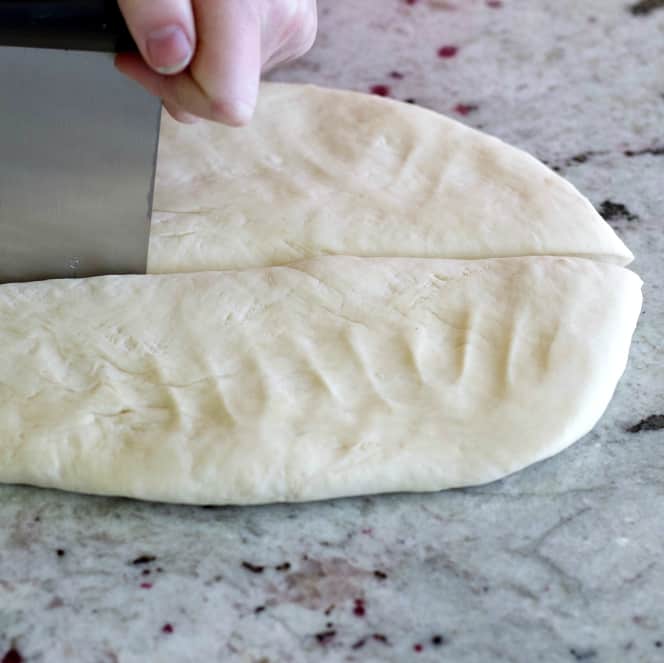
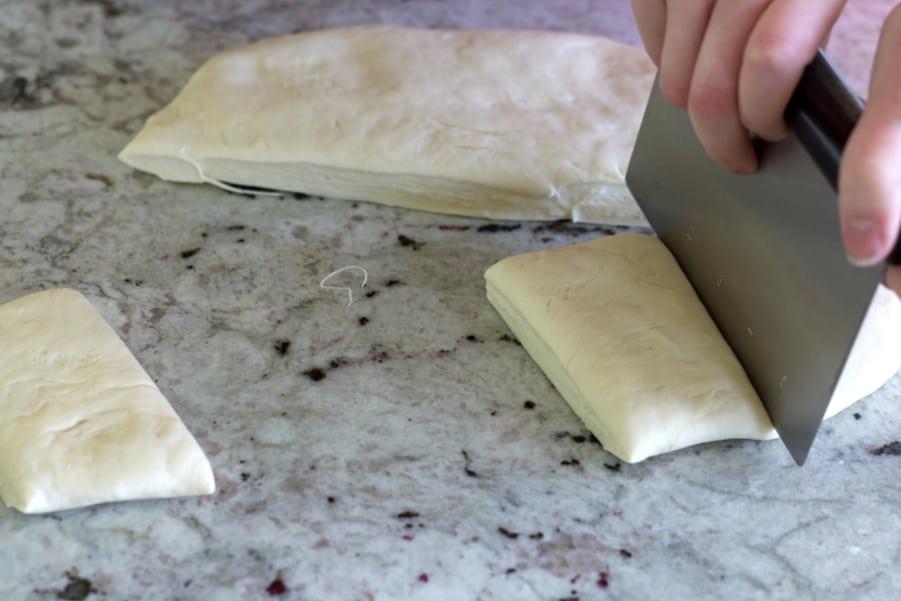
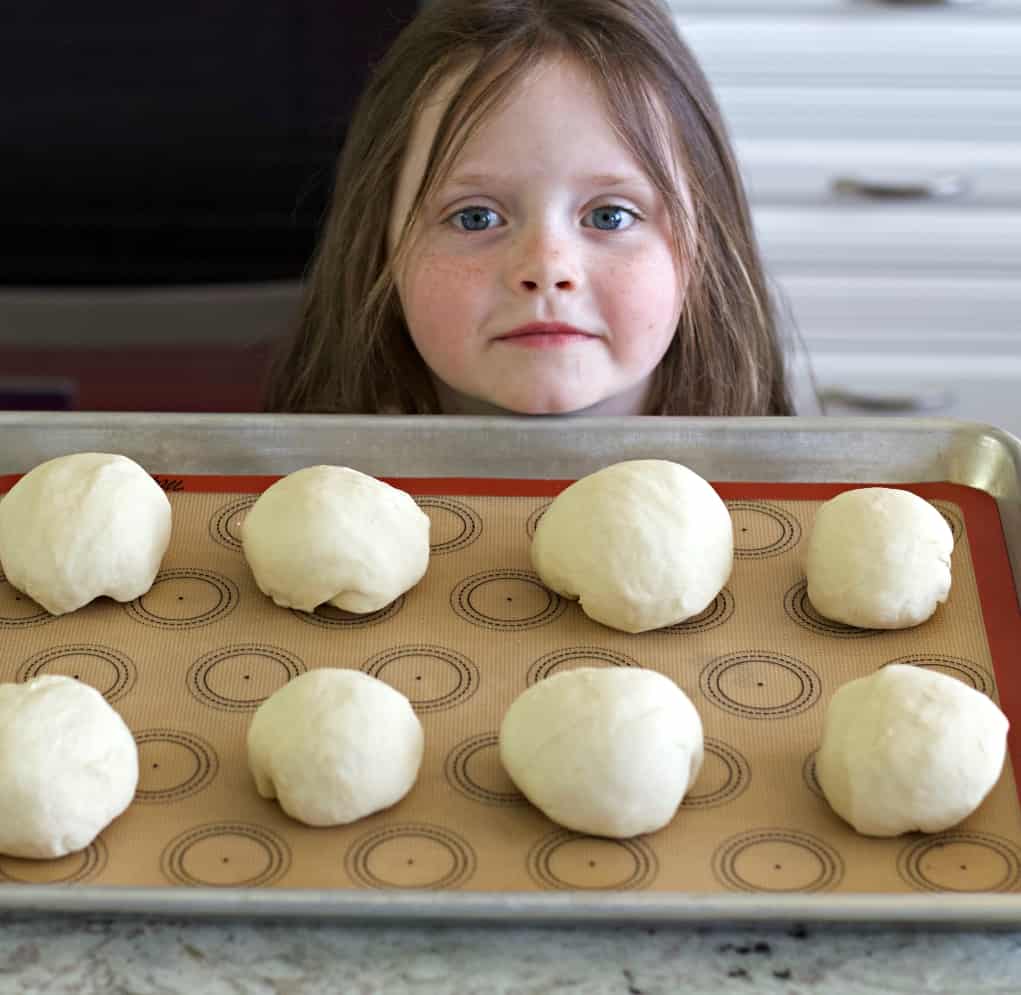
To keep your bagels evenly sized a digital scale is recommended. Weigh out the dough pieces after dividing and adjust the dough pieces so they are close to an even weight. Now form them into your balls.
Weighing the dough is most important if making the smaller bagels. For each dough ball use a piece about 100 to 105 grams heavy. That will give you more consistent baking results.
Once the dough balls are formed let them sit at room temperature covered with a damp towel or plastic for about 15 minutes. This helps relax the dough for shaping.
Making the Bagel Shape:
We have made this recipe several times. The video shows how to make eight large bagels.
We also made them as small bagels. They work fine either way.
Pictured below in this section you see this recipe formed as twelve small bagels. Six on each baking sheet.
There are two ways to make your bagel balls into the finished bagel shape.
Rope method:
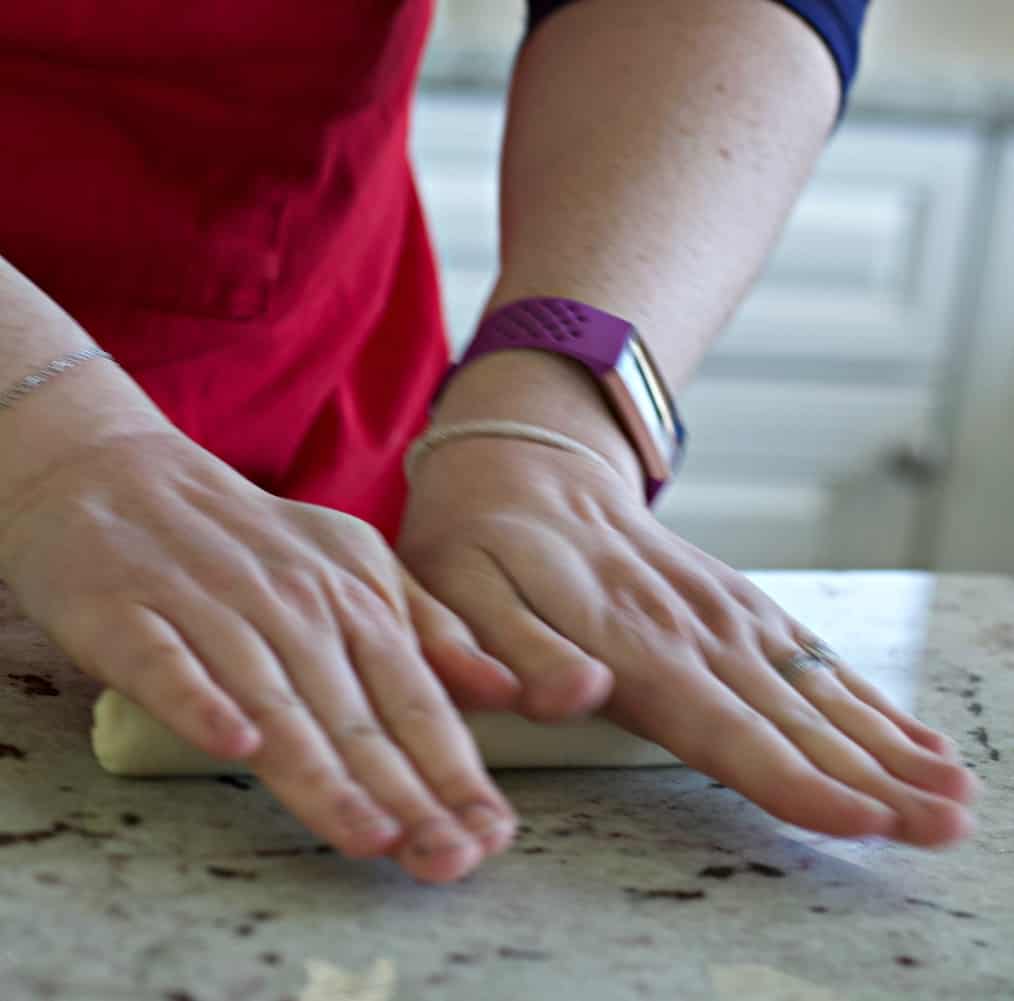
- Make each dough ball into a long rope about 12 inches long as shown above.
- Wrap the rope around your four upright fingers. (Not your thumb)
- Overlap the ends of the dough.
- Pinch off any excess dough at the overlap point.
- Smooth the shape to make a rounded bagel as shown pictured below.
For us this is the most difficult method. The dough often doesn’t hold at the overlap point.
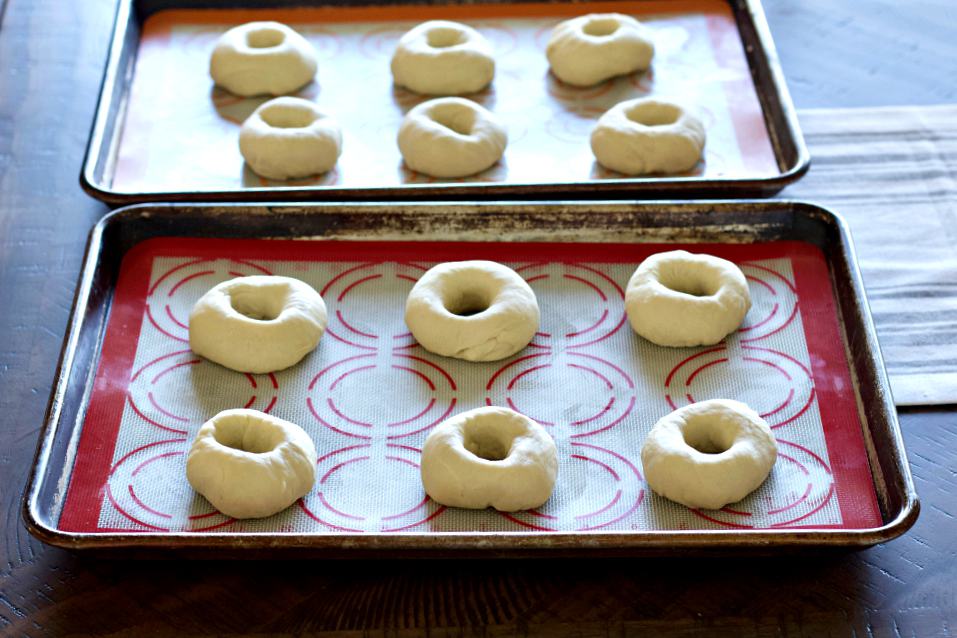
Thumb Method:
This is the simplest way to make the bagels in my opinion. The trick here is to pull the dough hole out so it is large enough to stay open during the rising, boiling and baking.
- Drive your thumb through the exact CENTER of the dough ball.
- Pull the dough out around your thumb and create a hole.
- Adjust the bagel shape if needed so the bagels all have hole about the same size. (pictured above).
Rising:
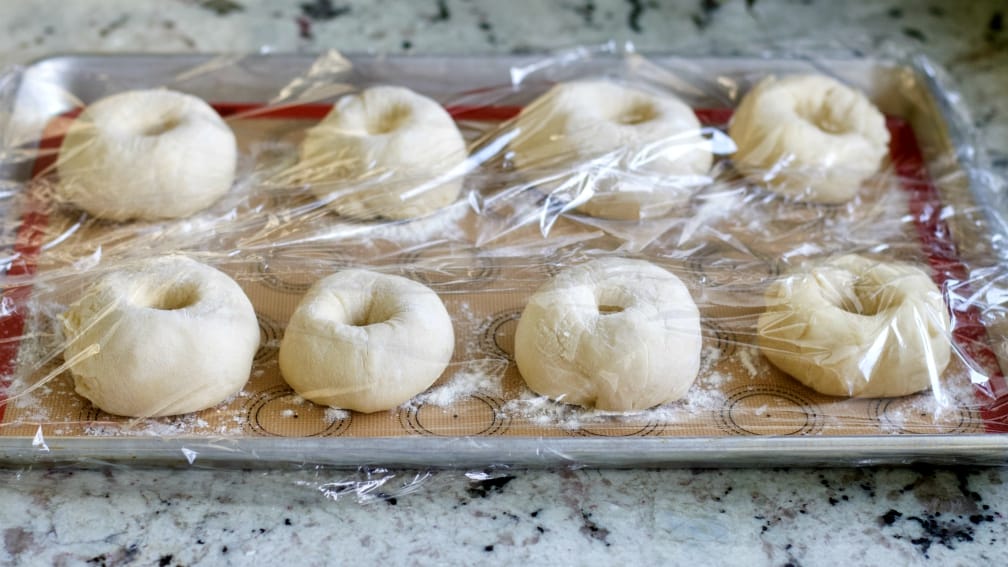
Bulk rise at room temp 2 1/2 to 4 hours covered with plastic wrap. Or slip the tray into a large flimsy plastic grocery bag. The delivery grocery bags are more difficult to work with.
THEN set in fridge 12 to 24 hours for the long cold rise. Do not skip this step. Sourdough bagels need this extra development time.
Just plan out your baking schedule accordingly. There is plenty of wiggle room in the long cold rise.
Par Boiling:
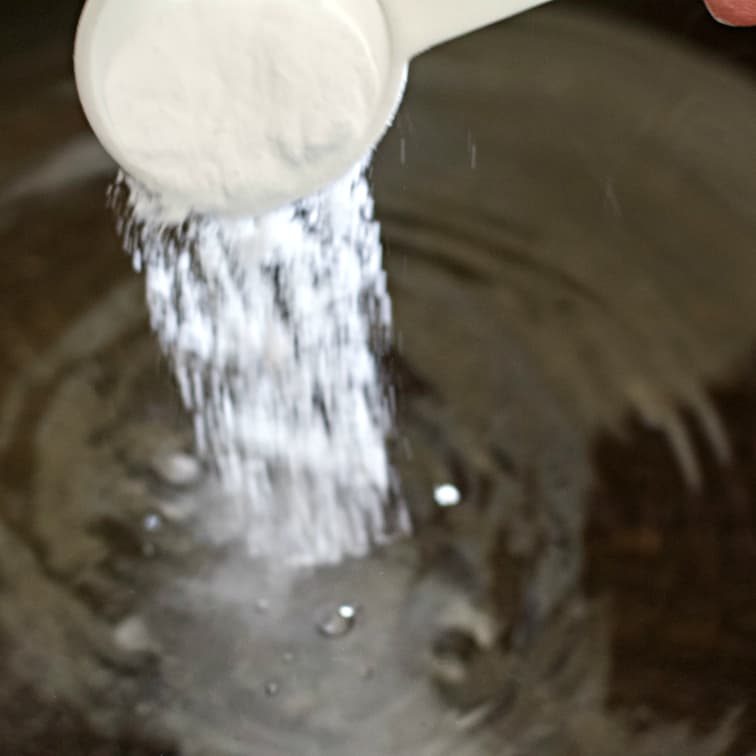
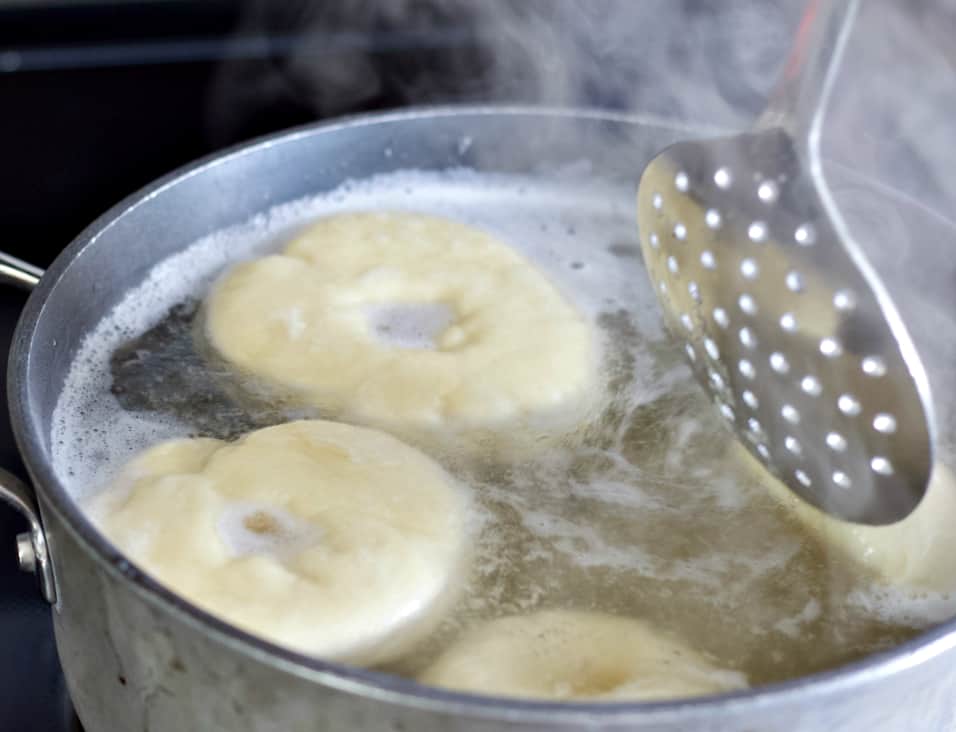
- Remove the baking pans from your fridge.
- Fill a wide and deep skillet or pot about 3 to 5 inches deep with water.
- Set it to boil.
- Stir in the baking soda and brown sugar.
- lay the bagels into the boiling water with a slotted spoon.
- Boil each bagel about 20 seconds. turn them over and repeat.
- Remove the bagels to drain.
Toppings:
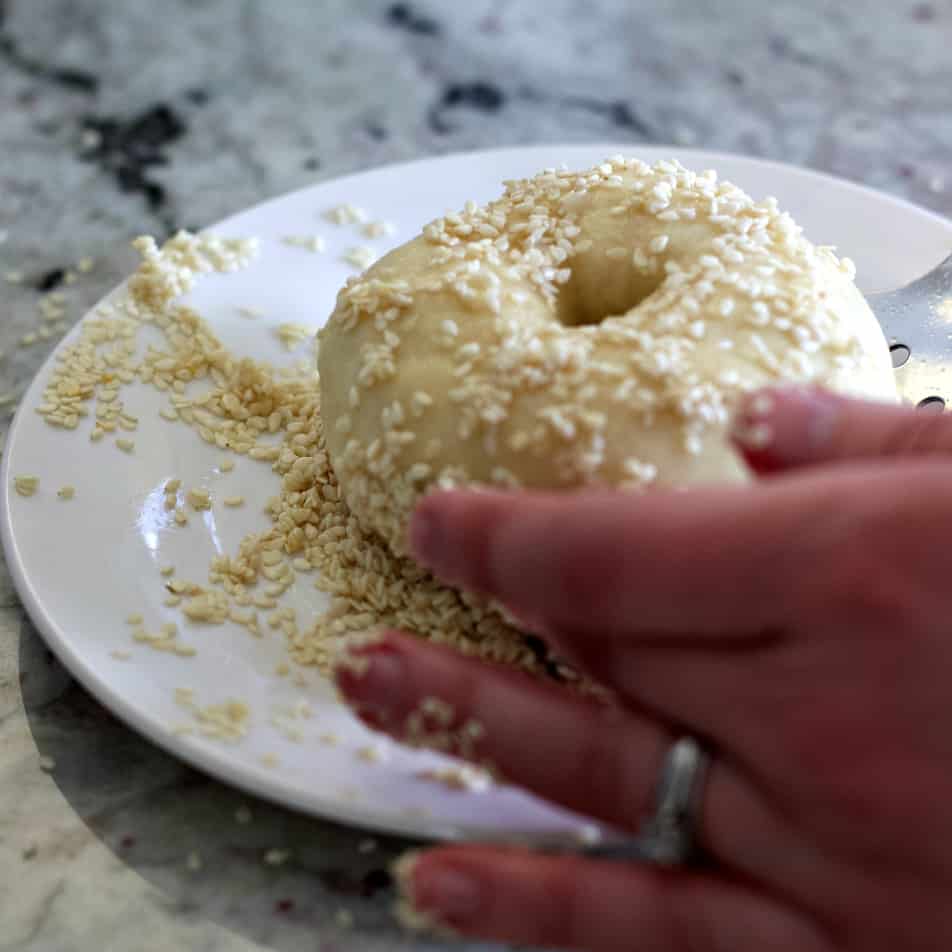
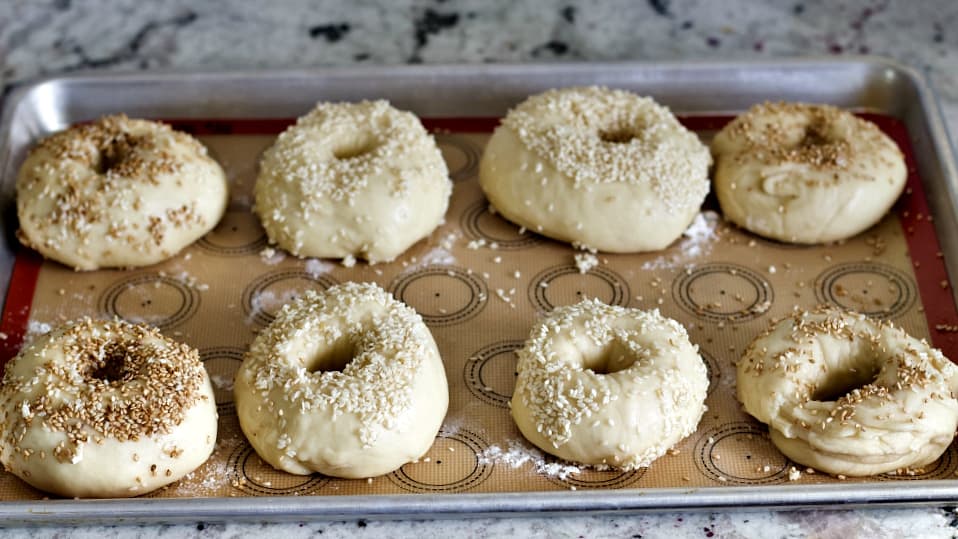
While the bagels are warm and wet from their par-boil top them with your favorite bagel toppings.
Either roll the wet bagels in your topping to cover the top and sides completely or just sprinkle your favorite toppings over the wet doughy top.
Probably best not to get toppings on the bottom of your bagels. Burning and sticking may happen with some of them.
Suggested toppings:
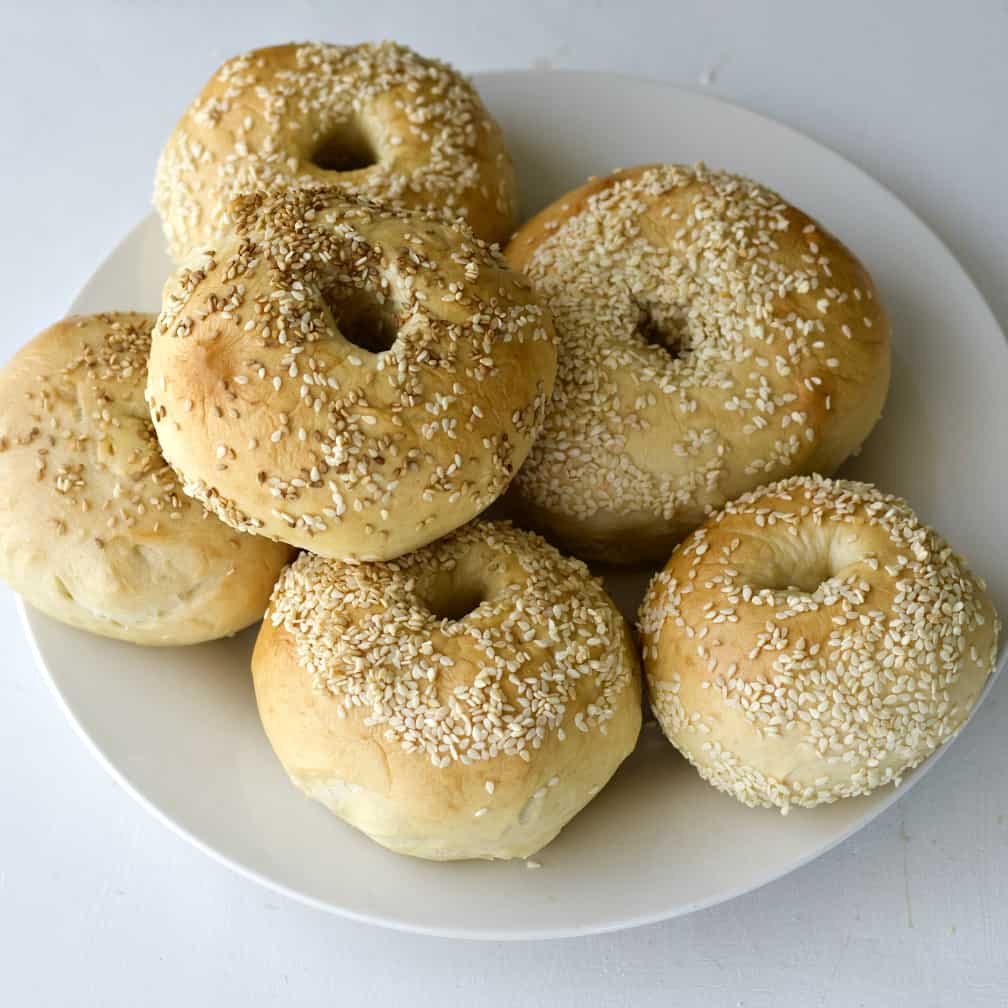
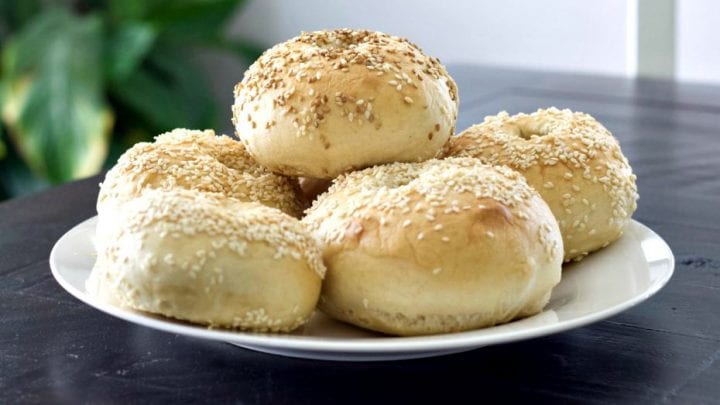
- Sesame seed (either toasted or raw-You see both pictured here)
- Poppy seed
- Shredded cheddar cheese (one of our favorite toppings!)
- cinnamon sugar blend. (NOT one of our favorites for this savory dough but the kids love them)
- Everything bagel seasoning
Baking:
Prepare your baking pans. Line them with silicone mats like you see here. OR use parchment paper OR oil the pans really well.
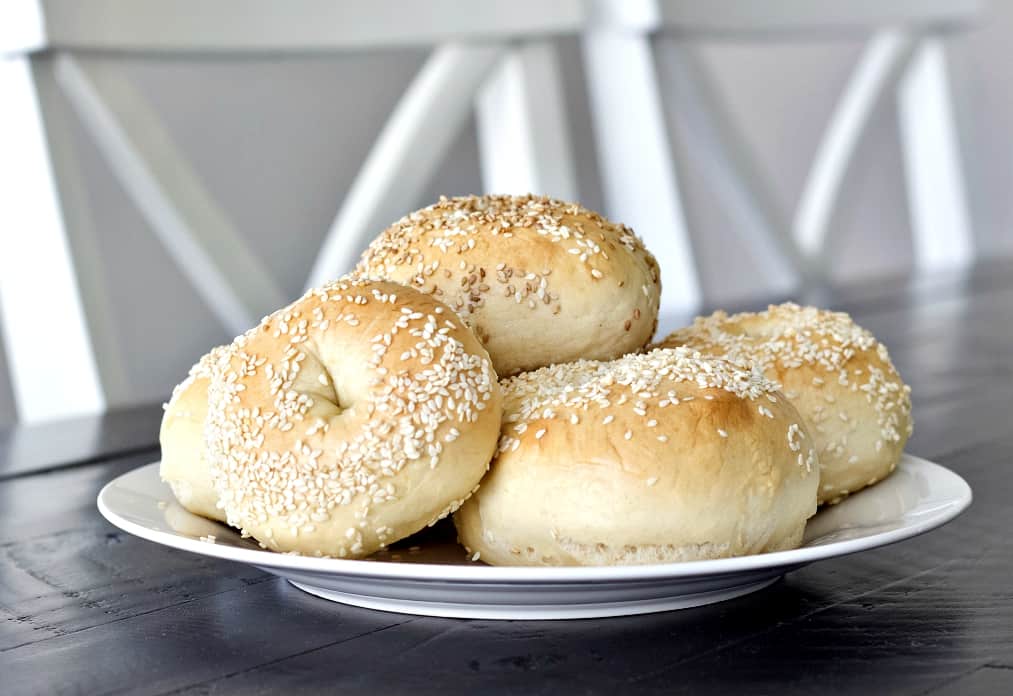
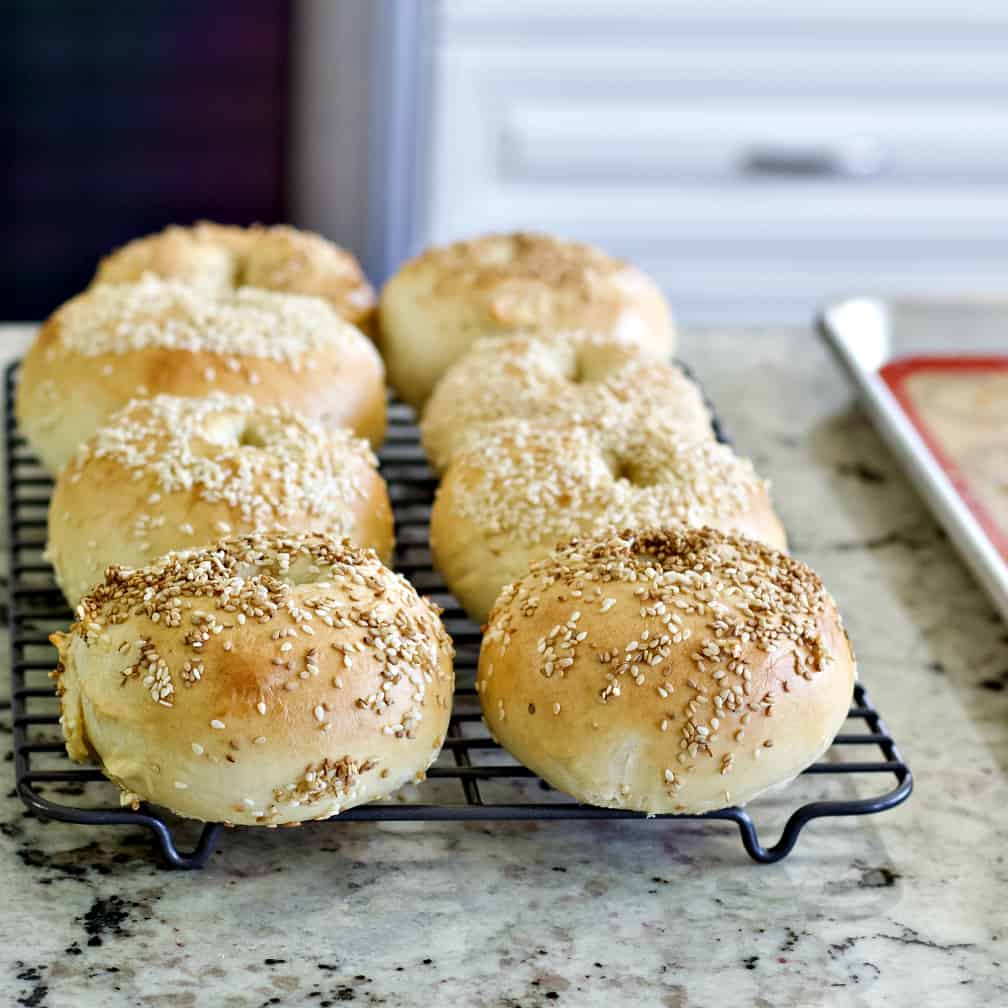
The bagels are done at an internal temperature of over 190 degrees F. They will be a golden brown as shown below.
Storing:
These won’t last long but to store for a day or two:
- you can set them in your bread box,
- OR Store them in a reused plastic bag (I always reuse my flimsy plastic grocery bags to store homemade breads. Works really well and I hate throwing away single use bags).
- I also set them on my cake plate with it’s glass lid. That will keep them fresh several days.
Freezing Bagels:
Short term freezing up to a week.
- Let the bagels cool completely
- put them in a flimsy grocery bag (or even produce bag) and suck all the air out.
- Double the tightly wrapped bags and store in your refrigerator freezer for quick access.
Long term Freezing-Up to two Months:
- Vacuum pac your bagels if you have one.
- OR Wrap the bagels in thin plastic bags and suck out all the air
- THEN set the thin bag in a Heavy duty ziplock freezer bags.
- Suck out all the air you can and store in your deep freeze for up to two months.
Defrosting:
Always defrost bread at room temperature for best results. Microwaving these bagels or other bread products is risky. They can turn very hard and unpalatable.
With the short term freeze method you can actually just reach in and grab a bagel and easily rewrap the remaining bagels in your freezer. Remember to rewrap the bag.
Serving Suggestions:
- These bagels make fantastic breakfast sandwiches. We like ham and cheese on them. Yes you can microwave the sandwiches if you are very careful not to over heat them. Assemble the bagel sandwich and heat ONLY till the cheese melts a bit.
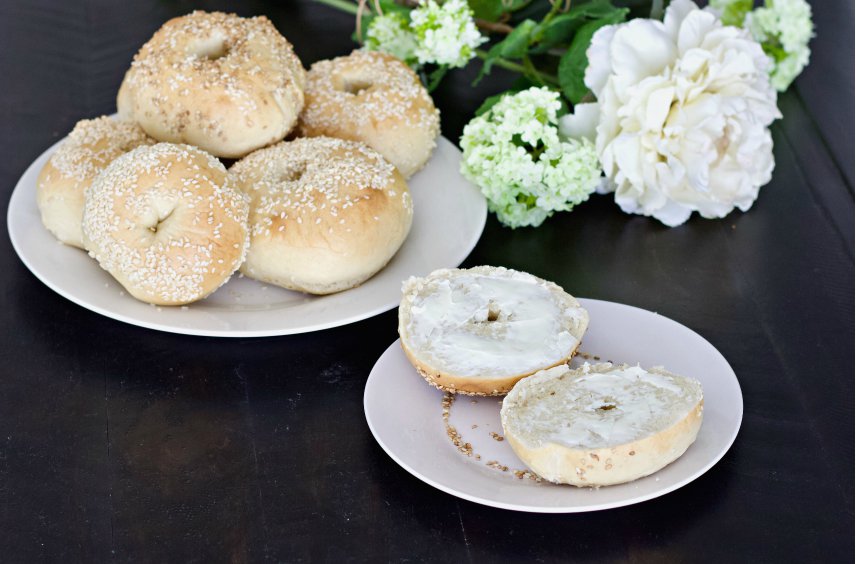
- We love them toasted with butter or cream cheese
- We enjoy them just as you see them with nothing on them at all.
- Anything you love on bagels will be even better with this great recipe.
Your Printable Recipe Card:
Sourdough Bagel Recipe
Sourdough bagels are so easy to make. These delicious soft bakery style bagels have a bit of chewing required just so you know it's a bagel. The flavor is SO good!
Ingredients
Bagel Dough:
- 1 Cup Sourdough starter-Active -(227 Grams)
- 2 Tablespoons maple syrup-(43 grams)
- 2 tsp. kosher salt- (11 grams)
- 5 Cups all purpose flour-(680 grams)
- 1 1/4 Cup Cold Water- (237 grams)
Water Bath:
- 1 Tablespoon baking soda- (14 grams)
- 1 Tablespoon brown sugar- (12 grams)
Instructions
Mixing:
- In a stand mixer or large mixing bowl:
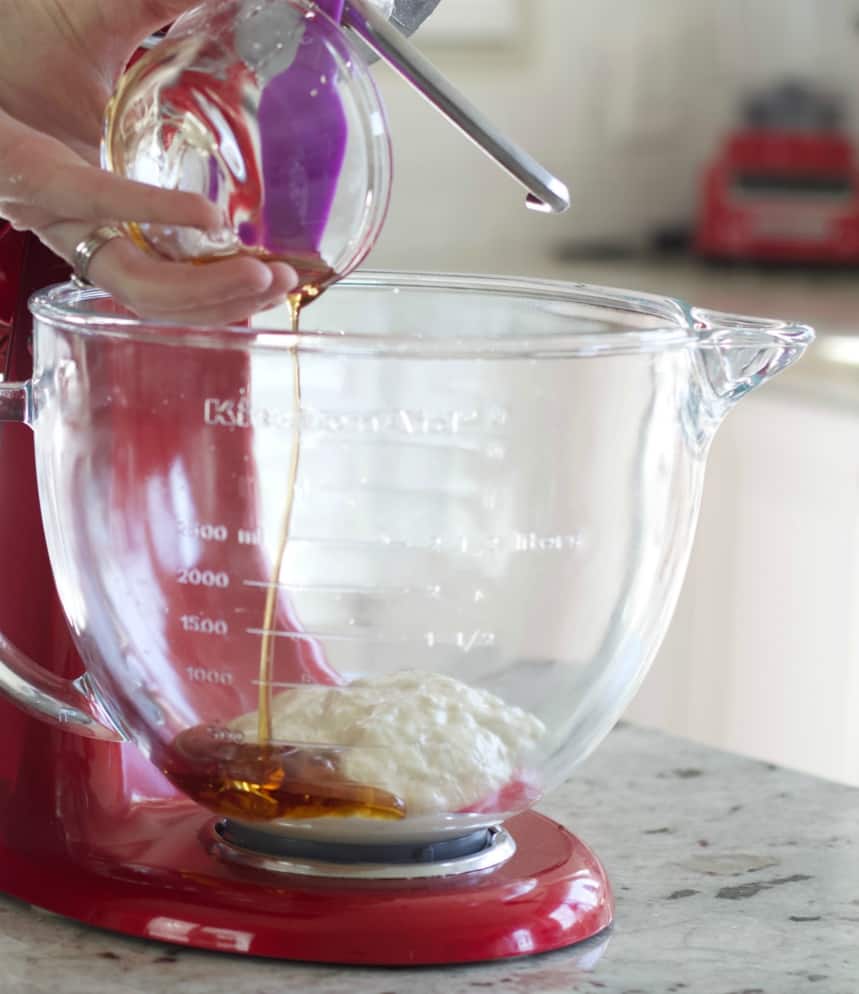
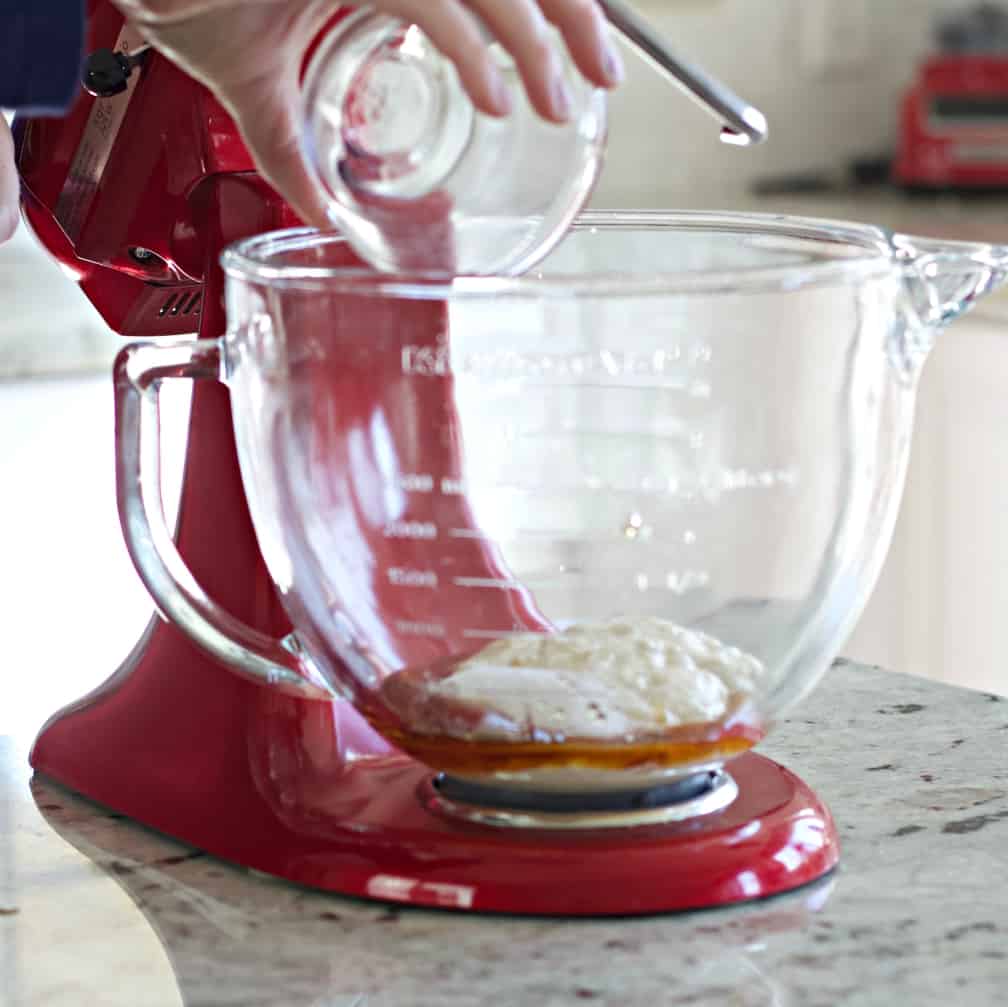
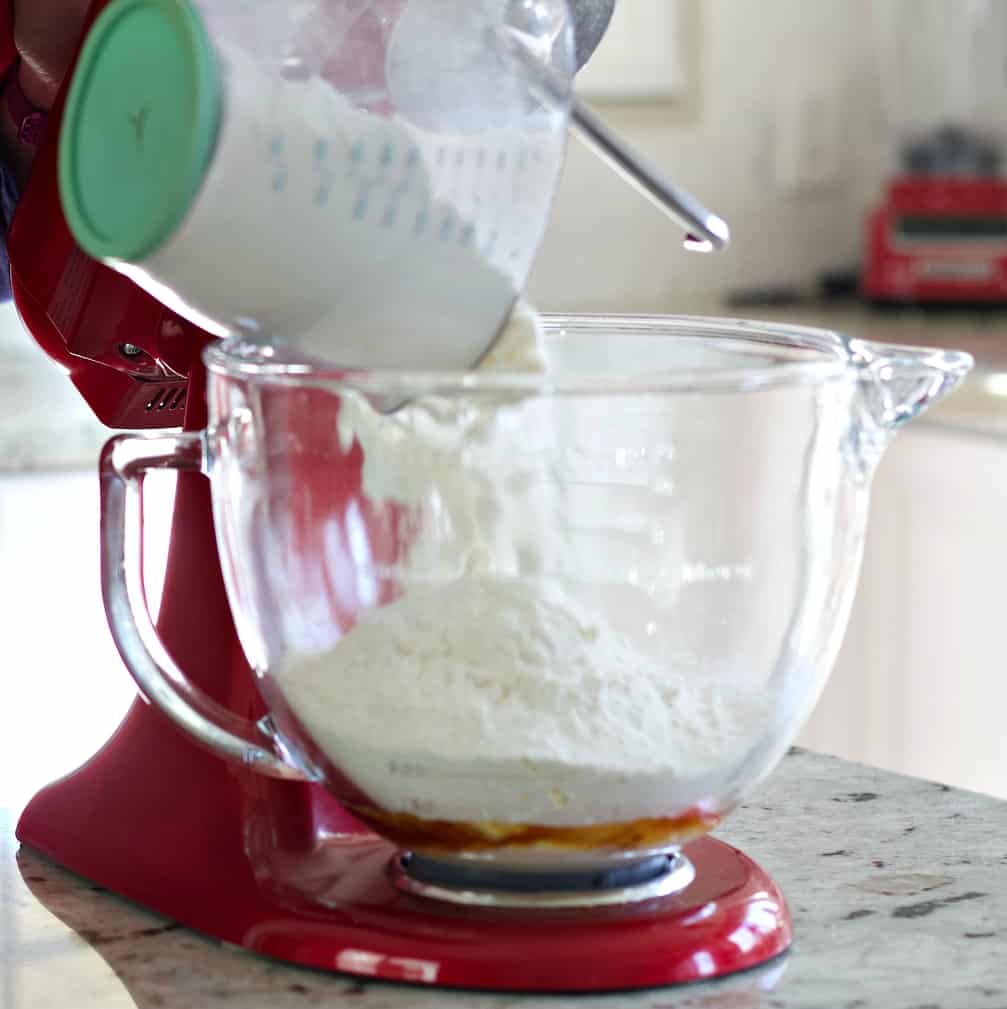
Place Starter, maple syrup, salt, flour and water and mix together. - Knead by machine or by hand until it forms an elastic ball of dough. Add 1 or two Tablespoons of water if your flour is super dry to keep the dough together. You can also knead with wet hands to hydrate the dough slightly as needed.
- Cover your dough and rest it for 20 minutes.
Forming the bagels:
- Place the rested dough on your work surface and press the dough out into a rectangle.
- Cut the dough into 8 large and even sections. (For smaller bagels cut the dough into 12 even pieces. Each weighing about 100 grams each).
- Form each section of cut dough into a ball and place on an oiled, or parchment, or silicone mat lined baking sheet. (Use two baking pans if making 12 bagels- 6 on each pan).
- Cover the baking sheets and rest the dough for 15 minutes.
- Use your thumb to push into the center of the bagel and through to form a center hole. Manipulate the dough around your thumb gently as needed to shape the bagel into a thick circle.
Bulk Rise:
- Cover the pans and let them sit at room temperature from 2 1/2 to 4 hours.
Long Cold Rise:
Set the baking pans inside large plastic grocery bags or cover the trays loosely with plastic wrap.- Set inside your fridge 12 to 24 hours.
PreHeat Oven to 450 degrees F.
ParBoiling:
- Place a deep skillet or wide soup pot on your stove filled with about three to five inches of water. Set to boil.
- Add the baking soda and brown sugar into the water and stir until it dissolves.
- Use a slotted spoon to drop the bagels into the prepared boiling water in batches that fit your pan.
- Let the bagels boil 15 to 20 seconds on each side. Turn them over with your spoon.
- Remove boiled bagels and immediately top them with your preferred toppings.
- Return the bagels to your prepared baking sheets
Bake:
Set the baking sheets into your hot oven.
IMMEDIATELY reduce the oven temperature to 400 degrees F.
Bake 18 to 22 minutes or until golden brown.
If using a digital thermometer the bagels are done at 190 degrees f.
Remove the trays from oven and set the bagels on a cooling rack.
Notes
Topping Ideas:
Nutrition Information
Yield
12Serving Size
1Amount Per Serving Calories 238Total Fat 1gSaturated Fat 0gTrans Fat 0gUnsaturated Fat 0gCholesterol 0mgSodium 512mgCarbohydrates 50gFiber 2gSugar 3gProtein 7g
We appreciate your work with our recipes. Please tag us on instagram with your stories and posts about this recipe. We love to like, comment and share your stories. 🙂
Love this recipe. Easy and delicious!
Do you think I can refrigerate the dough overnight and then shape the bagels and let rise. Sometimes it’s hard to find room in refrigerator for a tray of bagels.
Thanks for the great recipe.
Hi Lori, We are so happy you enjoy this recipe. Yes doing the long slow rise before forming the bagels will work. Thanks for the question and happy baking!
5 cups of flour is 600 grams so I am wondering which measurement is best.
Hi Lynn, rule of thumb when baking sourdough recipes is use the weight measurement. This will ensure your flour and other ingredients are in the proper proportions. We provide the volume measurements for those that do not use a digital scale. Happy baking!
@Diane, I wasn’t questioning which method. The recipe says 5 cups or 680 grams. These are not equivalent to each other so am wondering if the recipe should say 600 grams.
Hi Lynn, Thanks for clarifying your question. The problem we run into when writing sourdough recipes( or any baking recipes to be honest) is the flour quantity is not consistent when you use volume measurements. I include the volume only because so many American bakers are used to it and will not measure ingredients by weight.
You can use 5 cups of flour but it would be a more consistent recipe if you use the weights. Flour volume and weights vary due to the flour type and humidity. And if you grind your own flour you can use various blends and grinds which can really throw things off if you measure by volume. Weights will offer you the more reliable results no matter which flour you choose or climate you live in.
As to your specific question about equivalency. I used the volume in this recipe that I used when I made the recipe by volume measurements. They are not equivalent, but this is how MY flour came out when I measured it by weight and then poured it into the cups measure. This is why I caution bakers to weigh rather than use volumes. Your flour will not have the same volume as mine, but you can achieve the same weight. This will make a better outcome for you. I hope this helps.
I’d give this recipe 10 out of 10. My family loves them! It comes together easily and quickly. Thanks! I also love that it’s vegan!
Hi Tammy, Thanks for the great review. We are delighted your family enjoys this recipe. Happy Baking!
This is the second time I’ve made these bagels. The first time they were flawless and this time, after the fermentation in the fridge, they lost their shape and flattened. Any advice?
Hi Ashley, I’m going to take a guess and say they over proofed. Reasons for this can include: Your making them at a very warm room temperature and the dough developed fast. Try going straight to the fridge if you have really hot temperatures. Your starter may not have had enough power to get it through the recipe. Again this causes a dough to go slack and not form or rise well. It’s also possible it IS active but out of balance for baking. Try this: 8 to 12 hours before you plant to bake your sourdough bagels ( or any sourdough recipe that needs an active starter) feed your starter 1:1:1. You can do this with any amount of starter. I generally do 100 grams each. Cover the bowl and allow it to ferment at room temperature (around 68 to 75 degrees F). When you want to bake try to catch the starter as it is at it’s peak rise. Now it is floating and ready to bake.
Hope this helps!
I am a cottage food business that specializes in sourdough products. I made another sourdough bagel recipe from someone else that required I mid the sourdough starter specially for their recipe 12 hours prior to mixing the bagels which would then bulk rise at room temp for 12 hours before I was supposed to shape. The other recipe was very wet and made it extremely difficult to get clean and nice shaped bagels because regardless of flouring my hands and the parchment paper, they always stuck to the paper and my hands. They easily changed shape whenever I handled them. They rise for an hour or so before I boil them for 2 minutes on each side and then bake. They don’t look pretty afterwards. I hated the long and arduous process. So I decided to try this recipe. I love this recipe sooooo much!!! It is soooo much easier and the bagels pre-boiled are not wet and sticky so they keep their shape and look pretty! I’m sure they will taste amazing. The first batch is still in the oven so I haven’t eaten any yet. But I’m so stoked to be able to use this recipe instead.
Hi Haley, I’m happy to hear this recipe is easier. Please let us know if you enjoy these bagels. We love them. 🙂
Excellent bagels! I made 12. As I was shaping into balls, I could smell them as bagels. They were a big hit at our Sunday Send-off Brunch! Thanks!
Hi Becky, Thanks you for the great review. Happy to hear you loved this recipe. Happy Baking!
Can I use bread flour instead?
Thanks!
Yes you can!
These turned out well. The recipe made 12 large bagels.
I’ve tried your recipe and bagels were amazing. They all disappeared in a blink of an eye
Hi Barbara, That’s wonderful to hear. 🙂 Thanks so much for the great review of this recipe. happy Baking!
Hi, I just made your soft sourdough sandwich bread recipe and it turned out great. I waned to try your bagels as i have had some issues with a few other recipes. I am a little confused with your weighed measurements. In your bread recipe you have 300g starter equaling 2 2/3 cups starter and in your bagel recipe you have 227g starter equaling 1 cup, the math does not add up. Could you please advise as I. Was really looking forward to trying your bagel recipe.
Hi Jan,
When in doubt go with the weighted measurements. I put in the volume measurements for our bakers that use them but I use the weights most often.
I use the conversion charts I find online to give the volumes. and real life is not always comparable in my experience.
I have made these bagels many times. They work with both the digital weights and the volumes expressed in the recipe. I hope this helps. After you get the feel of this dough and read the whole post through I think you will be fine.
Hope this helps. Happy Baking. 🙂
Hi. I made these bagels this morning and my family was wowed! I live in a small community in Costa Rica and it’s almost impossible to find bagels nearby. This recipe is a lifesaver! I’d even go so far as to say they’re one of the best bagels I’ve ever eaten. My first attempt ever at making bagels was a total success. Your recipe was so simple to follow and the video made it even easier. Thank you from my family and me!
So happy you loved them Lisa! Thank you for the wonderful comment! Happy bagel baking! 🙂
This recipe works well. The video was really helpful in understanding the process, particularly the firmness of the dough.
Did need just a bit more water and found spritzing while kneading quite effective.
I used this as a base for making cinnamon/raisin bagels and couldn’t be happier.
Hello!
I have made these twice and they tasted great both times. I have a moment of panic when I put them in the water and they sink. It takes about 30 seconds for them to float. Am I supposed to boil them 20 seconds on each side after they start to float?
Hi Sandy, I make these all the time too. We love them. When I make the dough with a bit more water in the dough they can struggle to float when boiled. Like yours they always do float eventually. And they still come out fine.
I do the 20 seconds a bit less robustly when I have reluctant floaters. No need to go overboard here. They are getting the parboil and that’s what counts. So glad you are enjoying these sourdough bagels.:)
I love the video and the easy recipe, and of course the perfect bagels. Thank you! I think the video says 2 tsp salt, not 1 like the printed recipe. I weighed everything and since it said 1 tsp I was afraid to use 11 g salt. I used 5g, which was 11/2 tsp kosher salt. Please clarify,
Hi Lori, I’m glad the video worked well for you. Actually I just made this recipe from the printable recipe card and the bagels seemed a bit bland So I would go with 2 tsp. of kosher salt by volume. thanks so much for pointing this out . I’ll update the recipe card. 🙂
I’ve made this recipe three times now, each time with great results. I take them to my son, who has Down Syndrome and lives in a supported living home. He has one roomie, three lovely girls in the other side of his duplex residence. We showed up with the bagels, a bowl of cream cheese, coffee and fruit as a treat for their lunch. They all said Yum!! He loves bagels. I’m so happy to be able to cheer them up in isolation.
Thank you for such a great recipe and instructions.
Hi Rosemary, You cheered me up too. How fantastic to know this recipe is put to such good use with your love and care. This is a bleak time for our high risk populations. Your kindness and mothers’ love have blessed us all today. I’m delighted to know this recipe is a part of it. Thanks so much for sharing your story.
So I made those today. I thought I had ruined them when I put them in the fridge right after forming he bagel shape (without a bulk rise). So I took them out after 8 hours in the fridge and let them rise overnight. It worked. But next time I’ll stick to the recipe 🙂 I haven’t tasted them yet but my daughter said they were delicious.
Hi Rosario, I’ve fooled around with this recipe enough to know that it’s pretty flexible. I’m glad they worked for you! Thanks for bringing us your review and experience with these bagels. Happy Baking
Hi Diana, thanks for the recipe. I made them again and I forgot to put parchment paper so they stuck to the sheet and I lost the bottoms 🙂 any suggestion on how to make cinnamon raisin bagels? My kid loves those.
Hi Rosario, I’m sorry they stuck. Parchment paper is a great idea. You can spray it with oil if necessary too.
For the cinnamon raisin bagels:
I would add more sweetener to the dough maybe one tablespoon sugar (or honey) to make the dough sweeter.
Also plump your raisins. Try 75 grams of raisins with equal parts water. Let them sit 30 minutes and then drain them.
Add them in at the first with all the other ingredients.
You can also add a teaspoon of cinnamon to the dough ingredients if you enjoy that.
Continue the recipe.
After the parboil stage when the bagels are wet roll them in a cinnamon sugar mix–1/2 cup cane sugar and one tablespoon (or less to taste) of cinnamon.
The kids in our family also enjoyed cinnamon raisin bagels. Please let us know how they turn out for you. 🙂
Thanks. I have 2 kids and one likes everything bagels and the other cinnamon raisins. If I split the recipe in half I assume I would use 30g of raisins? And can I split the dough in two balls at the end of kneading and mix the cinnamon raisin in half of the dough? Thanks
Yes, that should work. Remember when your working with the cinnamon raisin it’s all about taste. Feel free to adjust the recipe to suit your family. Enjoy!
Just wanted to let you know that I made this again and they came out great. I made cinnamon raisin by adding cinnamon and plumped up raisins to the dough before shaping them. My son loved them. So now I split the recipe in 3 parts (each 4 small bagels) everything for my daughter, cinnamon raisin for my son and sesame for myself! Thank you!
Lol, Your children are so lucky to have you. I’m happy to hear you made this recipe work so well for your family. All the Best Rosario!
I think working with sourdough recipes has trained me firmly to weight measurements! Any chance you will adding weights to this recipe? Your step by step instructions on the soft sourdough sandwich bread using the weight and taro method has spoiled me! (thank you for that)
Hi Missy M, Your right! I will add those weights in here. Remember the recipe started with volume measurements which as you know are inexact. So If you need to adjust the weights a bit let me know how it goes. The conversions are now in the recipe for you. Happy Baking!
You did that so quickly! Thanks so much. 🙂 This is why I keep sending your site to anyone asking me about sourdough. 🙂
Ahhh…How kind of you. Thanks so much for supporting our site. Your the reason we do what we do. I love new ideas and input on our recipes. Hope you enjoy these sourdough bagels. Can’t wait to hear!
Hi!
They look delicious. Can you use instead of the maple sirup , honey?
thank you
Hi Aniko, Maple syrup is a fine substitute for honey in this recipe. Happy Baking!